Toyota 4Runner 1996-2002: Suspension Performance Diagnostic Guide
Leaking shocks, weak springs, and deteriorating bushings will reduce suspension compliance and can lead to a loss of vehicle control. While most suspension problems are easily fixed, neglected maintenance will result in costly repairs or a possible accident. If the ride quality or handling of your 4Runner is not as it should be, a quick once over of the suspension and steering components can identify the problem and help get your truck back on track.
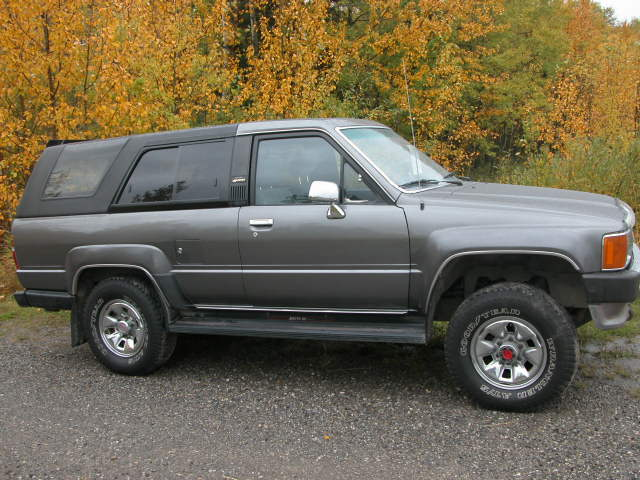
This article applies to the Toyota 4Runner (1996-2002).
Faulty suspension components can diminish the ride quality and safety of your truck. Many owners often put suspension repairs on the back burner, but being that all steering and suspension components work together as a unit, one worn component can often lead to premature wear and failure of other suspension components. More often than not, suspension problems can be quickly identified by performing a quick visual inspection at each corner of the truck. The best part is that no special tools are required for diagnosis, and you can save a healthy chunk of coin if you decide to perform the necessary repairs yourself. This article will outline common suspension and steering components that can become damaged or fail on the third generation Toyota 4Runner.

Materials Needed
- Floor jack and jack stands
- Tire iron
- Creeper
Step 1 – Bouncing suspension
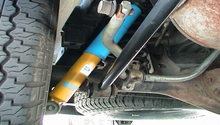
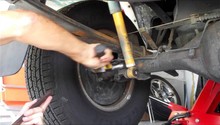
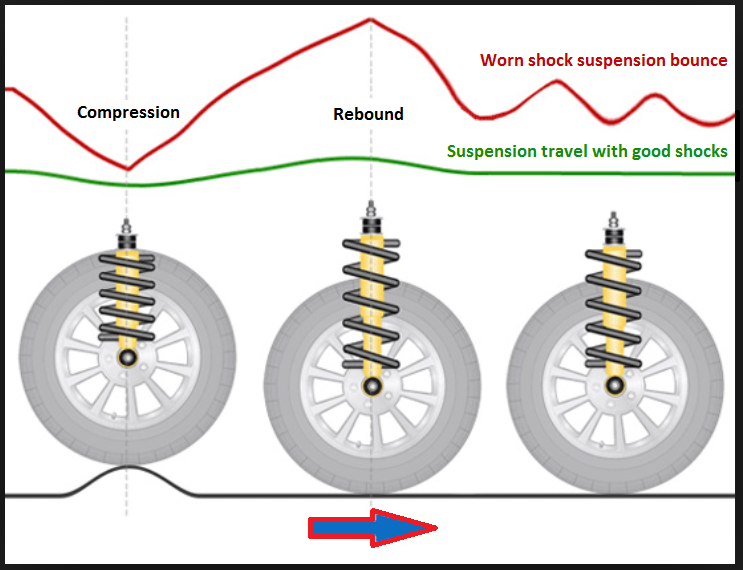
Shock absorbers are in place to dampen the motion of the suspension as it works up and down through its range of travel. In basic terms, a shock absorber is essentially a tube that forces oil through tiny orifices of the internal piston as the shock compresses and expands. The rate at which the piston is moving in the shock body controls the level of damping. Shock absorbers can fail for a variety of reasons, causing the vehicle's suspension to continually bounce up and down when traveling over irregular surfaces. Additionally, faulty shocks can adversely affect the handling of the vehicle.
Diagnosis
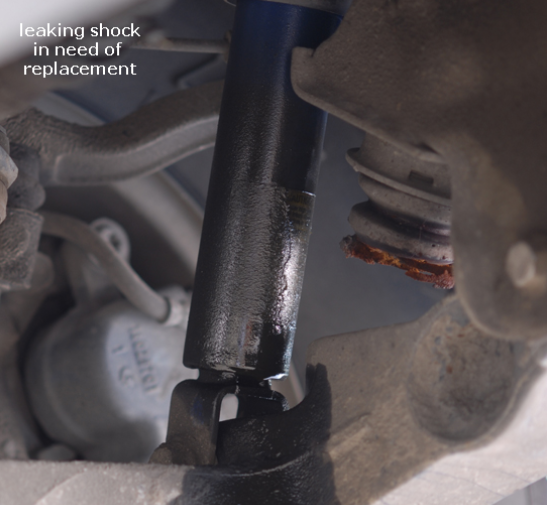
The condition of the shock absorbers can often be quickly determined with a visual inspection and bounce test. Examine the shock body for signs of leaking fluid. A light coating of oil is considered normal; however, pooling fluid is a sign of a blown shock seal requiring the shock(s) to be replaced. Additionally, check the upper and lower shock mounts, as it is not uncommon for the shock body to fatigue and break. Each shock can also be tested by bouncing each corner of the vehicle with a firm push. A healthy shock will allow the suspension to compress and quickly rebound back to its normal ride height, whereas a faulty shock absorber will be unable to control the motion of the springs and the car will keep bouncing. For additional information on replacing the shock absorbers on the Toyota 4Runner, see How to Replace Shock Absorbers.
Step 2 – Sagging suspension
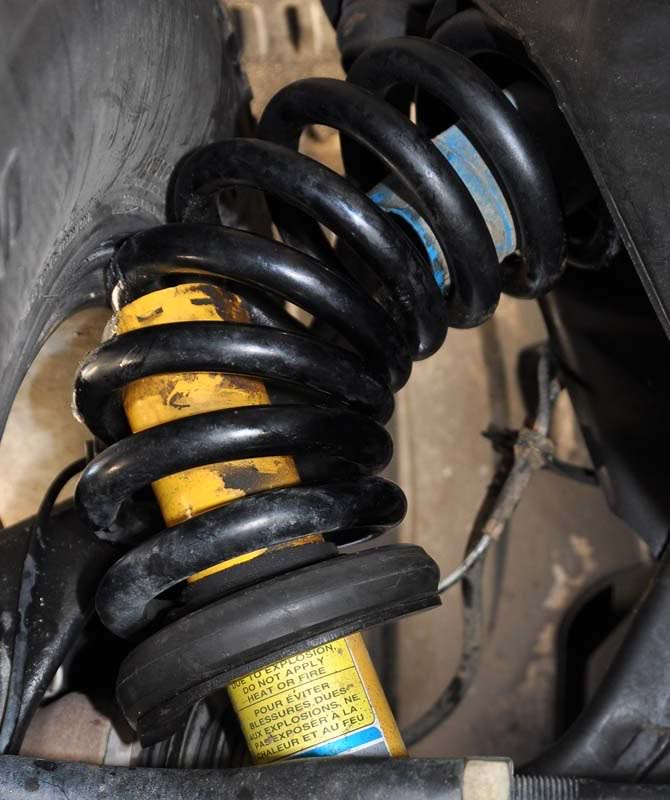
Many owners find their cars to be leaning one way or the other and immediately jump to the conclusion that new shock absorbers are needed. Unfortunately, the shock absorbers do not support the weight of the vehicle and millions of cars are misdiagnosed each year as having bad shocks when a leaning condition is most likely a spring or chassis problem. The Toyota 4Runner front suspension uses MacPherson struts to combine a traditional coil spring with the shock absorber. The coil springs can often last the life of the vehicle; however, they can fatigue from heavy use such as off-road driving, towing, and carrying heavy payloads. Similarly, a damaged strut tower or spring pocket can alter the position of the suspension and cause the vehicle to lean. In either case, sagging suspension tends to cause alignment and steering issues, as well as abnormal tire wear.
Diagnosis
Perhaps the first step in diagnosing sagging suspension is to make sure all tires are properly inflated. Next, measure the ride height at each corner of the vehicle and compare them to the specifications listed in the service manual. A number of Toyota trucks tend to sit slightly lower on the driver's side of the vehicle because of the positioning of the battery and fuel tank, but the ride height should vary no more than 1/4" to 1/2" from side-to-side. Inspect the front strut springs and rear coil springs for damage or breakage. Since the shock is part of the strut assembly on the front end, a collapsed shock body or broken mount can cause sagging as well.
Step 3 – Excessive body roll
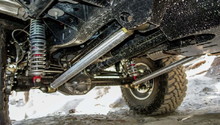
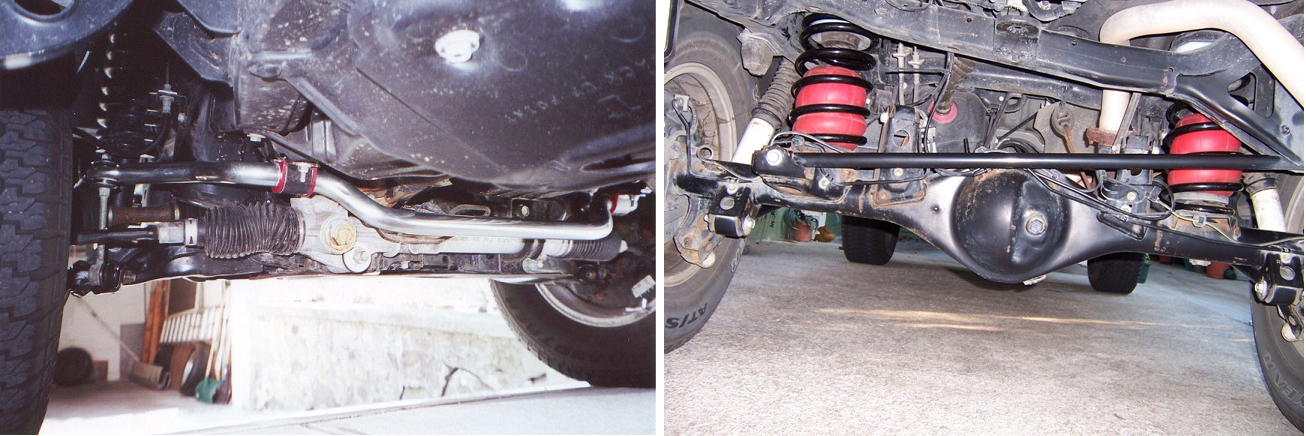
While the 4Runner is no sports car and a slight amount of body lean is expected when cornering, your truck should stay relatively stable when maneuvering around bends. Toyota has put in place an anti-roll bar (sway bar) for the front suspension and Panhard bar (trac bar) to reduce body roll and improve cornering stability. Body roll related to the rear suspension is quite limited; however, the anti-roll bar at the front end of the car can suffer various problems to allow for extra body sway. The anti-roll bar is mounted to the chassis with each end attached to the front suspension. The idea is for the anti-roll bar to work as a torsion spring to keep each side of the suspension in line with each other when making turns or going over road irregularities. If the sway bar becomes detached from either end of the suspension or has excessive wear at its attachment point, excessive body roll can occur.
Diagnosis
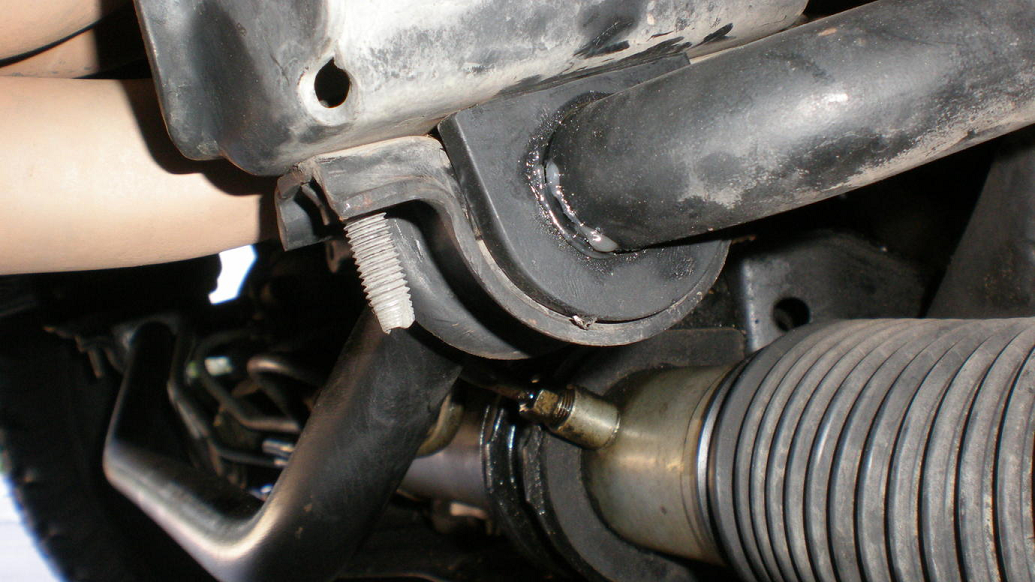
Begin by inspecting the anti-roll bar mounts and bushings that are attached to the chassis. A broken mount or worn bushings will cause extra slop in the roll bar and should be replaced immediately. The anti-roll bar is attached to each side of the suspension via an end-link that is highly susceptible to damage, especially during off-road use. Inspect for broken or bent end-links and ensure the end-link bushings are in good condition. At the rear of the vehicle, check for damage to the Panhard bar mounts and bushings/heim joints if applicable, and replace as necessary. Be sure the Panhard bar is tight to prevent the rear axle from wandering.
Step 4 – Poor ride quality
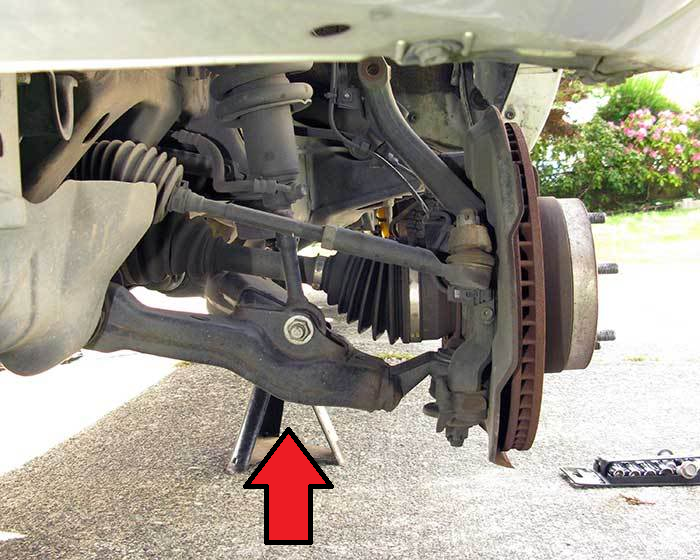
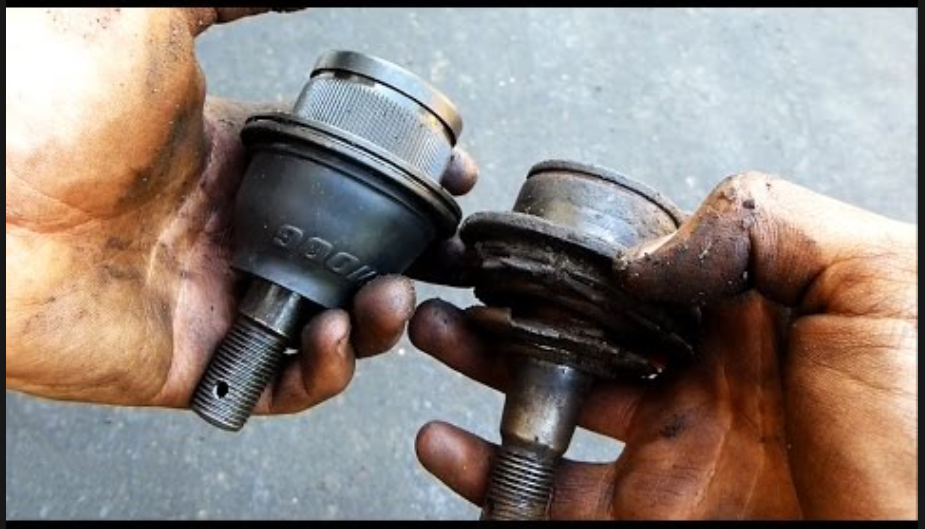
Poor ride quality is one of the more difficult steering and suspension issues to diagnose, because each and every worn component can cause the ride quality quality to suffer. As previously mentioned, worn out shock absorbers will not be able to adequately control the motion of the suspension and will cause the vehicle to bound down the road. An area where many ride quality issues arise is in the rubber bushings that tie many of the suspension components together. Rubber bushings are used because they are flexible, provide adequate cushion for suspension components, and have the ability to absorb vibrations and road noises that would otherwise be transferred through the chassis and into the cabin. Worn or damaged bushings often allow metal to metal contact between suspension components and are not only noisy, but create a jarring ride. Additional sources for rough ride quality can be found in the ball joints that tie the upper and lower control arms to the steering knuckle. When ball joints wear, the ball bounces around in the socket when traveling over road irregularities and leads to binding (popping noises) and steering wheel shimmy. When diagnosing ride quality problems, do not overlook a worn or out-of-round tire. A defective tire or bent wheel can cause steering wheel vibrations, suspension jounce, and increased suspension component wear.
Diagnosis
The tires can be easily inspected by lifting each corner of the vehicle off of the ground with a floor jack and spinning the wheels. An out or round tire or bent wheel is fairly obvious once it is spinning. Additionally, the high point of a tire may lightly skim the ground, whereas the rest of the tire will have ground clearance. Supporting the vehicle on the frame with jack stands and removing the wheels will allow the suspension to hang free for a thorough inspection. Check the condition of the struts, shocks, and springs as outlined above, paying close attention to their rubber bushings as well as the bushings on the control arms and anti-roll bars. The ball joints can be visually inspected for torn boots and can be physically tested by lifting up and down on the brake rotor/hub. A bad ball joint will pop in and out of the socket as the hub moves up and down. The ball joints should be tight with no free play.
Related Discussions
- Bad Shocks or Springs or Both? - YotaTech.com
- Front End Vibration Troubleshooting Guide - YotaTech.com
- Sloppy Suspension 99 Tall t4r- YotaTech.com

