Log In
Register
Forums
Site Information
The Rules
Meet The Staff
Announcements, Tips & Tricks, Site Feedback, Test Section, & Contact Us
Announcements
Tips & Tricks
Site Feedback
Post Your Tests Here
Contact Us
Product-Gear Reviews
Product Reviews
Tech Write-Ups (Staging Area & More Articles In The Wiki)
Staging Area For Tech Article Submissions
Appearance
Electrical
Maintenance & Repair
Off Road Enhancements
Performance Enhancements
Toyota SUV & Truck Tech
Newbie Tech Section
General Vehicle Related Topics (Non Year Related)
General Electrical & Lighting Related Topics
Tires & Wheels
Pre 84 Trucks
84-85 Trucks & 4Runners
86-95 Trucks & 4Runners
95.5-2004 Tacomas & 96-2002 4Runners
03+ 4Runner/GX470, & 05+ Tacomas
2010+ 4Runner
Toyota RAV4 Forum
2016+ Tacomas
Early Land Cruisers
FJ Cruiser
99+ Tundra, 00+ Sequoia, 98+ Land Cruiser/LX470
93-98 T100s
Prerunner & All 2WD Rigs
Looking For A Mechanic/Fabricator/Shop
Maintenance & Repair Archives
Off Road Tech, Fab Shop, Solid Axle Swaps, Tool Time, & Engine Swaps
Offroad Tech
The Fab Shop
Solid Axle Swaps, All Years
Tool Time
Engine Swap Talk
Trip Planning, Trail Reports, Land Usage, 4Wheeling 101, Camping Gear, Off-Road Gourmet, & More
Off Road Trip Planning, Expeditions, Trips, & Events
Trip-Trail Reports & Photos
Land Usage & Off Road Responsibility
4Wheeling 101
Camping, Expedition, & Overlanding Gear
The Off-Road Gourmet
First Aid / General Medicine
Sportsman Section
Electronics
Computer Talk
Photography/Cameras
Vehicle Audio & Home Entertainment
GPS & Communication
Alarm Systems
RC Vehicles
Other Modes Of Tranportation
Other Makes Cars/Trucks
Cycling
Motorcycles
Snow Sports
Watercraft
Vendors
Diode Dynamics
YotaWorks
Gobi Racks
Vendors Build-Ups (Build-Up Section)
YotaTech Classifieds
Axles - Suspensions - Tires - Wheels
Engines - Transmissions
Vehicles - Trailers (Complete)
Vehicles - Parting Out
Tools
Misc Stuff (Vehicle Related)
Misc Stuff (Non Auto Related)
Buying & Selling Advice - Feeler/Gauging Interest
Items Wanted
Hot Deals - Free Stuff - Craigslist
Seller - Buyer Ratings For Members
The Classifieds GraveYard
Toyota Aftermarket & OEM Parts Suppliers
YotaTech Knowledge Base
FAQ
Tech Write-Ups
Tech Write-Up Archives
4Runner History
Regional Forums
4ROC
News
Gallery
Tools
Car Payment Calculator
Tire Rim Calculator
Vin Decoder
Recalls
Technical Service Bulletins (TSBs)
Members List
Live Feed
Marketplace
Vendor Directory
Become a Vendor
Site Store
New Posts
How-Tos
Log In
Register
Threads
Google
Threads
Posts
Advanced
Log In
Forgot your Password?
By logging into your account, you agree to our
Terms of Use
and
Privacy Policy
, and to the use of cookies as described therein.
or
Login with Facebook
Recent
Commented
Albums
My Pictures
DIY Headliner replacment
Co_94_PU
January 29, 2013
35
0
Description:
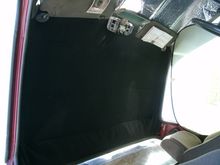
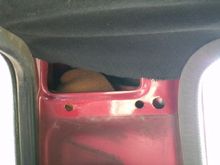
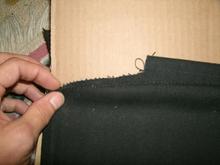
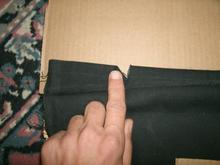
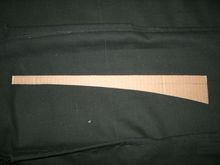
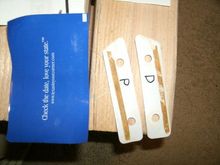
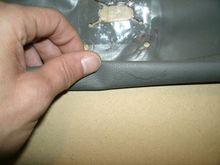
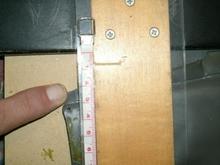
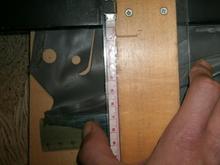
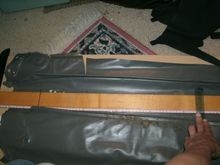
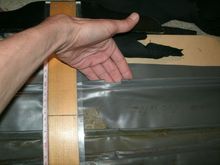
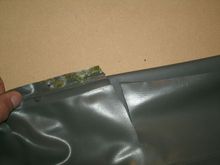
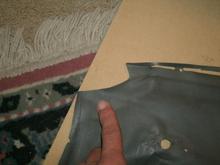
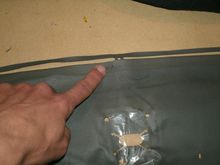
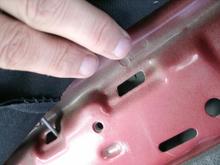
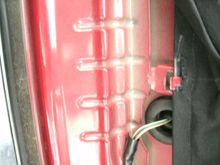
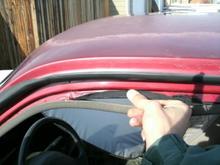
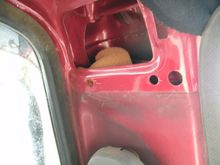
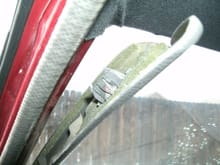
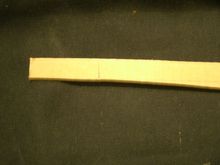
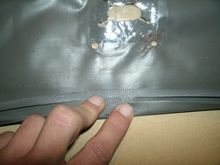
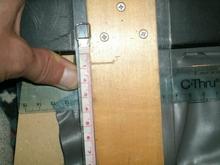
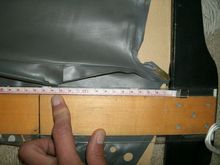
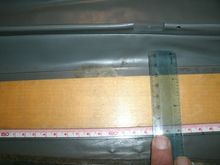
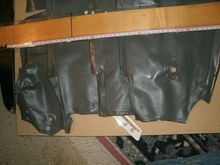
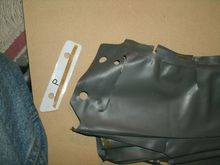
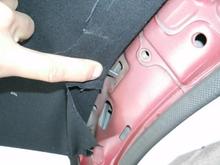
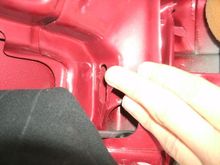
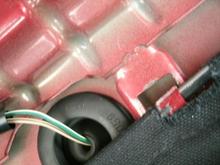
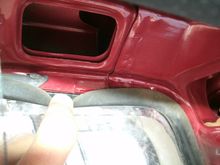
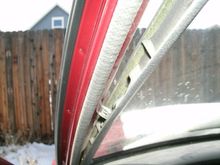
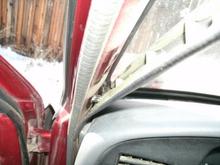
Pictures detailing steps.
Read more ยป
Sort:
Most Recent
Default
Most Recent
600x Headliner Finished 4now1 In the right light at the right angle, You can't hardly notice it's not perfect
0
2013/01/31 14:10:02
113671
600x Headliner Finished 4now2 A little bit of Cupid bow effect in the rear rod. And Wrinkles cause by not pulling the window, can't pull it tight.
0
2013/01/31 14:10:02
113671
600x Headliner Finished 4now short ears Another 1/2-1 inch of fabric or a lot of fidgeting would get these clips back in place.
0
2013/01/31 14:10:02
113671
600xHeadliner Rod Relief NON adjustable curve BAD cut. You need this missing bit of fabric loop left attached incase you do not like the curve or such.
0
2013/01/30 18:11:08
113671
600xHeadliner Rod Relief adjustable curve Leave this bit of fabric attached it allows you to alter the curve to a shallower curve.
0
2013/01/30 18:11:08
113671
600xHeadliner curve template
0
2013/01/30 18:08:28
113671
600xHeadliner curve template alignment mark Alignement mark for begining of curves
0
2013/01/30 18:08:28
113671
600xHeadliner Front
0
2013/01/29 16:48:43
113671
600xHeadliner rear panel clip reinforcments1 Not a bad idea to mark these for the forward face also. (Back of a TEXAS YAY WARM, inspection sticker)
0
2013/01/29 14:46:36
113671
600xHeadliner front bracket fold2 This is what the fold looks like once it's pulled back over front of the bracket. The bracket winds up in the middle with two layers of material on the top.
0
2013/01/29 14:46:36
113671
600xHeadliner front bracket fold1 This is where you glue to the front bracket. The bracket would be under the liner. The glue goes on the face showing. And the fold shown is released and the material pressed down.
0
2013/01/29 14:46:36
113671
600xHeadliner front pocket curve debug2
0
2013/01/29 14:45:30
113671
600xHeadliner middle pocket curve debug1
0
2013/01/29 14:45:30
113671
600xHeadliner rear pocket curve debug1
0
2013/01/29 14:45:30
113671
600xHeadliner rear rod pocket end cutout
0
2013/01/29 14:43:38
113671
600xHeadliner centerline1
0
2013/01/29 14:43:38
113671
600xHeadliner centerline2 (measurements for reference, not exact!)
0
2013/01/29 14:43:38
113671
600xHeadliner rear attachment cutout
0
2013/01/29 14:42:17
113671
600xHeadliner rear window pinch lazy
0
2013/01/29 14:42:17
113671
600xHeadliner fan folded
0
2013/01/29 14:42:17
113671
600xHeadliner rear ear and panel clip reinforcment
0
2013/01/29 14:40:59
113671
600xHeadliner front ears
0
2013/01/29 14:40:59
113671
600xHeadliner front weld center
0
2013/01/29 14:40:59
113671
600xFront rod hole
0
2013/01/29 14:39:15
113671
600xRear rod hole
0
2013/01/29 14:39:15
113671
600xMiddle rod hole
0
2013/01/29 14:39:15
113671
600xRear rod retainer1
0
2013/01/29 14:38:12
113671
600xRear rod retainer2
0
2013/01/29 14:38:12
113671
600xRear window headliner pinch
0
2013/01/29 14:38:12
113671
600xDoor seal2
0
2013/01/29 14:37:12
113671
600x B pillar panel clip2
0
2013/01/29 14:37:12
113671
600xDoor seal1
0
2013/01/29 14:37:12
113671
600xA pillar trim connect2
0
2013/01/29 14:33:27
113671
600xA pillar trim connect3
0
2013/01/29 14:33:27
113671
600xA pillar trim connect1
0
2013/01/29 14:33:27
113671