Toyota Tundra: Why Does 4WD Dash Light Stay On?
Is the 4WD light on your dash refusing to turn off? This article will help you diagnose the cause of the problem and make that pesky light go dim.
This article applies to the Toyota Tundra (2000-present).
The 4WD system on your Toyota Tundra is a hard working beast of a thing. The half-shafts are routinely asked to couple and decouple from the transmission, and increased stress is put on the drivetrain when sending power through all four wheels. For the most part, your Tundra works heartily without complaint, but there are exceptions. If an error light appears on your dash indicating an issue with the 4WD system, then it is best to address it quickly because drivetrain issues can render your truck non-op in no time flat if left alone. Here are some common things to check and investigate on your Toyota truck.

Materials Needed
- Ohmmeter
- Hand vacuum
Step 1 – Check your fluids
Dirty fluid can cause the system to get stuck.
Can you remember the last time you changed out the fluids in your transmission and transfer case? If not, it's probably time to check them and/or change them. Once you change your fluids, try driving the truck backward and forward a few times, and turn the wheel from lock-to-lock to make sure your actuator isn't stuck.
If your fluids are in good shape and the light still won't go off, move on to Step 2.
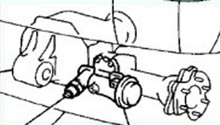
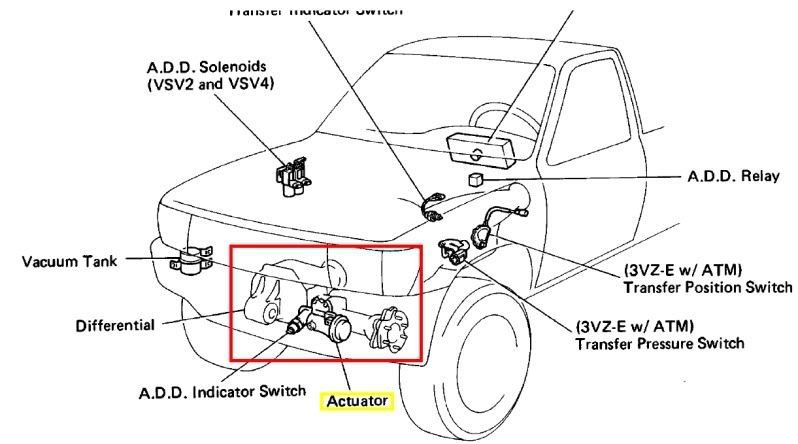
Step 2 – Check your actuator
The actuator is what signals the light to turn on or off.
A faulty actuator not only signals your 4WD system to engage and disengage, it also serves to turn the 4WD light on and off. To test your actuator and see if it is the cause of the problem, use an ohmmeter to test resistance. First, measure the resistance between terminals 2 and 3. You should get a reading between 0.3 and 100 ohms. Next, measure the resistance between terminals 2, 3, and a body ground. You should get a resistance of more than 0.5 ohms. If the resistance readings don't fall within these specifications, replace the actuator.
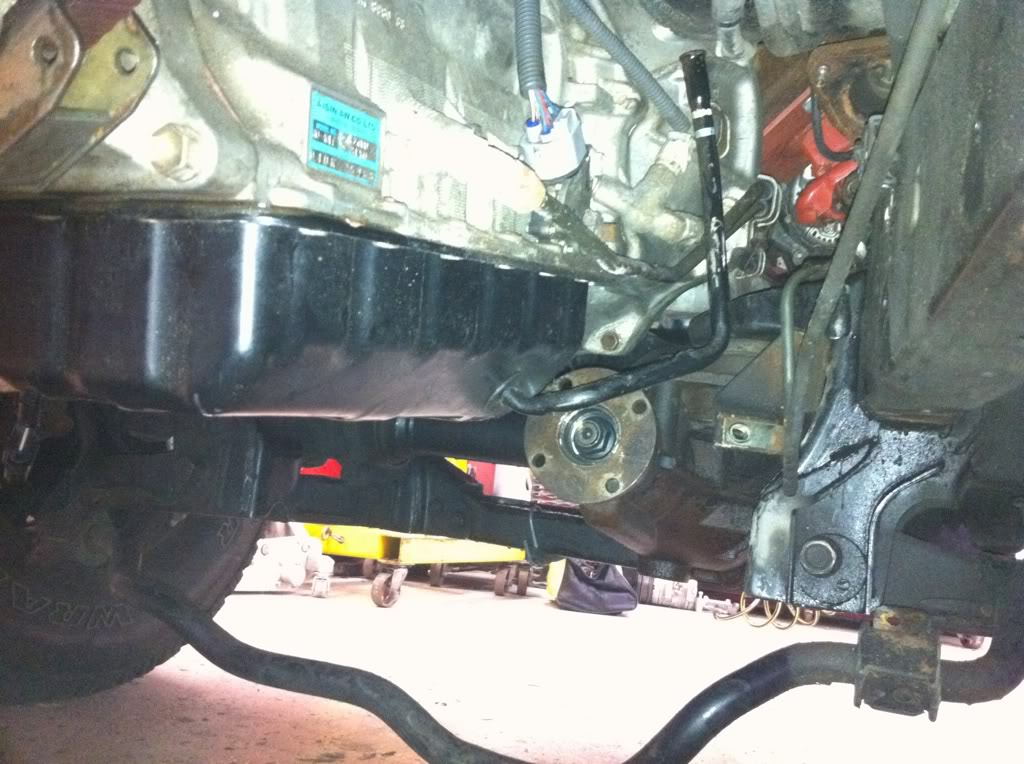
If the actuator checks out electrically, test the vacuum next. Connect the vacuum lines as shown in Figure 2 and check to see if the system moves into the correct positions. If it does not, replace the actuator.

If your actuator tests out fine, move on to Step 3.
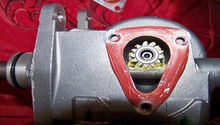
Step 3 – Check ADD if 4WD won't engage or disengage
The ADD system is what engages and disengages your 4WD system.
If your light won't go off and your 4WD system won't engage or disengage, the problem lies somewhere in your ADD system. Inspect all vacuum hoses and look for damage, tears, or cracks. Check to make sure all the hoses are connected securely. Use a hand vacuum tester to make sure there is at least 15 pounds of vacuum present in the system as well. Reconnect any hoses that have become disconnected or loose, and replace any that have visible damage. Also, check the resistance of your ADD solenoid, which should be between 38 to 45 ohms, and replace it if necessary.
Related Discussions
- 4WD Won't Disengage - YotaTech.com
- 4WD Dash Light Stays On - YotaTech.com