Toyota Tundra: Why Am I Stuck in 4WD?
Is your Tundra stuck in 4WD no matter what you try or how many times you frantically push that button? This article will help you find the source of the problem and fix that stubborn system.
This article applies to the Toyota Tundra (2000-present).
Like most four wheel drive trucks, the Tundra has a reputation for getting stuck in 4WD, refusing to switch back over to 2WD. The complex nature of the systems that engage and disengage your front axle is part of the problem, but that also makes it much harder and more time consuming to diagnose the actual cause of the issue. That's why it's one of the most common questions you'll see on any truck forum, and the solution will vary depending on the user. Keep reading and we'll help guide you through the process of finding the root cause of your 4WD issue and how to correct it.

Materials Needed
- Jack
- Jack stands
- Hammer
- Vacuum pump
- Ohmmeter
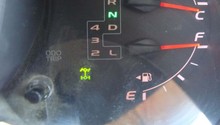
Step 1 – Check to see if the system is simply stuck
Sometimes a little persuasion is all that is needed.
Before you start tearing things apart or ordering parts, try driving the truck in a straight line forward and backward a couple of times (preferably on a flat, paved surface). Oftentimes, this is enough to "unstick" things and you'll hear a loud thump when it kicks back into place. You can also try turning the wheel from left to right, lock-to-lock a few times to see if that will free things up. Make sure to pause for a few seconds at each full lock before turning the wheel the other way. If none of this works, you can also try gently tapping on the transfer case actuator with a hammer to see if that loosens things up.
If you are still stuck in 4WD, move on to Step 2.
Step 2 – Inspect your vacuum hoses
A disconnected or damaged hose can prevent the system from engaging or disengaging.
Your truck's ADD system uses a series of hoses as well as vacuum pressure to engage and disengage four wheel drive. Look under the hood and down near the transfer case, inspecting each hose to make sure that they haven't become disconnected and that they are free of cracks and leaks. Next, test each hose to make sure it is holding at least 15 to 20 pounds of pressure. Reconnect any hoses that have come loose, and replace any that are visibly damaged.
If all of your hoses are in good shape and connected securely, move on to Step 3.
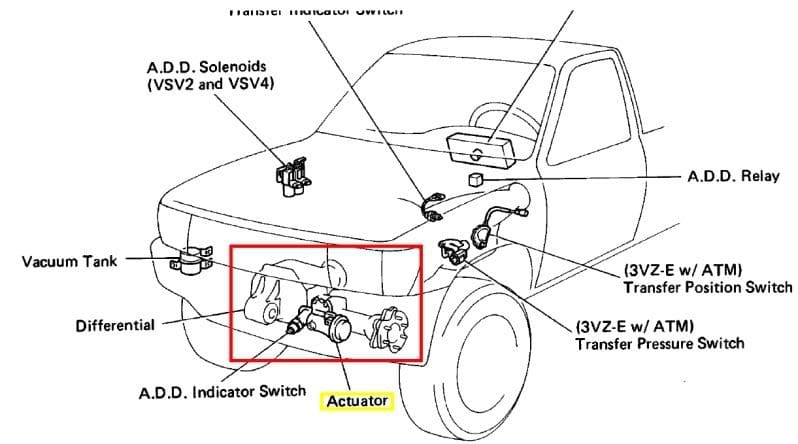
Step 3 – Check your actuator
To check your actuator, measure resistance using a ohmmeter. First, measure resistance between terminals 2 and 3. You should receive a reading between 0.3 and 100 ohms. Next, measure the resistance between terminals 2, 3, and a body ground. You should get a reading of more than 0.5 ohms. If you don't receive readings within these ranges, the actuator is bad and needs to be replaced.
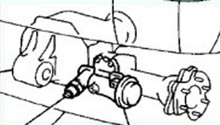
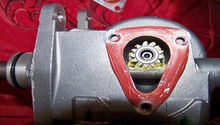
Next, verify the mechanical operation of the actuator by connecting the lines as shown in Figure 4 and check to see if the fork shaft moves into the two wheel drive position. Next, connect the lines as shown in Figure 5 and check to see if the shaft moves into the four wheel drive position. If it doesn't do one or both, replace the actuator.
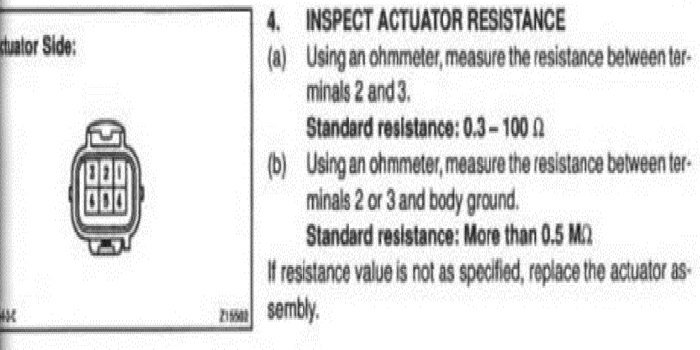
Figure 3. Measure the resistance in the actuator. 
Figure 4. Engaging 2WD manually. 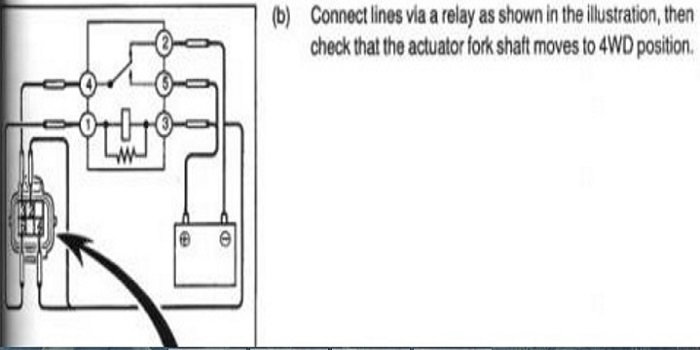
Figure 5. Engaging 4WD manually.
Related Discussions
- 4WD Stuck - YotaTech.com
- 4WD Won't Disengage - YotaTech.com