Toyota Tundra: Tundra 4WD Actuator Problems
Is your Tundra stuck in either two or four wheel drive, refusing to switch over from either? The culprit is usually an actuator. This article will help you fix that stubborn actuator and get it working properly again.
This article applies to the Toyota Tundra (2000-present).
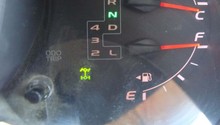
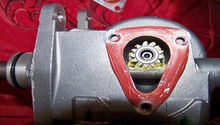
A common issue with the 4WD system in Toyota Tundras revolves around being locked in or out of 4WD, or otherwise unable to adjust your 4WD system. The usual culprit for a stuck 4WD system is the actuator, which does exactly what it sounds like it does and engages the 4WD system, allowing the front half-shafts to be connected or disconnected as needed. If your 4WD system is stuck, read up on this issue and what you can do to remedy it.

Materials Needed
- Floor jack
- Jack stands
- Hammer
- Hand vacuum
- Multimeter
Step 1 – Try to manually engage the actuator
Sometimes a little "persuasion" will temporarily fix the issue.
Before you head online and drop the cash on a new actuator, try moving the truck a short distance forward and backward. Next, turn the wheel from left to right, lock-to-lock a couple of times. If that doesn't "un-stick" the actuator, jack up the front of the truck and place it on jack stands. Engage the parking brake and put the transmission in neutral. Gently tap on the actuator with a hammer while slowly spinning one of the front wheels by hand. Have a friend push the 4WD button while you are doing this. Oftentimes, this will get the actuator working again, and if it does, be sure to use 4WD a few times in the following days to keep it from sticking again.
If your actuator still isn't working after a little tapping, move on to Step 2.
Step 2 – Check your vacuum hoses
A lack of vacuum can prevent the actuator from engaging or disengaging.
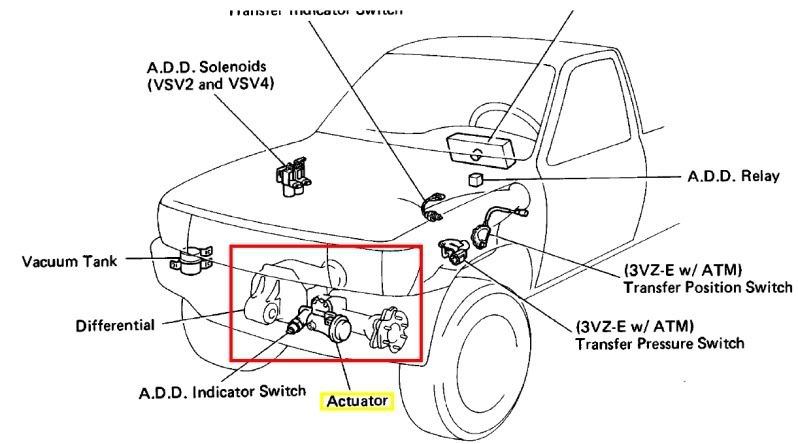
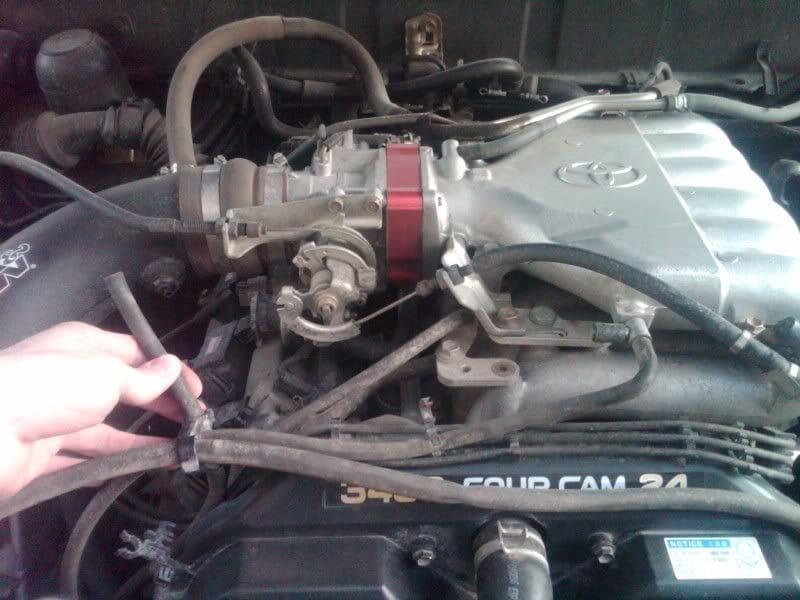
One of the most common causes of an actuator that won't engage or disengage is a lack of vacuum. This can be caused by damaged or disconnected vacuum supply hoses, so you will want to go under the hood and inspect them to make sure the hoses connected to the ADD solenoids, differential, and vacuum reservoir (as shown in Figure 1). Make sure that all of the hoses are in good condition and connected securely, with no cracks, tears, or obvious wear. Reconnect any hoses that have become disconnected, and replace any hoses that have wear or damage.
If your hoses are in good condition, move on to Step 3.
Step 3 – Check your ADD system
Failure of the ADD system can result in a stuck 4WD system.
Check for continuity on your ADD relay between terminals 2 and 6, as well as 1 and 3, and apply 12 volts of continuity between terminals 1 and 4. If the relay fails these tests, it will need to be replaced. To test for vacuum in two wheel drive, disconnect the two hoses and put a hand vacuum pump on the driver's side, then apply 15 lbs of vacuum. The actuator should hold the pressure without leaking. Next, test for four wheel drive by repeating the steps on the passenger side. If you get leaks or the unit fails to engage, the actuator will need to be replaced.
Related Discussions
- Tundra 4wd Actuator Problems - YotaTech.com
- Tundra 4wd Problems - YotaTech.com
- Is This the Actuator for 4WD - YotaTech.com