Toyota Tundra: How to Replace Transfer Case Motor/Actuator
In a worst case scenario, a non-functional four wheel drive system could mean that you have a bad transfer case motor or actuator. This article will guide you through the process of replacing both.
This article applies to the Toyota Tundra (2000-present).
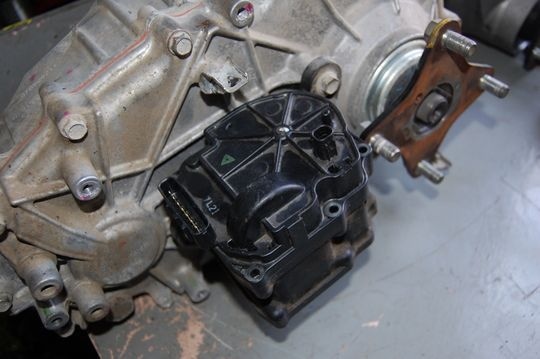
The four wheel drive system in your Toyota Tundra is generally pretty hardy. That said, like any four wheel drive, there are some possible weak links, among which is the 4WD actuator or transfer case motor. The actuator is a electronically-controlled gear drive on the side of the transfer case that engages or disengages the 4WD system. Generally speaking, you rarely need to replace the entire transfer case assembly, instead the motor itself is a serviceable part. So if your 4WD is acting up, let's replace the actuator before you get stuck in 4WD for good.
Materials Needed
- Flat head screwdriver
- Ratchet and assorted standard size sockets
- Jack and jack stands
- Penetrating oil
- Hammer
Step 1 – Prepare to remove actuator
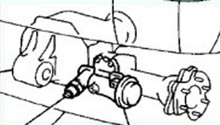
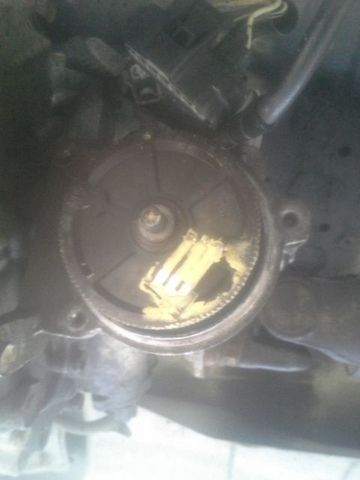
Park on a level surface, then jack up the front of the truck and place it on jack stands. Crawl underneath to the transfer case. Remove the wiring harness connected to the motor and the vent hose. Spray the bolts on the plastic actuator cover with some penetrating oil and let them sit for a few minutes to help loosen them up, as they will likely be hard to remove. You can also give them a couple of good whacks with a hammer to help loosen them. Finally, remove the bolts from the cover and then pull the cover off.
Step 2 – Remove the actuator
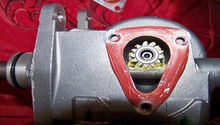
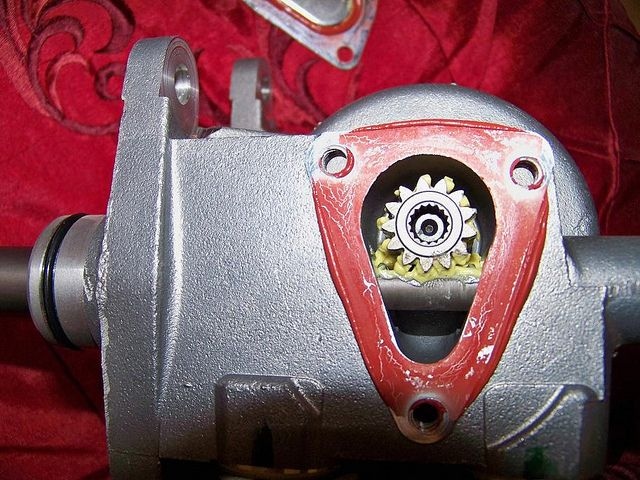
Remove the rotational piece inside the actuator. Remove the three bolts that hold the actuator to the transfer case and pull out the actuator. A little bit of oil should come out, and the shaft will remain in place. Remove the plastic cover from the actuator, as well as the small metal cover on the other side of it. Remove the little gear inside the actuator.
Step 3 – Install new actuator
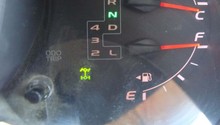
Double check to make sure the transfer case is in two wheel drive before installing the new actuator, as this will ensure that the shaft is pushed all the way in and make installation easier. Install the rotating piece in the new actuator, aligning it as close to the two wheel drive position as possible. The tabs will be position close to 3:00 at this point. Reinstall the plastic cover. Reconnect the wiring harness and vent hose. Turn the truck on and verify that it is in two wheel drive and that your light isn't flashing. If it isn't in 2WD or the light is flashing, you will need to adjust the rotating piece. Once the truck is in 2WD, reinstall the gear.
Related Discussions
- How to Change Transfer Case Actuator - TundraSolutions.com
- 4wd Transfer Case Actuator - YotaTech.com
- Transfer Case Actuator Problems - YotaTech.com