Toyota Tundra: How to Replace Timing Belt and Water Pump
Replacing the timing belt and water pump on the Toyota Tundra is no easy task, but failure to complete these scheduled maintenance procedures can lead to a catastrophic engine failure.
This article applies to the Toyota Tundra (2000-2009).
A peek under the hood of a Toyota Tundra will quickly prove that the V-type engines equipped in the Japanese trucks are much more complex than their American counterparts. Instead of using a traditional pushrod V-type engine, the Tundra comes fitted with dual overhead camshafts and accompanying timing belts. While the overhead cam design is considered by many to be a more efficient design, maintenance is labor intensive and requires removal of just about everything attached to the front of the engine. Additionally, the water pump on these engines sits right between the V of the timing belts, so if you are going to change the water pump, you might as well replace the timing belt while you are at it and vice versa.
Toyota recommends a 60k mile timing belt maintenance interval for their V6 models and 90k miles on the V8 engine. These engines are "interference engines," which means if a timing belt breaks, the valves will contact the pistons and catastrophic damage will occur. There are maintenance items that can often be stretched or extended, but the timing belt is essential to engine functionality and regular maintenance is prudent. The following article will outline the procedure for replacing the timing belt and water pump on 2000 to 2009 Tundra models with belt driven camshafts.

Materials Needed
- Drain pan
- Metric socket and wrench set
- 3/8" and 1/2" ratchets, extensions, and breaker bars
- Pliers
- Flat head screwdriver
- Phillips screwdriver
- Harmonic balancer puller
- Impact gun
- Rubber mallet
- Floor jack and jack stands
- Torque wrench
This article applies to 2000 to 2004 Tundra models equipped with V6 engines, as well as 2000 to 2009 Tundra models equipped with a 4.7L V8 engine. The following does not apply to 2005+ V6 engines and 2007+ 5.7L V8 engines that utilize timing chains.
Step 1 – Drain radiator coolant
- Before you start, it's always safe to disconnect the negative (black) battery terminal.
- Lift and support the front of the truck using jack stands. Removal of several engine components requires you to work from underneath the truck.
- Remove the skid plate from the bottom of the radiator by removing the fasteners holding it in place. Then, place a drain pan under the radiator's drain plug before removing the plug and catching the coolant.
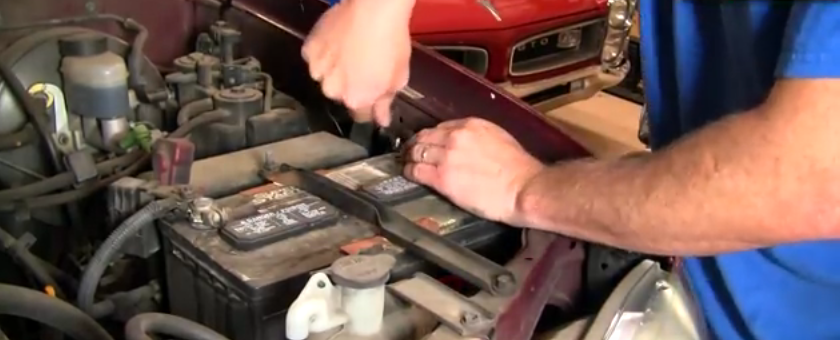
Figure 1. Disconnect negative battery terminal. 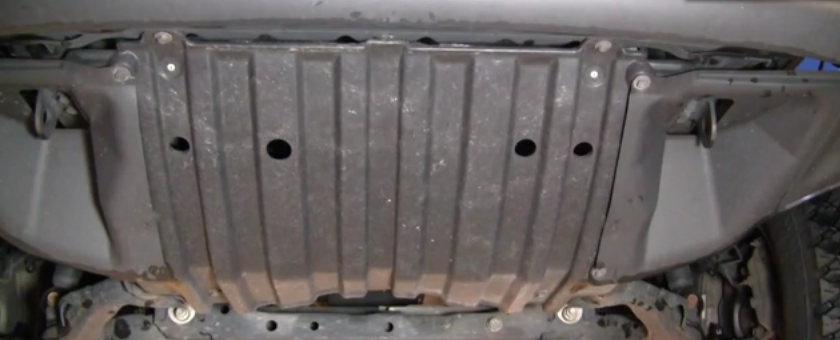
Figure 2. Remove skid plate. 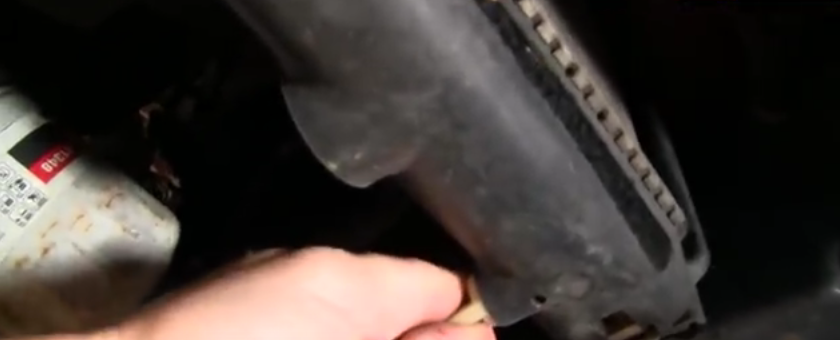
Figure 3. Drain radiator.
Step 2 – Remove top engine parts
- Remove the engine cover.
- Remove the intake tube by loosening its clamp and pulling it away from the air filter.
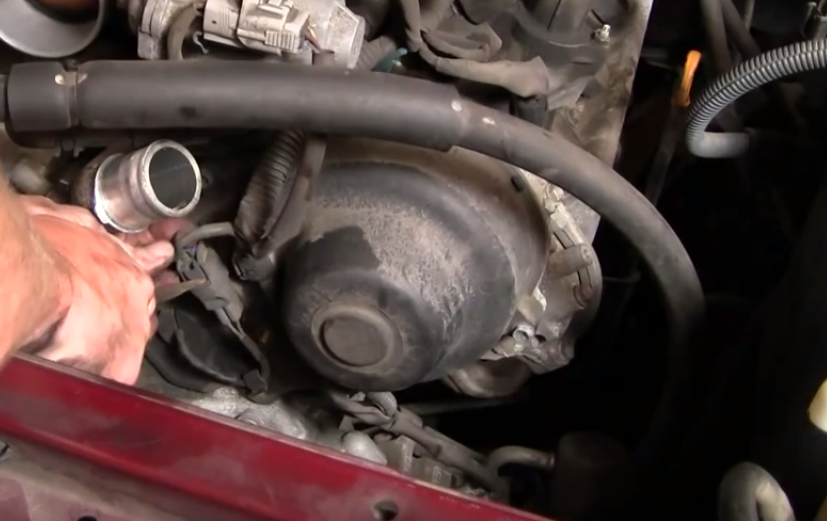
- Remove the radiator hoses. Simply use your pliers to squeeze the clamps and slide them back off of the coolant fittings. Pull hoses from the fittings to remove.
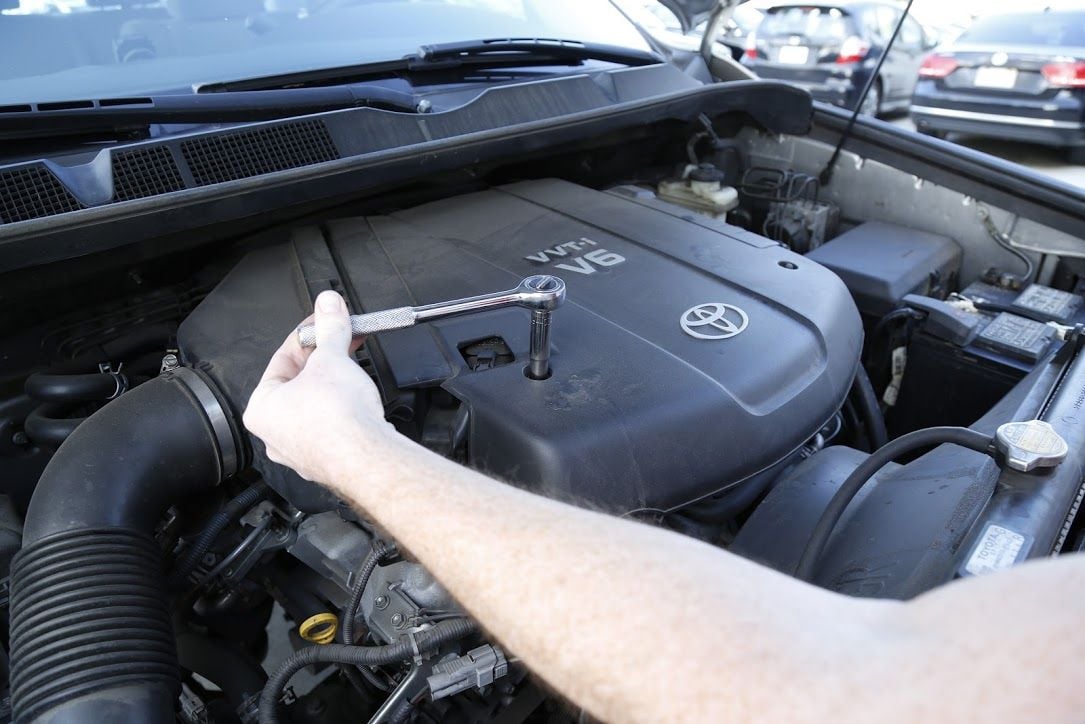
Figure 4. Remove engine cover. 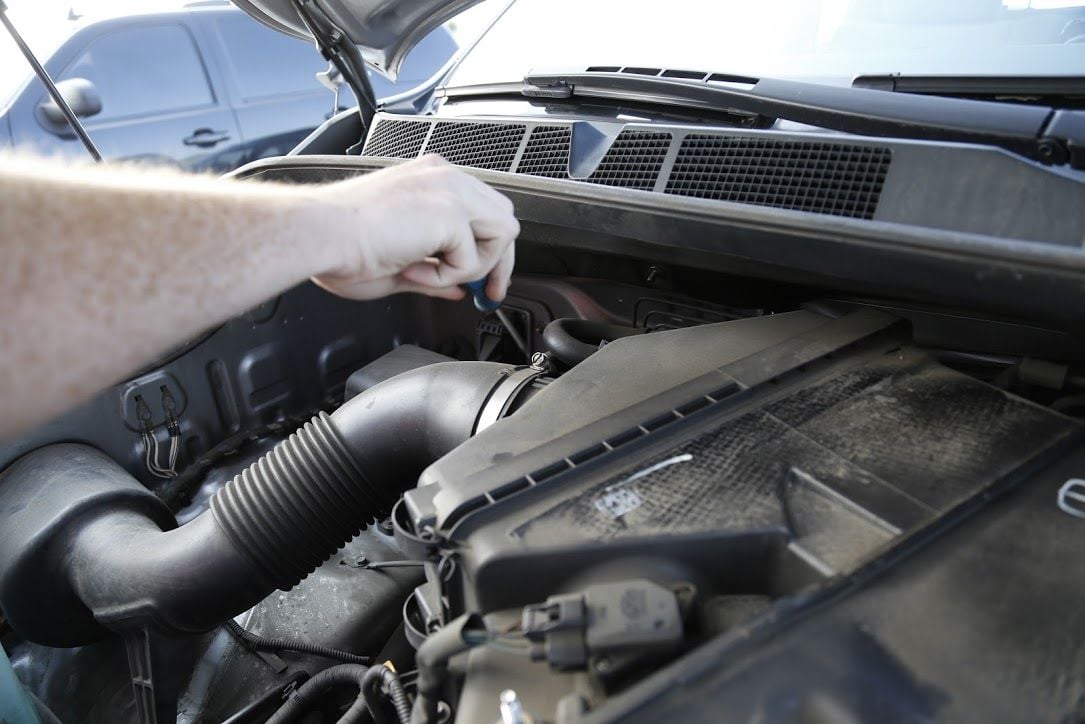
Figure 5. Remove intake tube. 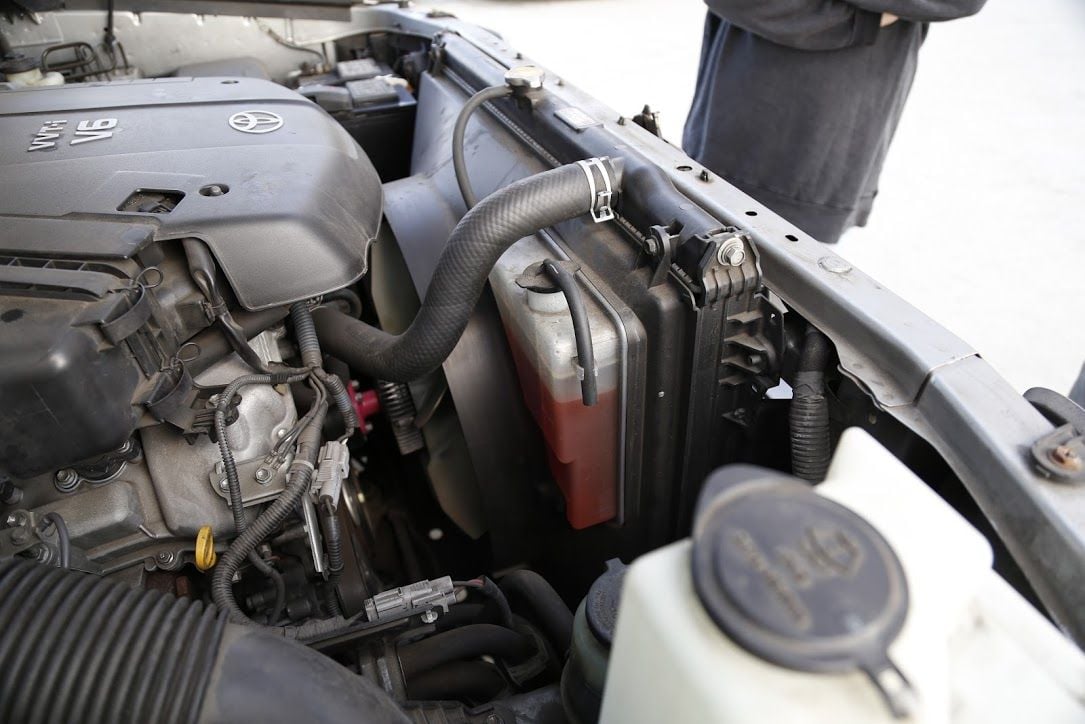
Figure 6. Remove upper radiator hose. 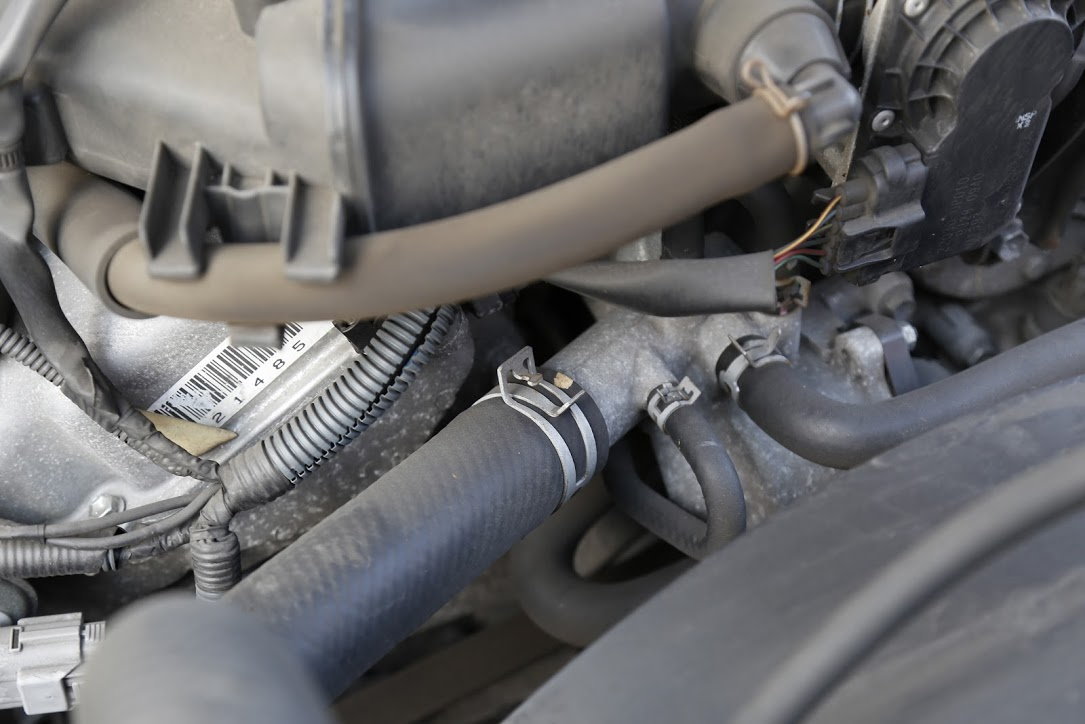
Figure 7. Remove upper radiator hose.
Step 3 – Remove radiator
Before removing the radiator, you will have to remove the fan shroud's bolts, which are attached to the radiator. The radiator will come out of the truck before the fan shroud.
- Remove the (4) support bracket bolts on the front of the truck holding the radiator in place.
- Remove the fan shroud fasteners and push the fan shroud towards the rear of the truck before lifting the radiator out.
- With the radiator removed, remove the fan shroud.
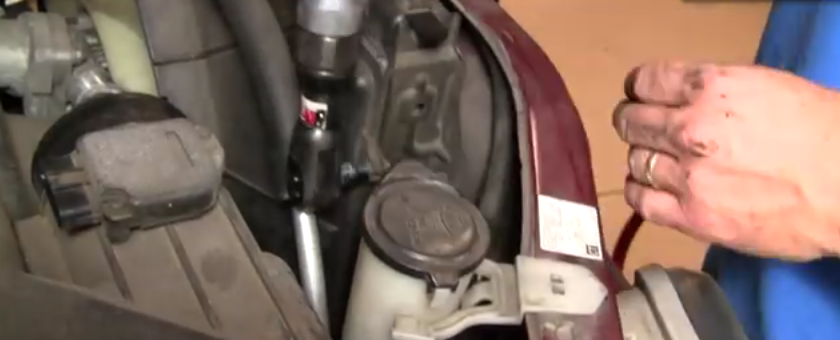
Figure 8. Disconnect fan shroud from radiator. 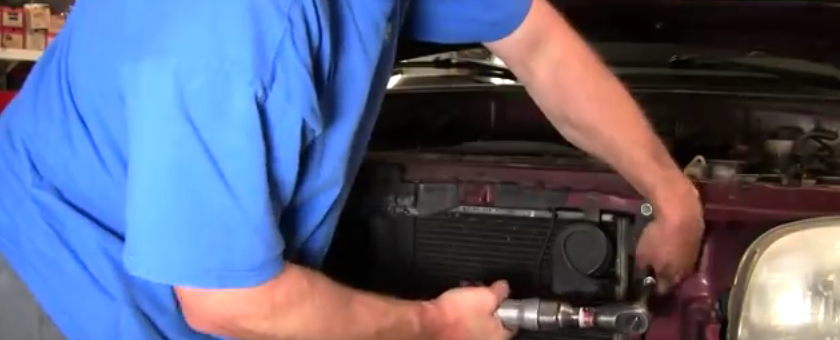
Figure 9. Remove radiator bolts.
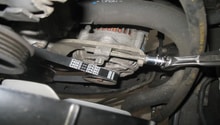
Step 4 – Remove fan
The fan is held in place by (4) nuts. Removal requires the use of (2) 12mm wrenches in order to hold the fan from spinning while loosening the first three nuts. After the first three nuts have been removed, wedge a screwdriver between the pulley and stud(s) to hold the fan in place to allow the final nut to be removed.
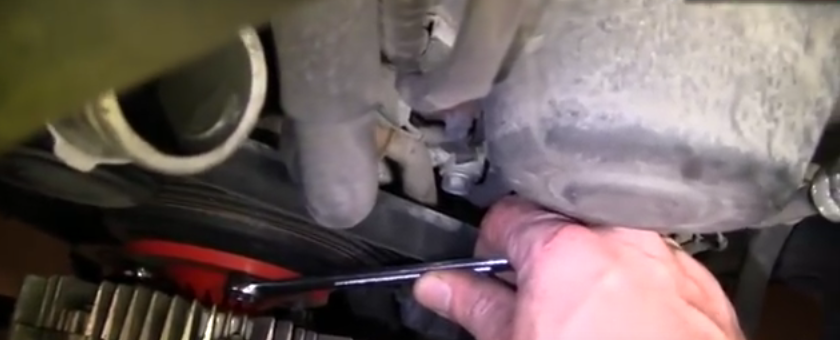
Figure 10. Remove three nuts. 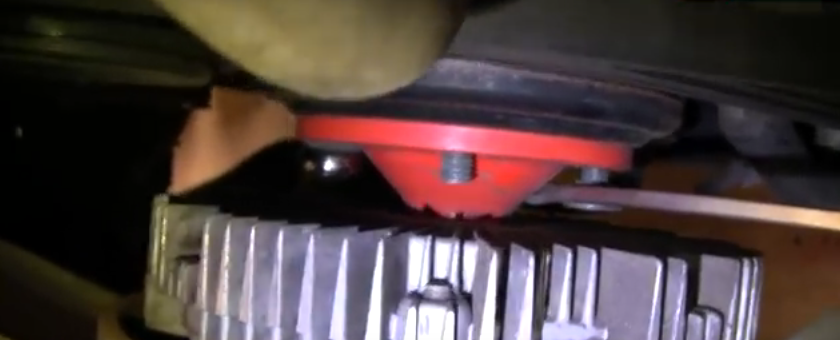
Figure 11. Hold fan pulley in place with screwdriver while removing fourth nut.
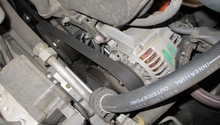
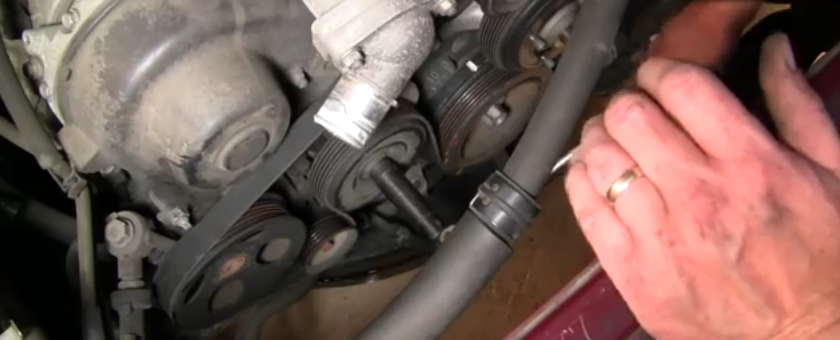
Step 5 – Remove serpentine belt
Remove the serpentine belt by turning the tensioner pulley counter-clockwise to release belt tension. With the tension relieved, slide the belt off of the tensioner pulley and carefully release the tensioner. Remove the belt from all other accessory pulleys and set the belt aside.
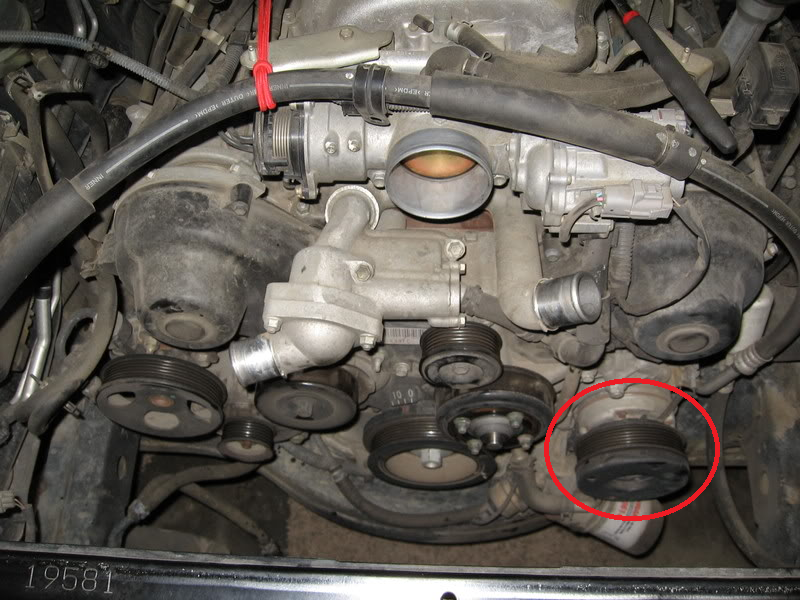
Step 6 – Remove accessories
To fully access the timing belt, the AC compressor, fan bracket, serpentine belt tensioner assembly, power steering pump, and alternator must be removed.
- Disconnect the electrical plug at the AC compressor. The compressor is supported by (3) bolts; however, on some models a small support bracket that is held in place by (2) bolts must first be removed to access the compressor bolts. Using a 12mm wrench/socket, remove the support bracket bolts and support bracket. The (3) compressor bolts are accessible from under the truck using a 14mm socket, extension, and ratchet.
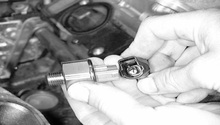
- Disconnect the crankshaft position sensor plug and slide the electrical harness from its clips.
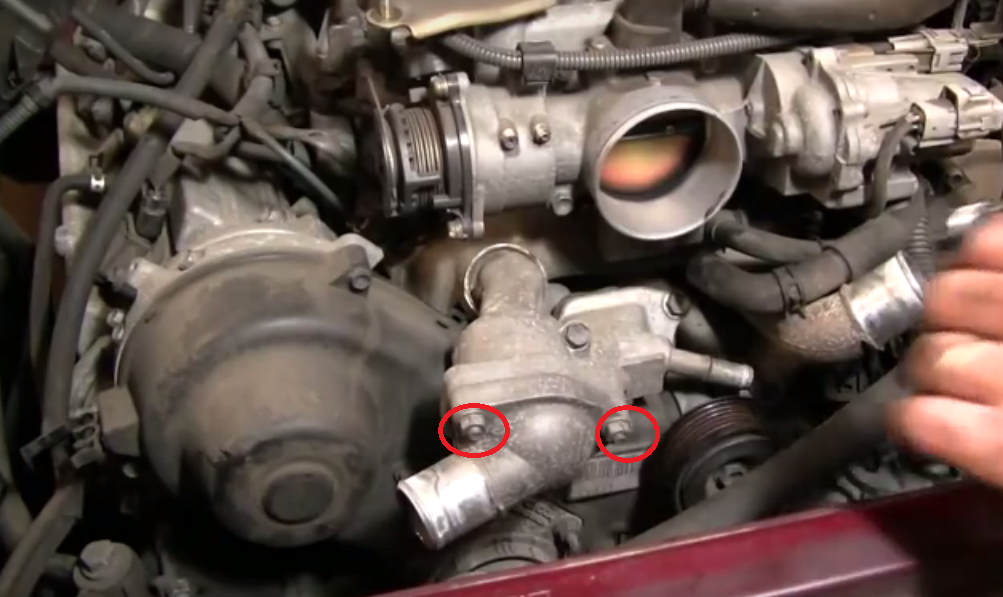
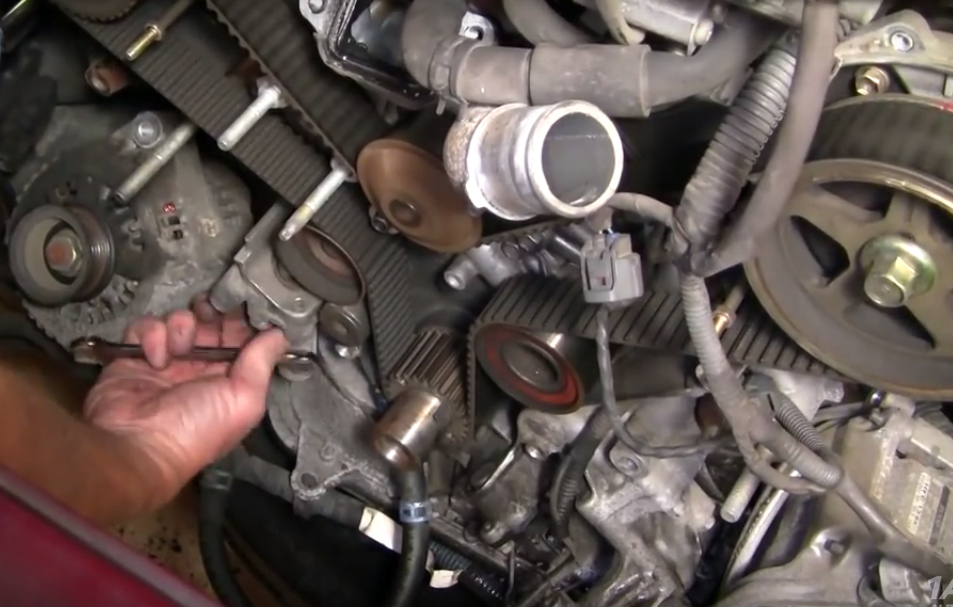
- Remove the (2) bolts securing the water inlet tube in place. Tap with a rubber mallet to free the tube.
- Remove the belt tensioner pulley.
- Remove the driver and passenger side timing belt covers. The covers use a combination of 10mm and 12mm fasteners, so note the location of each to aid in re-assembly. Be sure to slide the grommet out of the driver side cover that secures the camshaft position sensor wire in place.

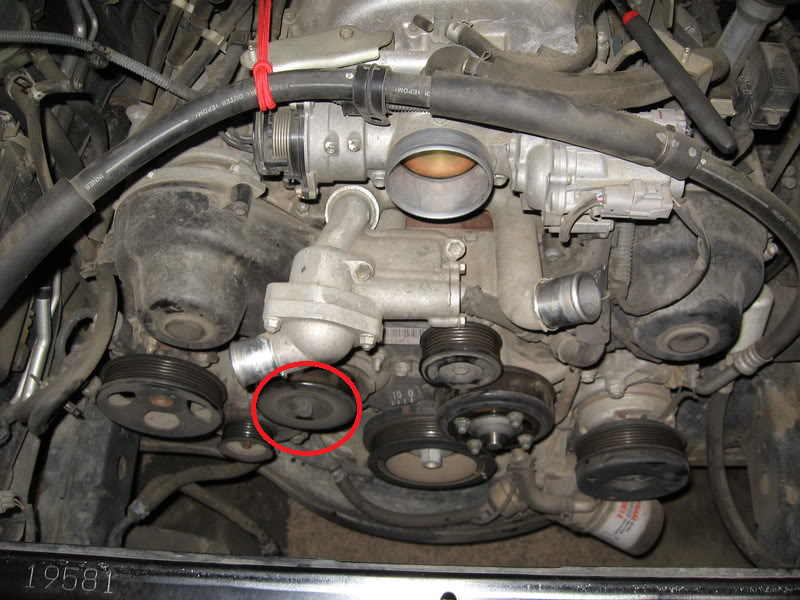
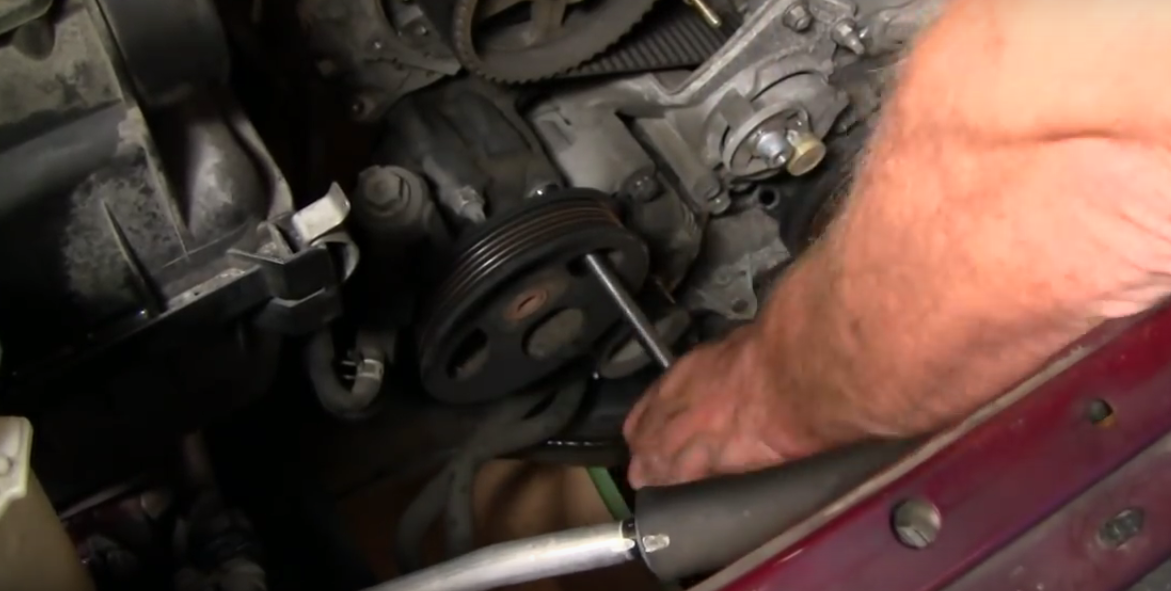
- Remove the power steering pump from the engine by accessing the bolt and (2) nuts through the holes in the PS pump pulley. Slide the pump from the stud and lay it aside in the engine bay.
- Remove the (2) alternator fasteners using a 14mm wrench/socket and lay the alternator aside.

- Remove the (3) serpentine belt tensioner bracket nuts and slide the tensioner off of the studs and out of the engine bay.

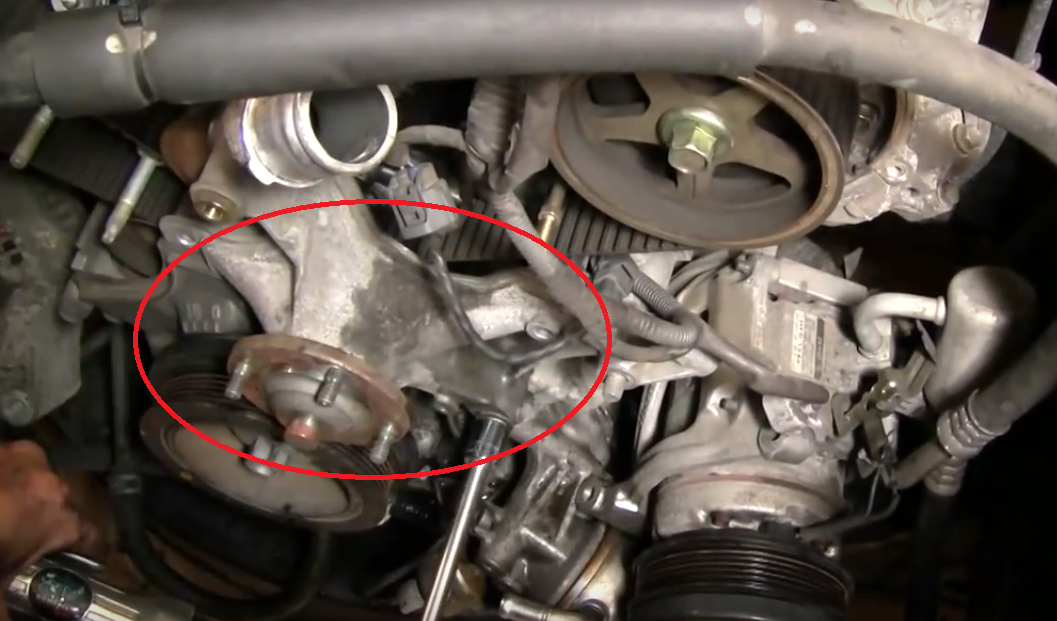
- Remove the fan pulley bracket assembly by removing the (2) 12mm fasteners and (2) 14mm fasteners. Set pulley assembly aside.
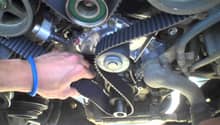
Step 7 – Time engine and remove timing belt
Before removing the timing belt, the engine must be rotated to ensure the crankshaft and camshafts are properly positioned.
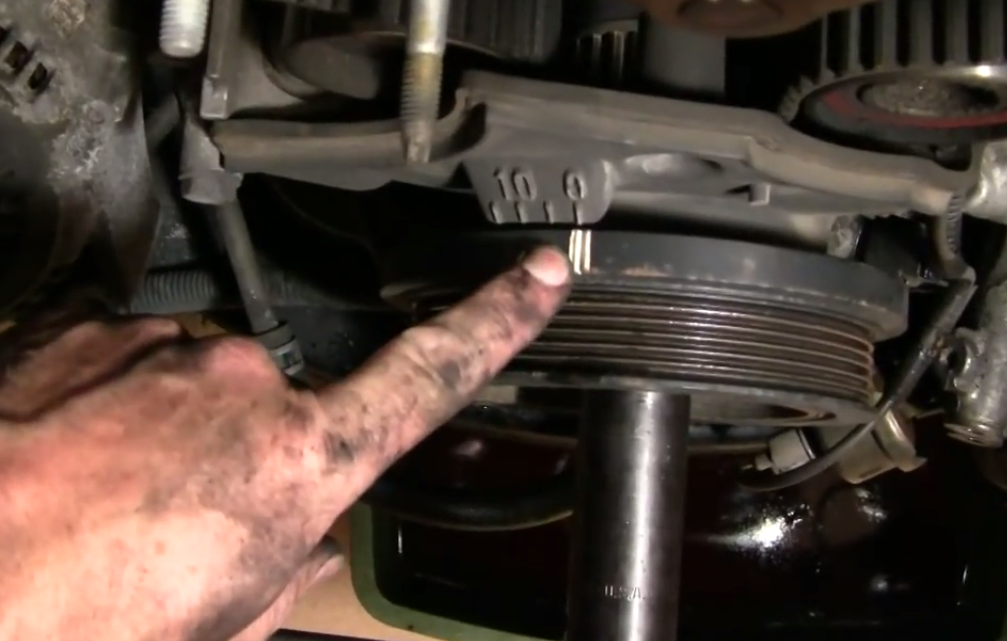
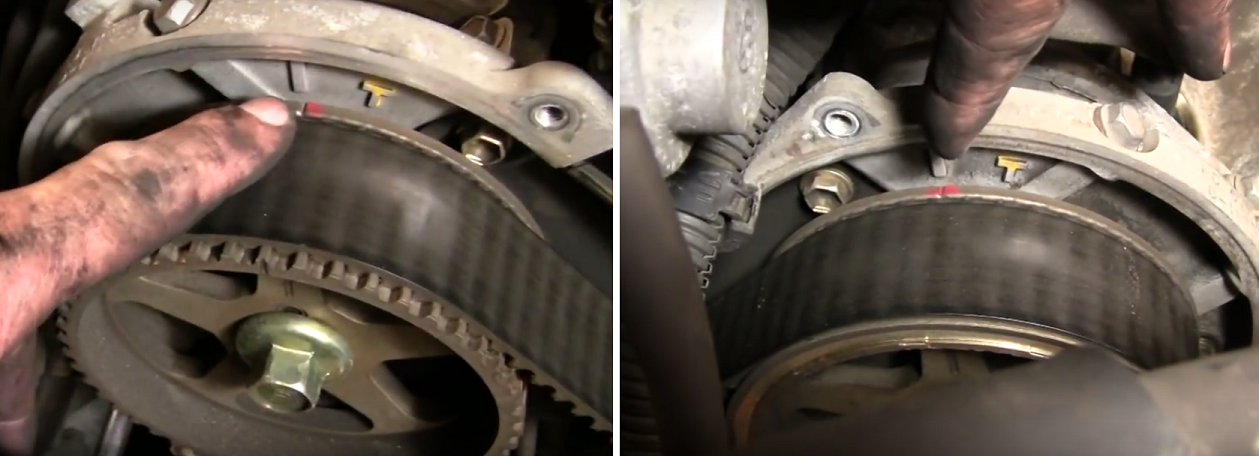
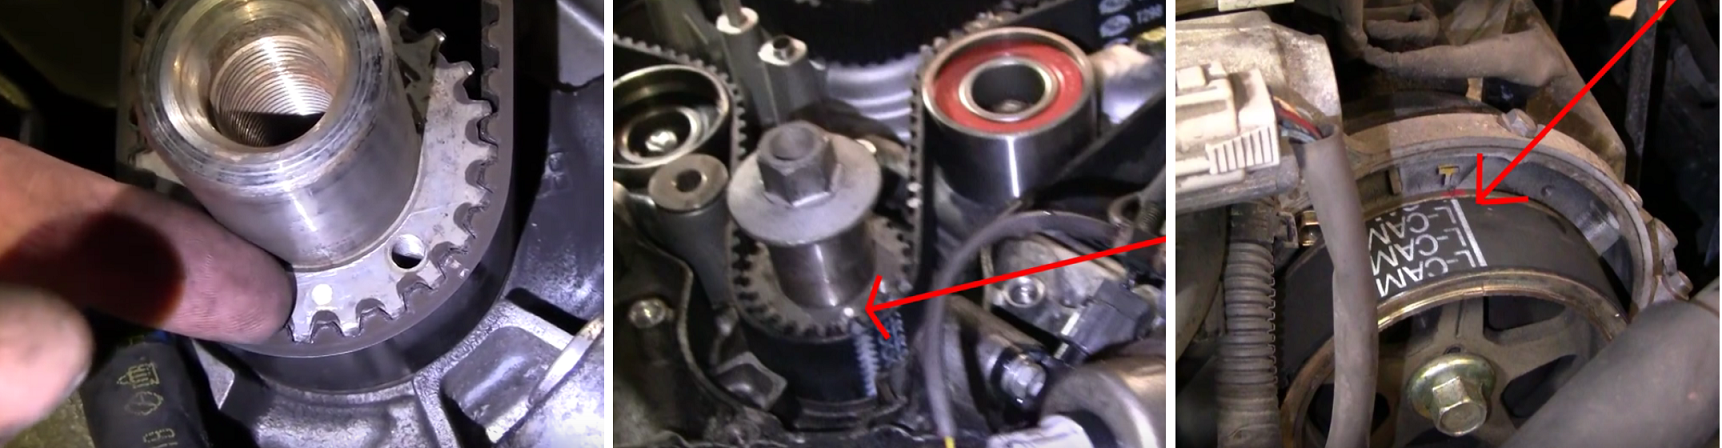
- Using a 12mm socket and breaker bar/ratchet, rotate the engine until the crankshaft timing mark aligns with the "0" timing mark on the crank shield.
- Additionally, the timing notch on each camshaft sprocket must align with their corresponding timing marks on the camshaft housings, as shown.
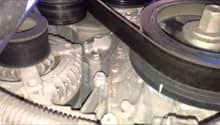
- With the crankshaft and camshafts aligned, remove the crankshaft pulley bolt using a 22mm socket and impact gun.
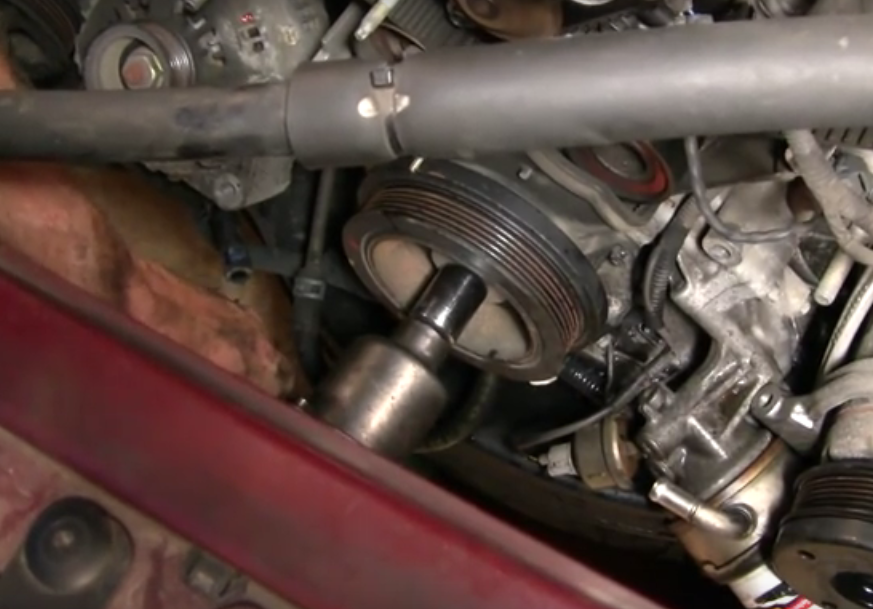
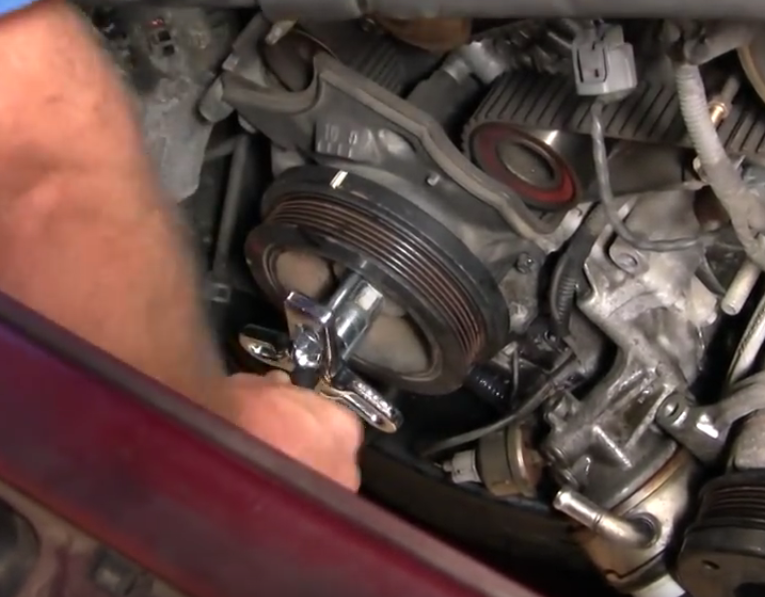
- Remove the harmonic balancer (vibration dampener) using a harmonic balancer puller. Set pulley/balancer aside.
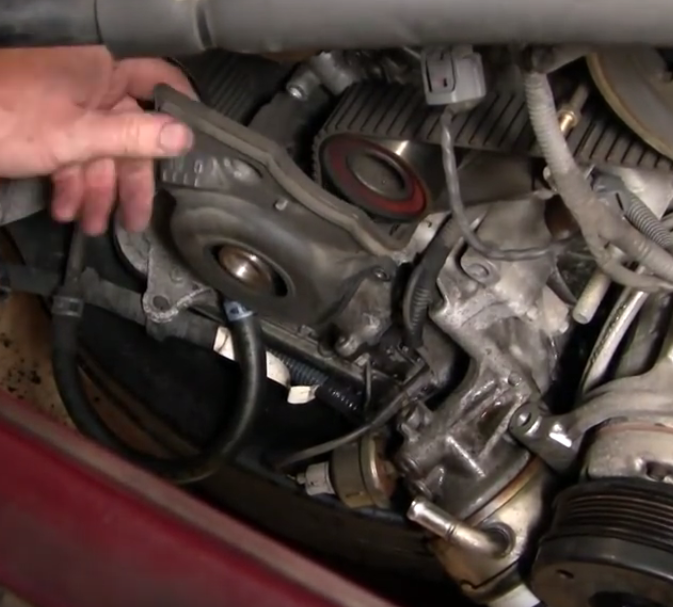
- Using a 10mm socket, remove the (4) crank shield bolts and set the shield aside. Be sure to collect the crank sensor ring from behind the shield.
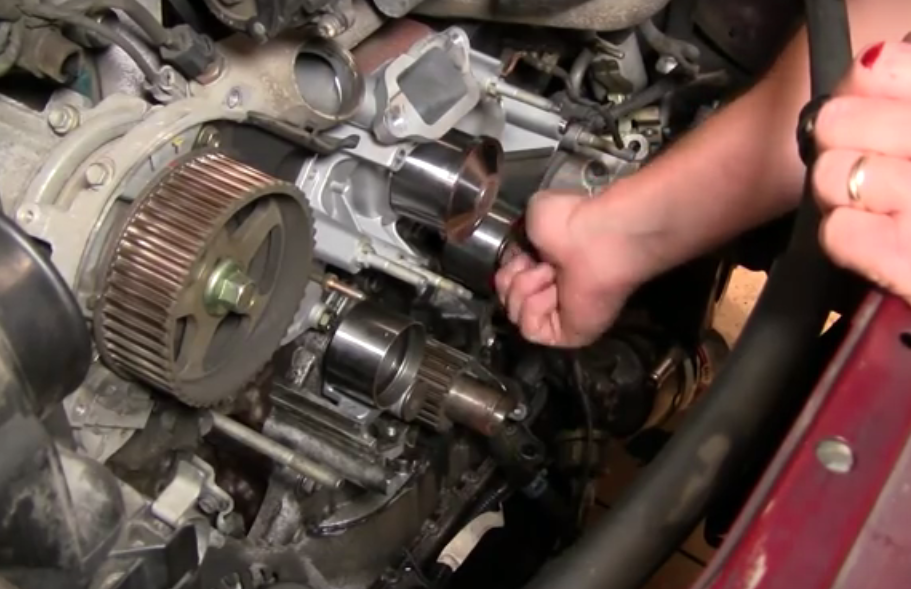
- Release the timing belt tension by removing the (2) tensioner mechanism bolts using a 12mm wrench. With tension relieved, the timing belt can be removed from the engine.
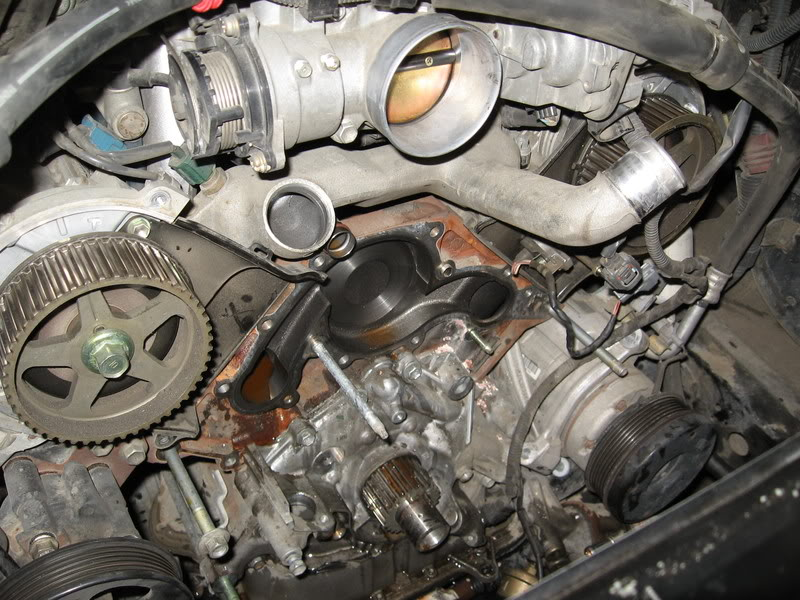
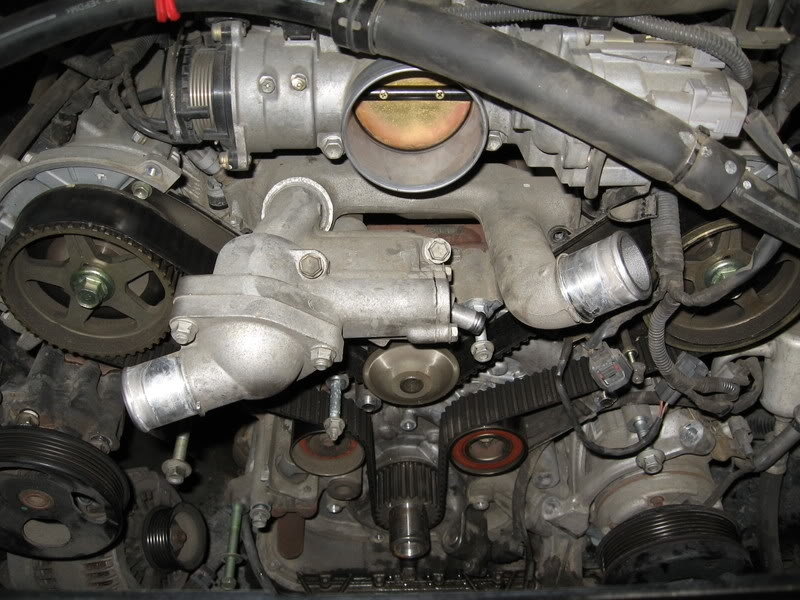
Step 8 – Replace water pump
While not necessary, it is highly recommended that the water pump be replaced whenever doing timing belt service, as this is the only time the water pump is accessible.
- Remove the idler pulley and tensioner pulley. They are each held in place with (1) bolt. Additionally, if your timing belt kit comes with a new tensioner assembly, the entire assembly can be removed using a 3/8" hex (Allen) wrench.
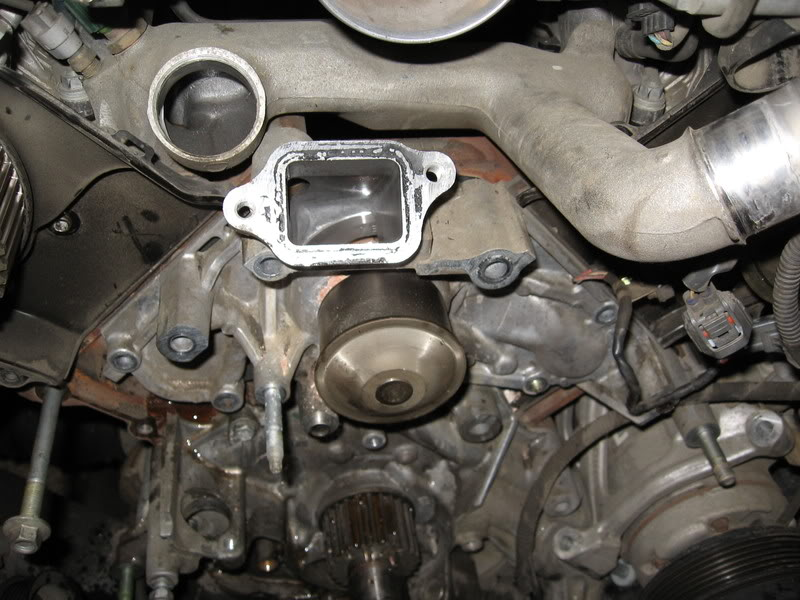
- Remove the (2) studs as well as the (5) water pump bolts and remove the water pump from the engine.
- Remove water pump gasket and clean mating surface of all gasket material.
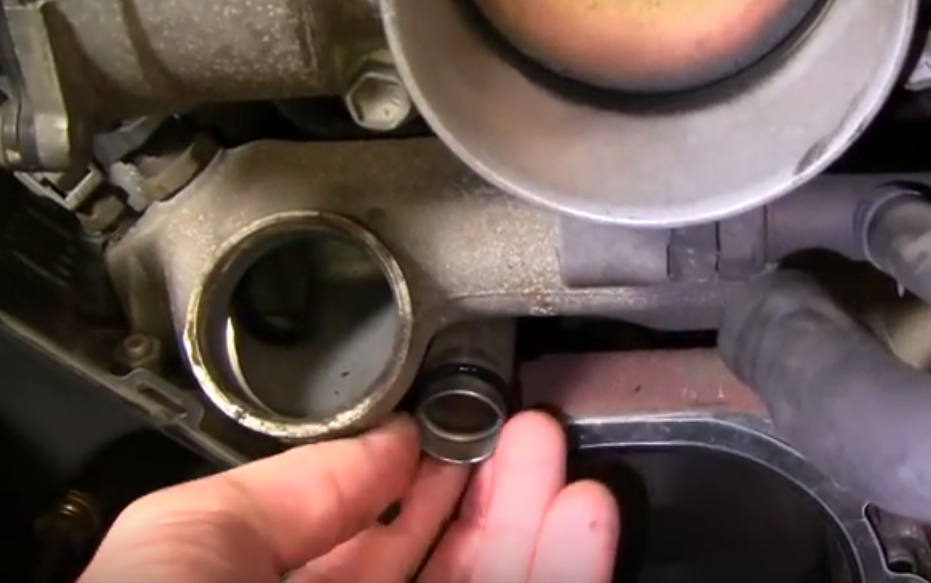
- With the mating surface clean, install the new water pipe O-ring and water pump gasket without any silicone or lubricant. Install the new water pump onto the locating studs. Tighten all water pump fasteners evenly to 17 ft/lbs.
Step 9 – Install new timing belt
- Install the tensioner assembly as well as the new timing belt tensioner pulley and idler pulley.
- Install the new timing belt. Aligning the timing marks on the timing belt with their corresponding marks on the crank and camshaft sprockets.
- Compress the tensioner mechanism using a bench vise or similar. Once compressed, a small screwdriver, nail, or screw can be placed in the hole to act as a stop and maintain compression. Install the mechanism to the tensioner assembly and remove stop to allow the tensioner mechanism to apply pressure and tension the timing belt.
- Check to ensure all the timing marks are properly aligned before proceeding with reassembly.
Step 10 – Reassembly
Installation is the reverse of removal.
- Install the crank sensor ring and crank shield.
- Install the harmonic balancer and crankshaft pulley.
- Install the fan pulley bracket assembly.
- Install serpentine belt tensioner bracket.
- Install timing belt covers, making sure the camshaft position sensor wiring is in place.
- Install alternator, power steering pump, AC compressor, and serpentine belt idler pulley.
- Install water inlet tube using a new gasket.
- Re-connect the crankshaft position sensor wiring and ensure harness is properly routed.
- Install the serpentine belt.
- Install the engine fan assembly.
- Install radiator, radiator shrouds, and coolant hoses.
- Refill radiator with coolant.
- Install intake tube, engine cover, and skid plate.
- Re-connect battery and start engine. Top off cooling system as necessary.
Featured Video: Timing Belt and Water Pump Replacement
Related Discussions
- Timing Belt/Water Pump Replacement - YotaTech.com
- Timing Belt - YotaTech.com
- Timing Belt/Timing Chain - YotaTech.com