Toyota Tundra: How to Replace Starter
Replacing your starter might seem like a daunting task at first, but this how-to will show you what you need to do.
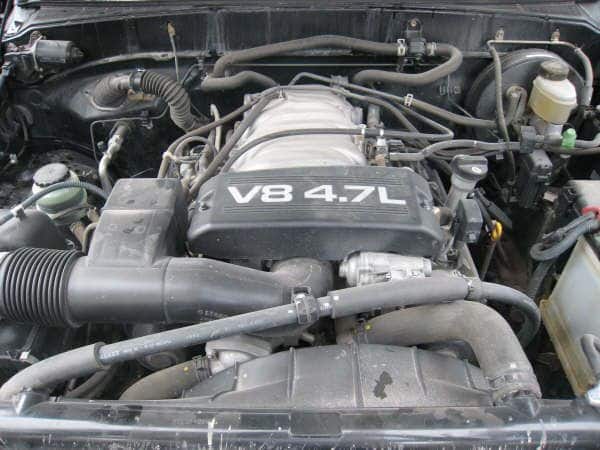
This article applies to the Toyota Tundra (2000-Present).
If you're reading this, you probably need to replace your starter and don't even know where to look. That's because Toyota has gone and hid the starter on the Tundra. They hid it right in the back of your engine. That makes the starter one of the hardest and most expensive parts to replace. But it's still doable, and you can save a lot of money on the repair bills by working on it yourself. Keep reading to find out more.

Materials Needed
- Replacement starter
- Ratchet with socket set and extensions
- Torque wrench
- Needle nose pliers
- Marker
- Rags or cloth
- Vacuum hose plugs
- Shop vac
- A friend
The real trick is remembering how things go together after you take them apart. You should either label or photograph any tube or cables you remove, so you remember where they connect. It's also a good idea to put back any loose nuts or bolts after you've removed the part, so you don't lose them.
Step 1 – Remove the throttle body cover
Start by disconnecting the negative (black) terminal in your battery. Then locate the two nuts on either side of the throttle body cover on the front of your engine. Remove the nuts and lift the cover. Set it aside.
Step 2 – Remove the air intake
Unplug the electrical connector at the top of the air intake and unclip the power cable. Pull out the vacuum hoses connected to the air intake. Loosen the bolted clamp on the main intake hose, then pull it away from the throttle body. Then remove the bolts on top of the air intake. Unclip the four clips around the air filter lid. Then lift the entire air intake hose assembly and set it aside.
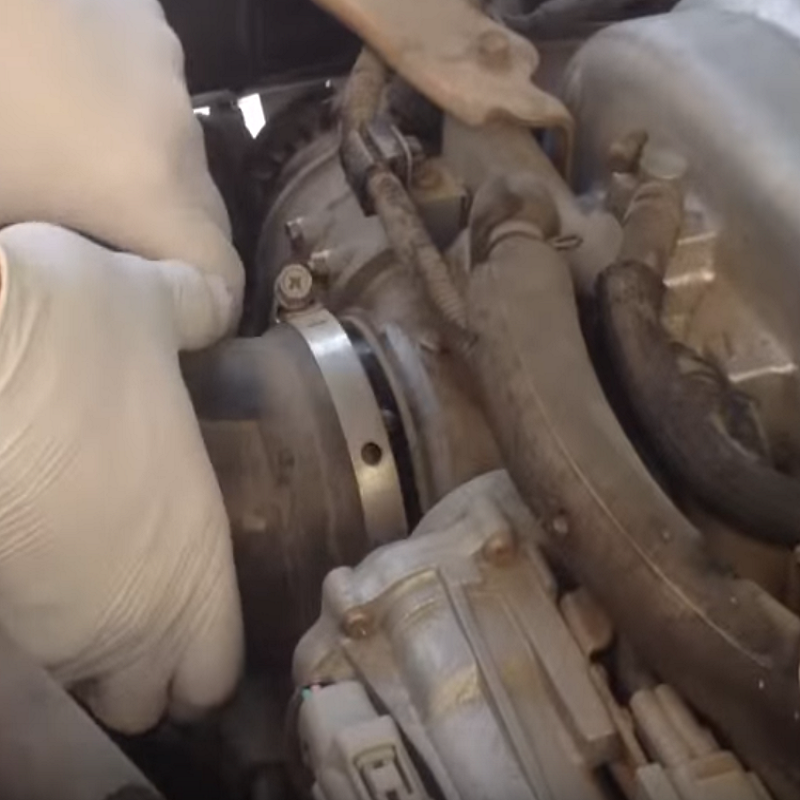
Figure 2. Disconnect the main air intake hose. 
Figure 3. Unplug the vacuum hoses on the air intake. 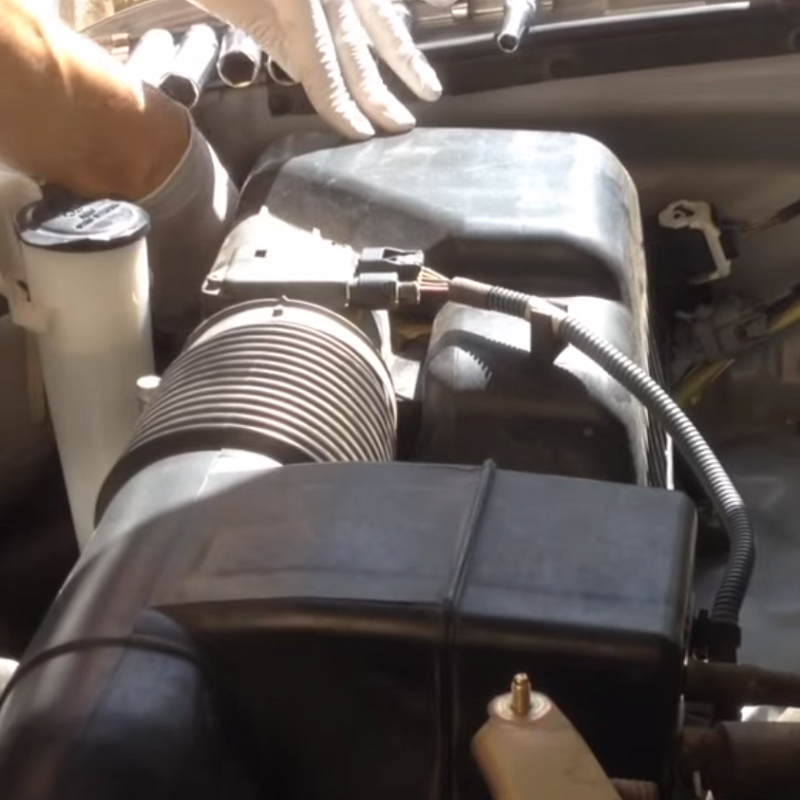
Figure 4. Unclip and remove the air filter lid.
Step 3 – Remove cables and hoses
Pull out and label all the vacuum hoses connected to the upper part of the intake manifold. Unbolt the cable brackets along the top of the intake manifold. Be careful working around the fuel rails, those are the thick pipes that run along the sides of the engine. Don't forget to unplug the electrical connector from the cable along the top of the manifold.
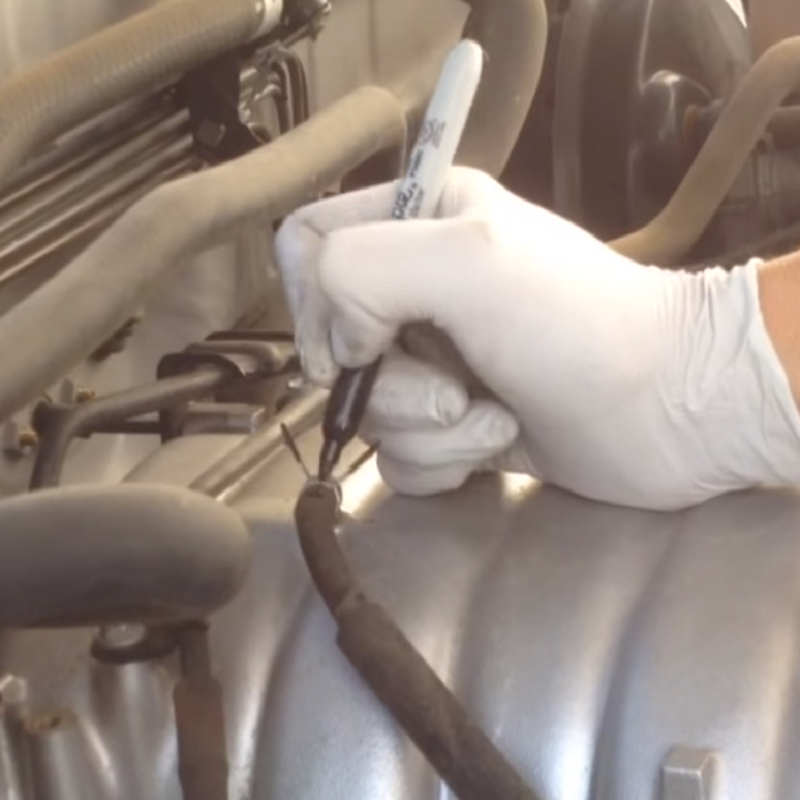
Figure 5. Label the vacuum hoses before disconnecting them. 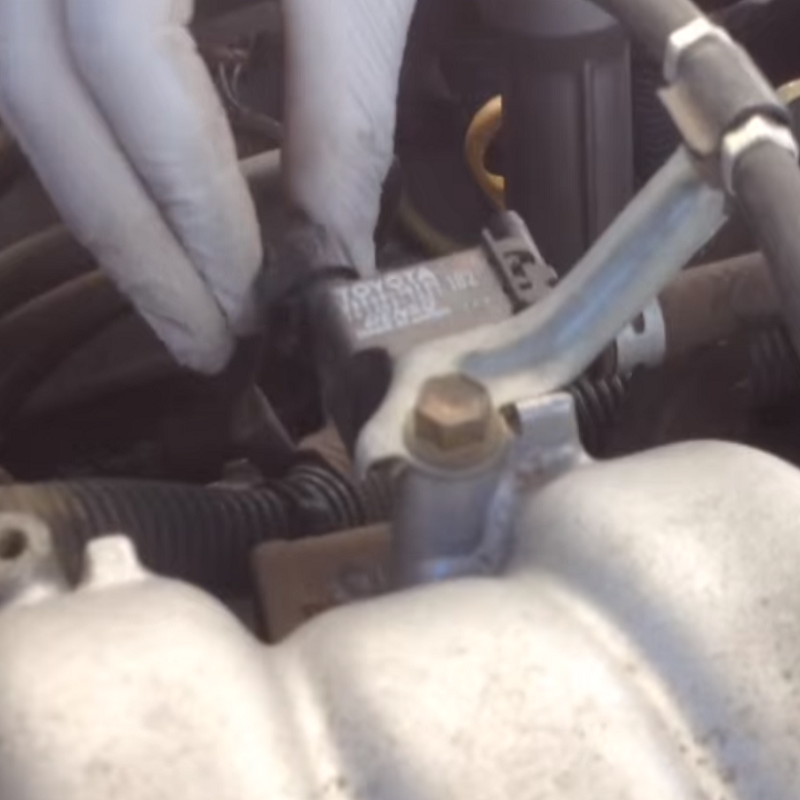
Figure 6. Unplug the electrical connector.
Now we need to unplug the fuel injectors. These are the blue electrical connectors. Push in the tab on the bottom to release the connectors. They can be difficult to unplug. Use your pliers if you need to, but be careful not to break them.
Step 4 – Remove the throttle body
Now go to the cable that connects to the throttle body on the passenger's side. Loosen the nut, then slide it off the bracket. Disconnect the coolant hoses. Be ready with your rags to clean up any coolant spills when you do this, and be quick to plug them after they're disconnected. There are four bolts on the throttle body you need to remove: two on top and two on bottom. Pull the throttle body away from the intake manifold, then set it aside somewhere safe and clean.

Figure 8. Loosen the nut to remove the throttle cable from the bracket. 
Figure 9. Pull out and plug the coolant hoses on the throttle body.
Pro Tip
You can remove the intake manifold with the throttle body still attached, just remember to disconnect the coolant hoses and throttle cable. But it will make things easier to have it removed.
Step 5 – Disconnect the fuel line
On the back of the engine on the driver's side is the fuel return line. Pull out the line and plug it. Be ready for fuel to spill out if there's still pressure in the line. Now follow the driver's side fuel rail to the fuel intake line at the end. Unscrew the fuel line connector. Fuel will start to drip out so cover it with a plug. It's important to keep the fuel lines plugged so that dirt or air doesn't get into the lines.
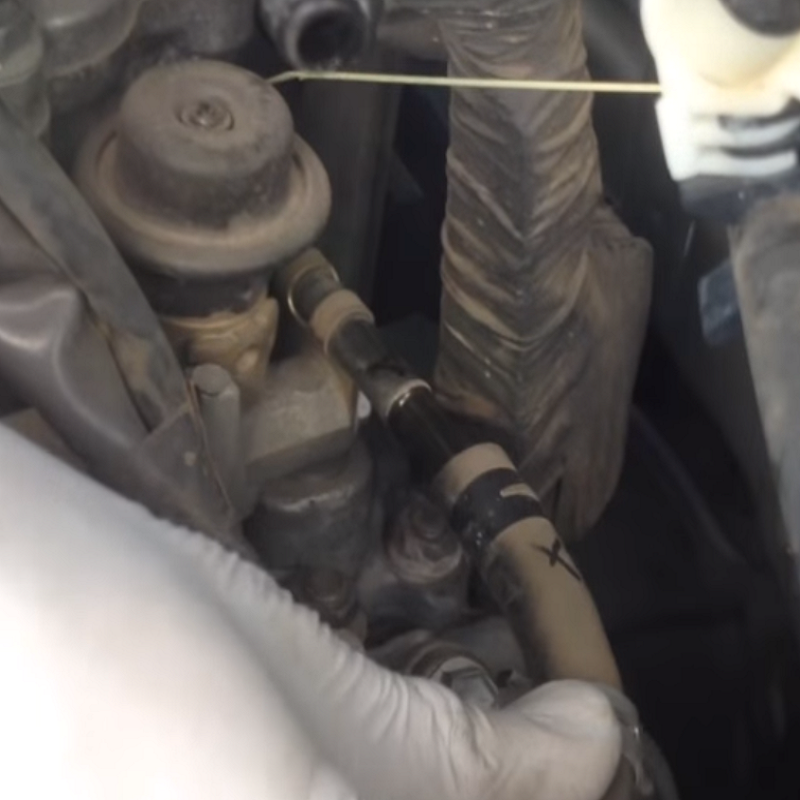
Figure 10. Disconnect the return fuel line. 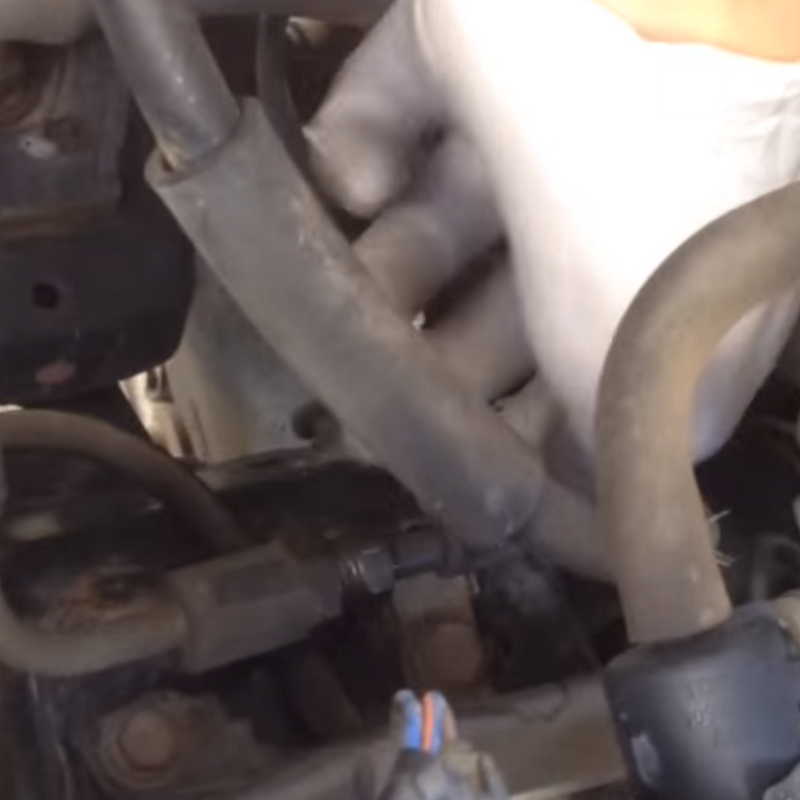
Figure 11. Disconnect and plug the intake fuel line.
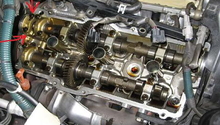
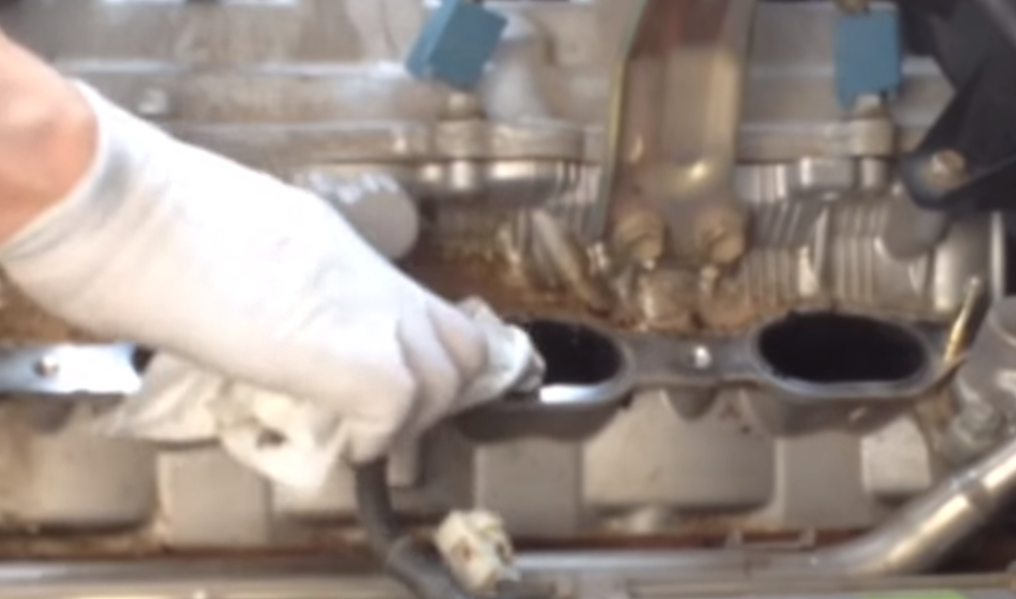
Step 6 – Remove the intake manifold
There will be six bolts and four nuts all along the bottom of the intake manifold spread out between where the blue connectors were. Remove all of these and you'll be able to lift the intake manifold. Before you do that however, double check to make sure there's nothing connected to it. Get a friend to help you lift it because it's fairly bulky. Then set it aside on a safe and clean surface.

Figure 12. Remove the bolts along the bottom of the intake manifold. 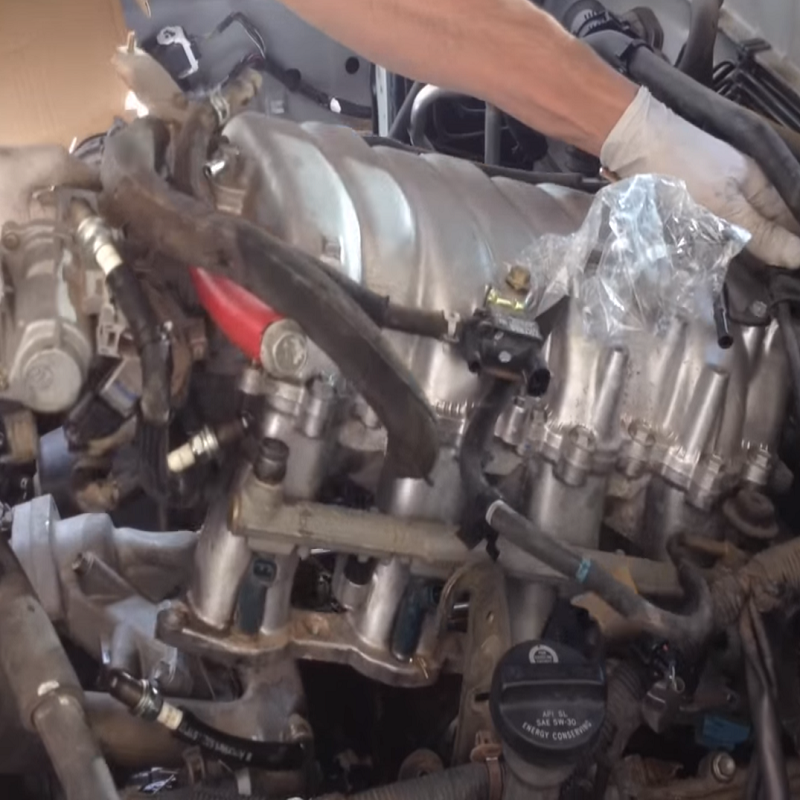
Figure 13. Carefully remove the intake manifold.
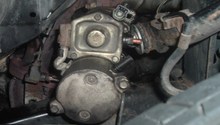
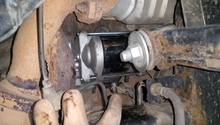
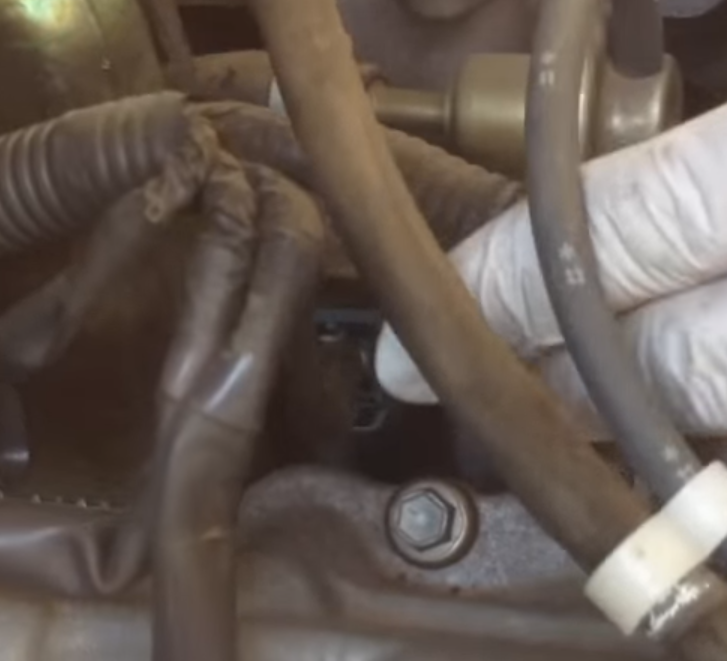
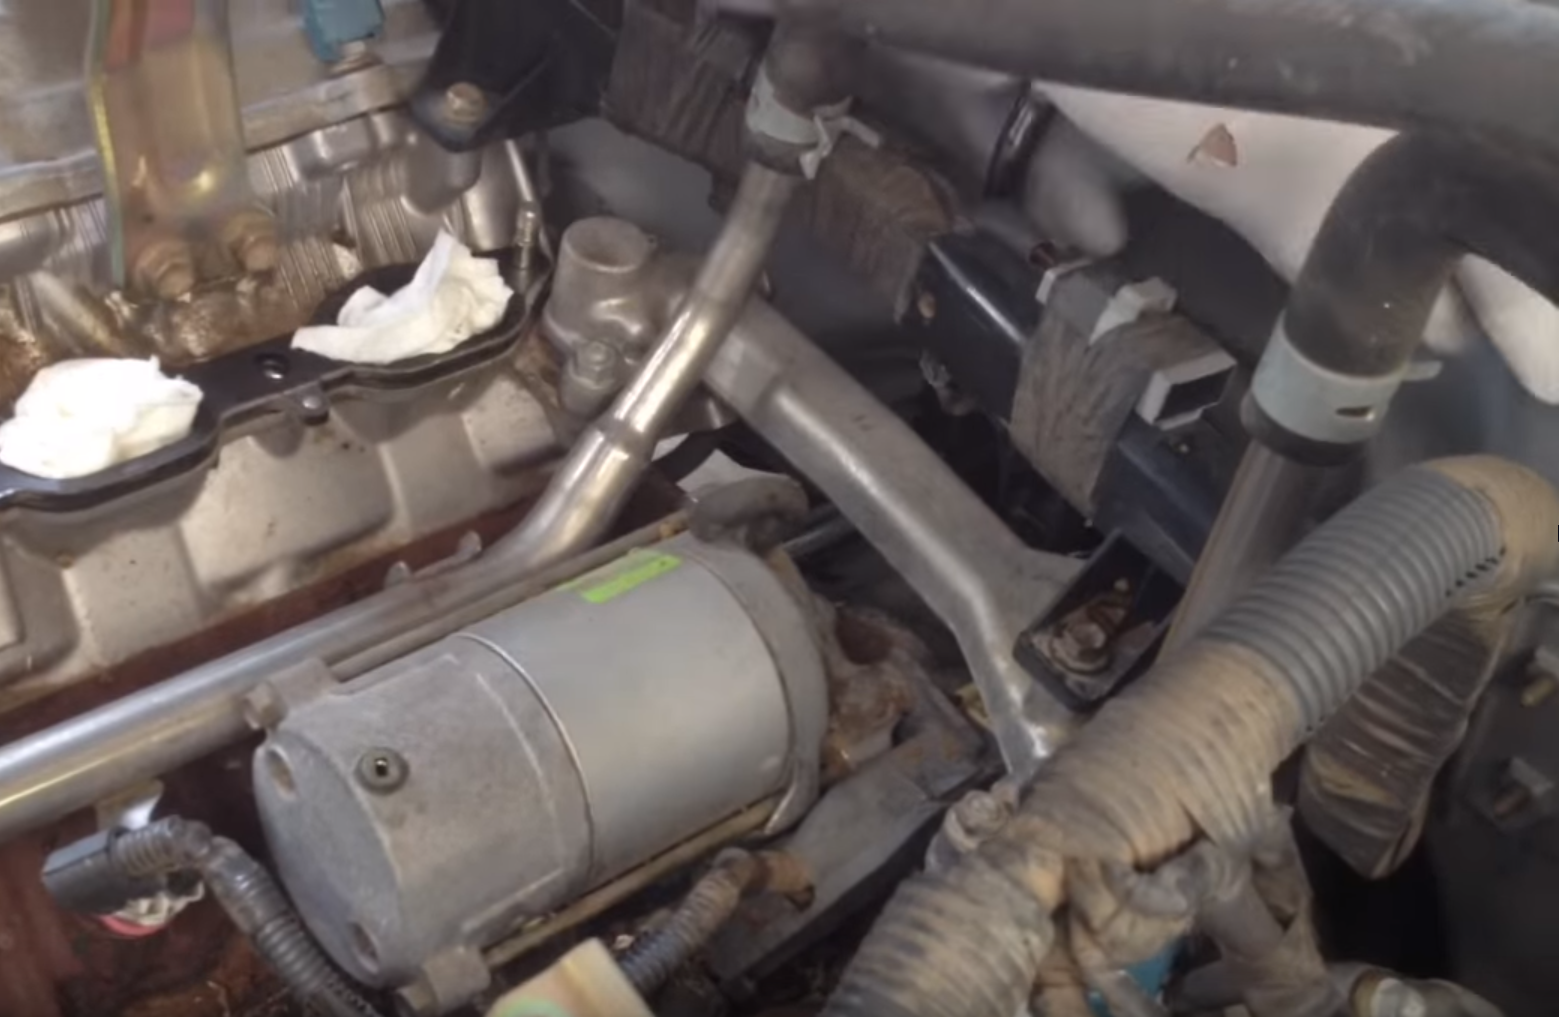
Step 7 – Remove the starter
Like a pearl in an oyster, there is the starter sitting in the back of the engine. Before you do anything, insert rags into the intake holes because if something falls down there, you're not getting it back.

This tends to be the part where people have the most trouble. This is because there are three bolts on the back of the starter that can only be reached by a socket extension through the back of the engine. One bolt is in the center. It holds the battery cable to the starter. The other two bolts are on the sides. They mount the starter to the engine.
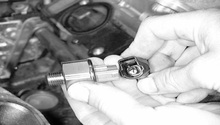
Once all three bolts are removed, it should be a little bit easier to shift the starter ,which you'll need to do to disconnect the wiring harness. On the side of the starter you should see a grey cap. Open the cap and remove the nut inside to disconnect the wiring harness. Now carefully lift the starter and set it aside.
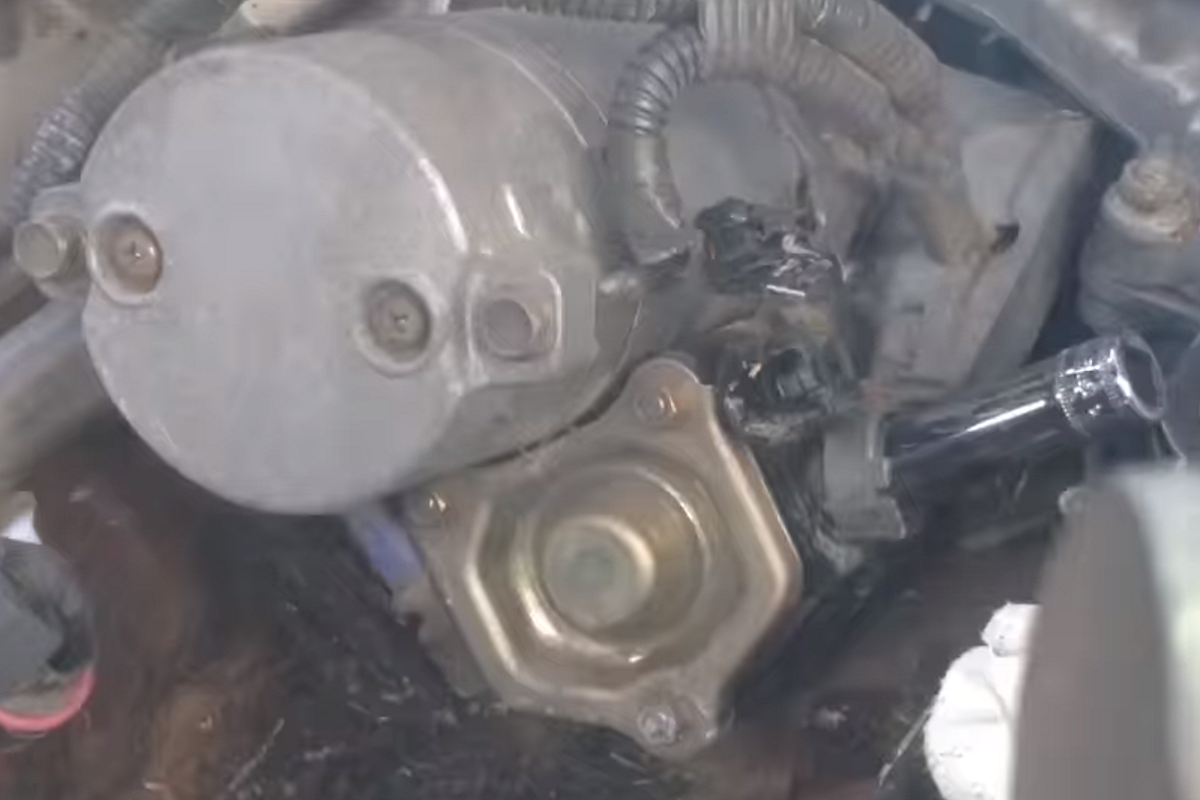
Figure 16. Remove the nut in the grey cap to disconnect the wiring harness. 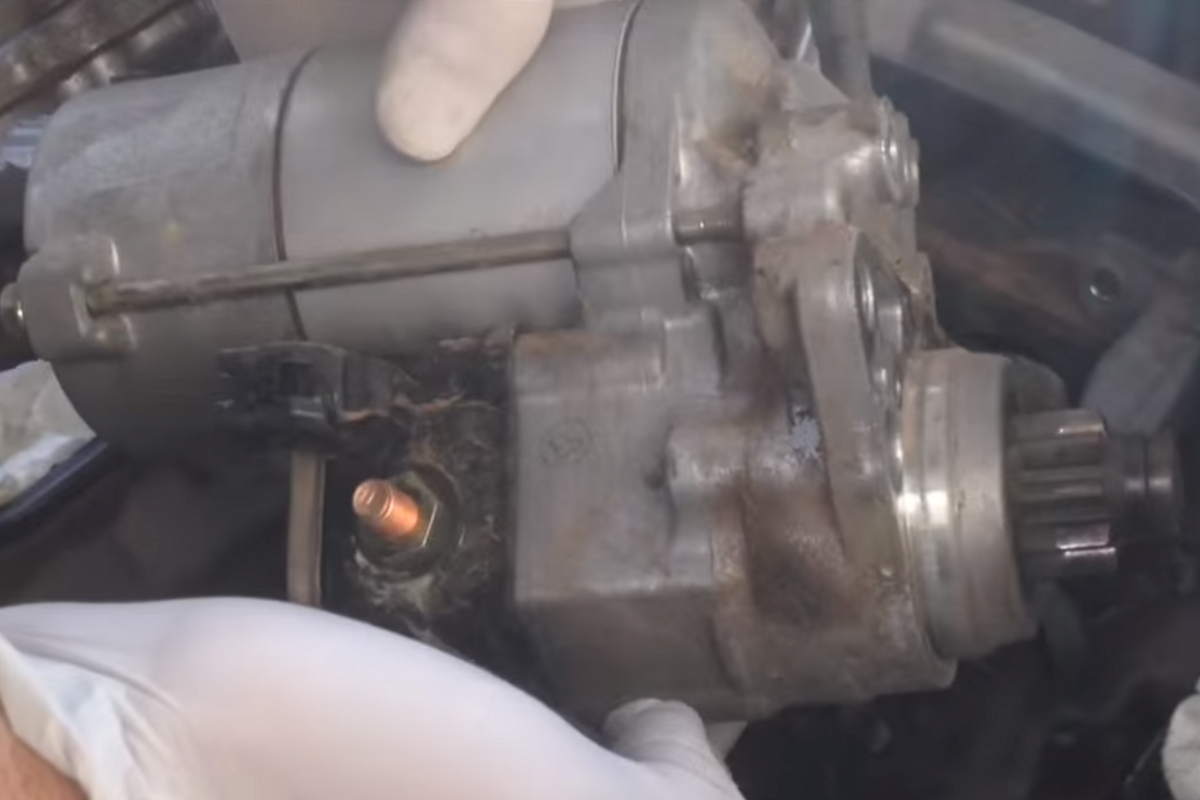
Figure 17. Remove the starter.
Step 8 – Install new starter
You probably have a lot of dirt and debris in the cavity where the starter sits. Go ahead and vacuum all the junk up before installing the new starter. It's also not a bad idea to clean the gaskets on the intake manifold. To install the new starter, you'll have to carefully reverse the previous steps. So set it down in the engine. Tighten the nut as well as bolts, then reconnect the wiring harness and the battery cable.
The two back starter mounting bolts need to be torqued to 29 ft/lbs. This is important because you don't want your new starter to be rattling in your engine. Before you put everything back together, take a moment to reconnect the battery and try the ignition. Your starter should hopefully run. If it doesn't start, well at least you won't have to take everything apart again. Just remember to disconnect the battery after testing the starter.
When you put the intake manifold back on, torque the bottom mounting nuts as well as bolts to 13 ft/lbs and tighten them in a zig zag pattern so the manifold remains even.
When you've finished putting everything back together, double check all your vacuum hoses to make sure they're connected to where they should be connected. Then try starting the engine. It may struggle at first because of the lost fuel pressure, but it should start properly after that.
Featured Video: Tundra 4.7L V8 Starter Replacement
Related Discussions and Site
- 2000 Tundra Starter or Battery - YotaTech.com
- 4.7 starter Won't Disengage - YotaTech.com
- 4.7 litre Tundra Starter - YotaTech.com
- How to Replace a Toyota Tundra Starter - SomeGuyinNevada.com