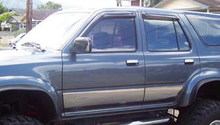
Toyota Tundra: How to Replace Power Window Motor
The power window motor is what makes your window move up and down. Here's how you replace one that's no longer working.
This article applies to the Toyota Tundra (2000-Present).
Power windows are one of the greatest features ever invented for the modern vehicle. They are a huge convenience, that is until the day comes when they stop working. If you've already gone through all the troubleshooting beforehand and have concluded that your motor has failed, then this is the article for you. If not, I would suggest you go back and check the power window relay first, then check the contacts on the window switches.

Materials Needed
- Replacement power window motor
- Flat head screwdriver
- Phillips screwdriver
- T25 Torx screwdriver
- Ratchet with socket set
- Needle nose pliers
- Pry tool
- Masking tape
Step 1 – Remove door panel
Start by prying off the trim piece in the top corner of the door. For some models there will be a small speaker inside it. Just unplug the speaker and then set it aside. Next, pry off the power window switches and unplug the electrical connector. In the lower corner you'll either have a courtesy light or a blank panel. Pry this piece loose, and unplug it.
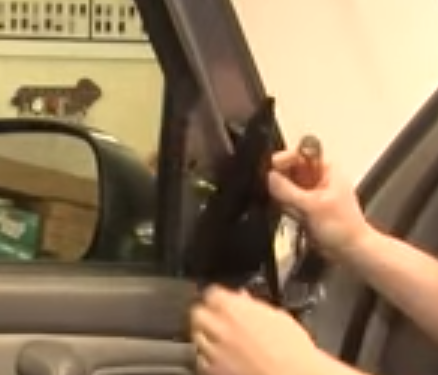
Figure 1. Remove corner trim piece. 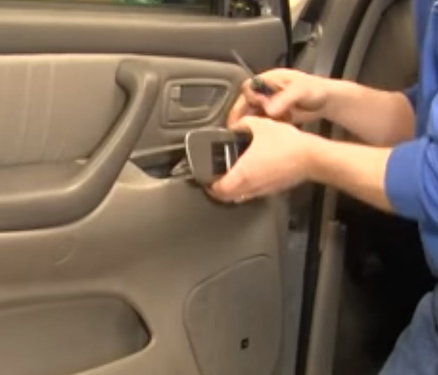
Figure 2. Remove power window switches. 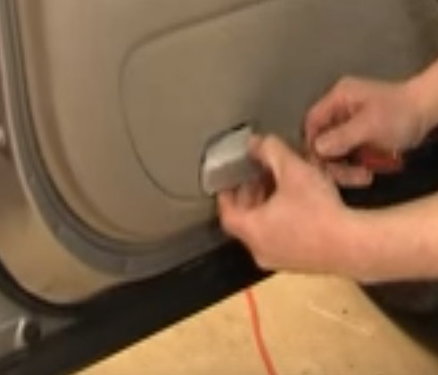
Figure 3. Remove the courtesy light.
There will be a couple of cover caps: one behind the door handle, and one across from the door handle near the edge of the door panel. Pry these off and remove the Phillips screws behind them. Remove a third screw below the arm rest. Now pry off the bezel that goes around the door handle and the lock switch.

On the outer edge of the door panel there will be a pair of clips that you can remove if you push in the center of the clips. The door panel is fastened by a series of clips on the inside that need to be pried loose. Use a pry tool and work along the edge of the door panel until all the clips come loose. Lift the door panel and set it aside. Take any loose clips and reattach them to the door panel.
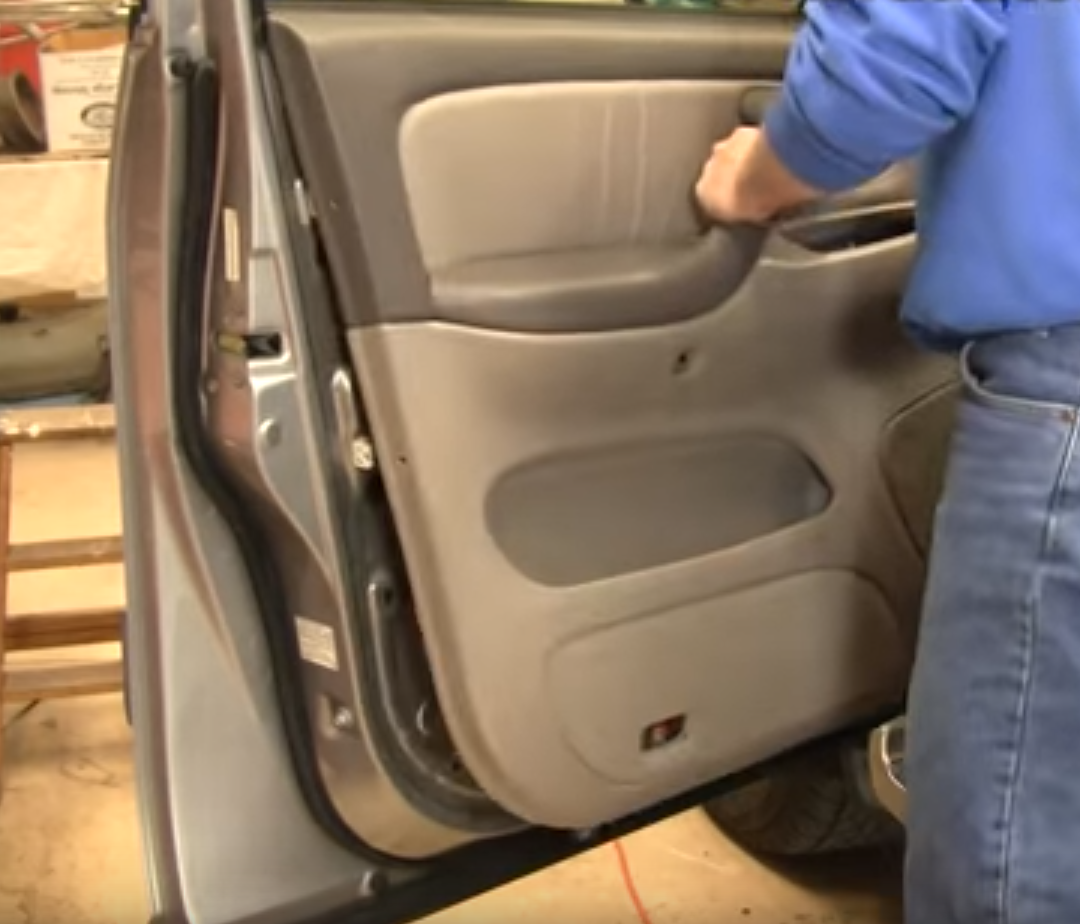
Step 2 – Remove power window regulator
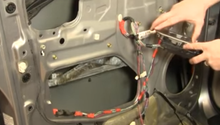
You should now see a plastic cover. Go ahead and carefully pull it down. You'll have to move some wiring out through the cover so they don't get in the way. Don't remove the plastic cover completely, just pull it down enough so you can access the openings at the bottom of the door.
Next, you'll need to remove the door speaker. Remove the three screws around the speaker and then pull it out. Disconnect the speaker plug and set it aside.
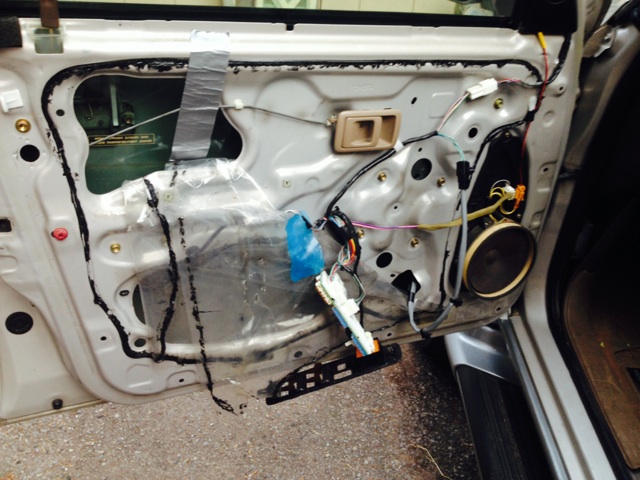
Look for the white electrical plug and disconnect it. Now look at the center of the door where the power window regulator is. There are two bolts that hold the rails, and three more next to them that hold the motor. Remove all but one of these bolts. Now either hold onto the window or have someone else hold onto it as you loosen the last bolt. Be prepared, as the whole assembly will drop. Carefully lower the window so it sits on top of the assembly.
You should now see the two bolts that hold the window to the rails. Remove these bolts, then carefully lift the window so that it sits in the up position. Put masking tape over both sides of the window to hold it up as you remove the power window regulator. Collapse the rails together, then slide it so that you can pull it out the larger of the two bottom openings.
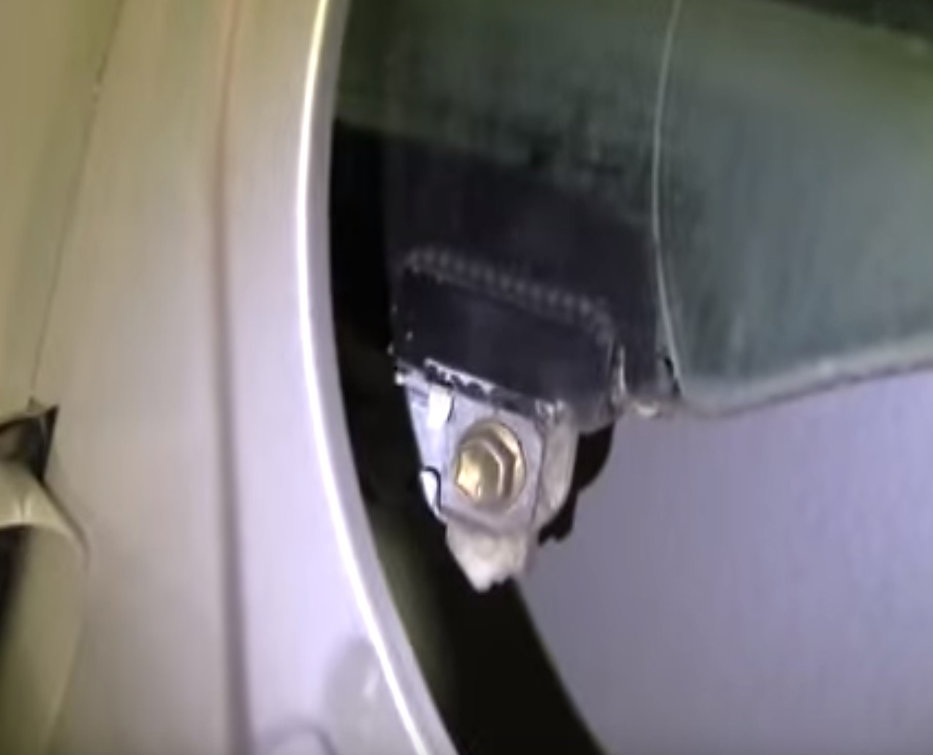
Figure 7. Unbolt the window from the regulator rails. 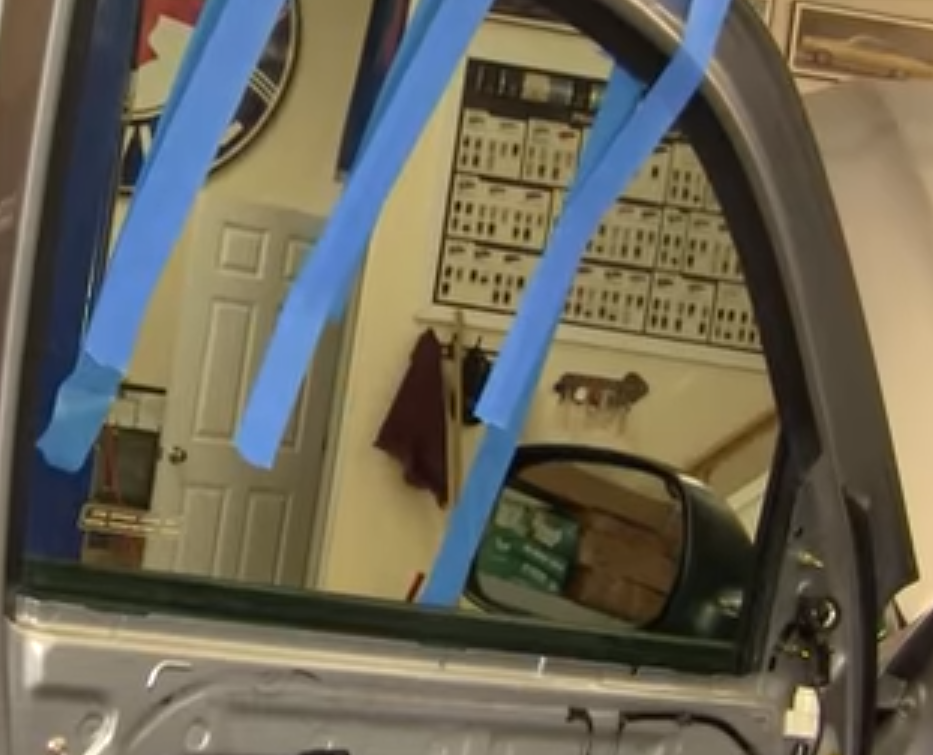
Figure 8. Tape up your window to keep it from falling. 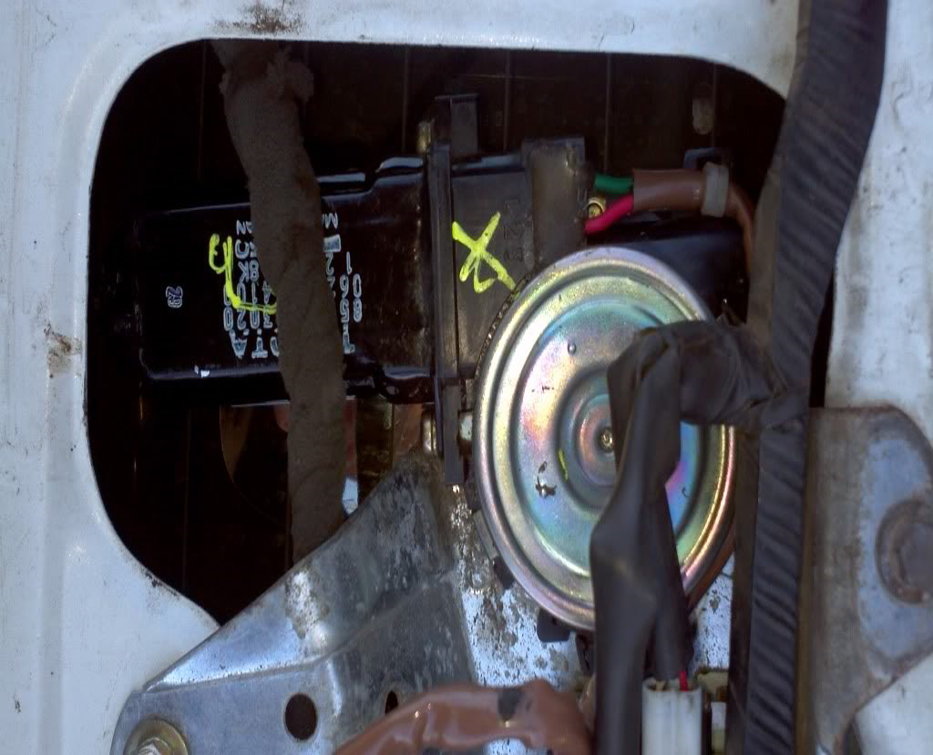
Figure 9. Pull the power window regulator out of the lower opening.
Step 3 – Remove motor from power window regulator
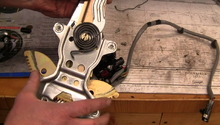
In the center of the back of the regulator assembly you'll see a large circular spring. Use your pliers to carefully pull this spring up and out so it comes loose. Be careful, as there will be a lot of tension on the spring. Now, on the back of the motor, you should see three smaller Torx screws. Remove these screws and the whole motor should come loose from the assembly.
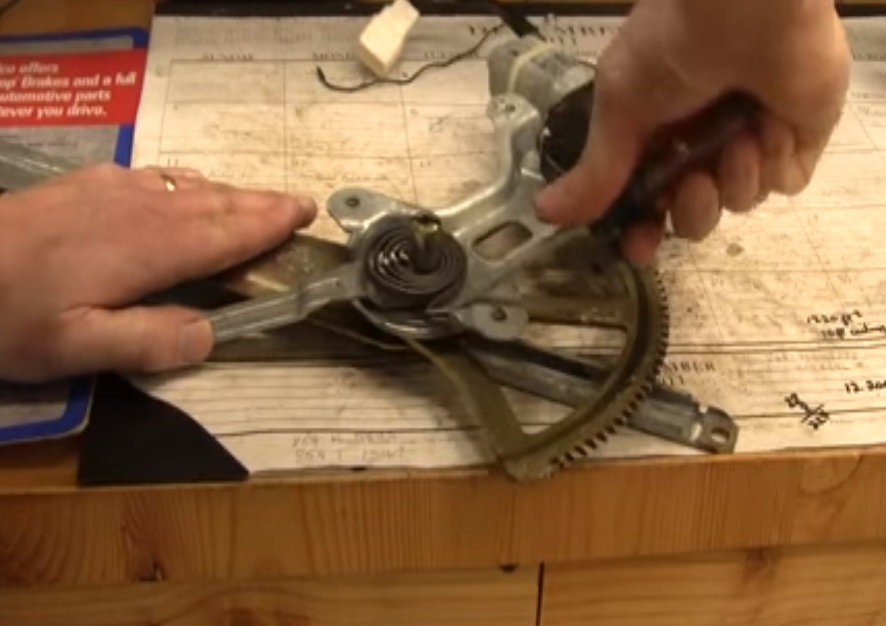
Figure 10. Release the regulator spring. 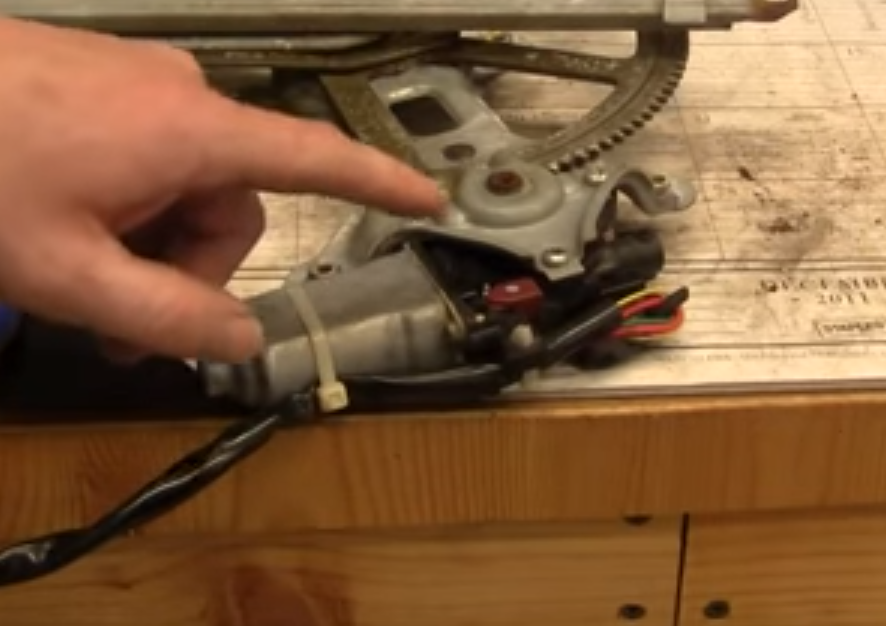
Figure 11. Unscrew the power window motor from the regulator.
Step 4 – Install new motor
Installing the new motor is mostly the reverse of the previous steps. Attach it to the assembly by tightening down the three screws on the back. Then pull the spring back into place.
Take note of the mounting points on the power window regulator before you put it back in the door. Line up the holes on the assembly with the holes on the door, then thread the bolts in by hand. After that, tighten the bolts until the regulator assembly is firmly held to the door.
Next, plug in the white electrical plug. Then feed some electricity to the motor to move it. You can do this by either reconnecting the power window switches or using a pair of jumper wires with an extra battery. Move the rails on the regulator so that they are in their lowest position. Carefully remove the tape on the window and lower it so that it sits on top of the rails. Then, fasten the window to the regulator rails. Once the window is attached, move it back into the up position.
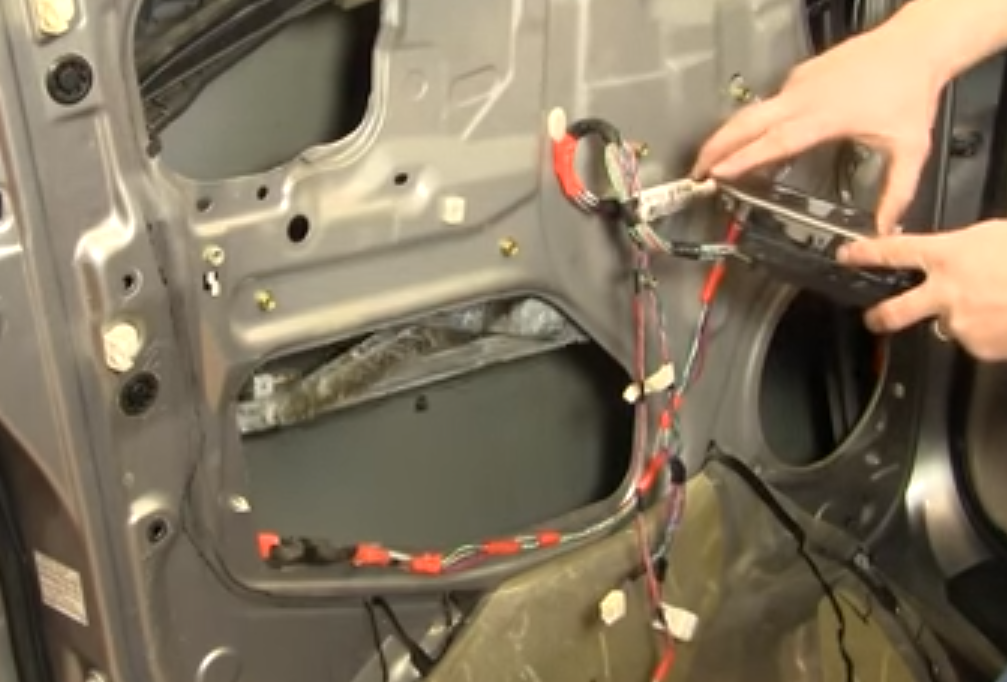
By now you should know whether the new motor works or not, so all you need to do is put the door panel back on. Reattach the plastic cover so that no moisture can get in through the door. Then reconnect the speaker plug and tighten down the three speaker bolts.
Lift your door panel and firmly press it in until all the clips snap into place. Don't be afraid to bang on the corners of the door to get to clips back in snugly. Reattach the two edge clips on the door panel by pushing out the center of the clips. Reattach the door handle bezel. Tighten down the Phillip screws and replace their covers. Reattach the courtesy light, the power window switches, and the corner speaker. Then you're all done.
Featured Video How to Install / Replace Power Window Motor Toyota Sequoia 01-04
Related Discussions
- Budget 4Runner Rear Window Motor Replacement - YotaTech.com
- 1987 4Runner Passenger Side Window Power Motor Install - YotaTech.com
- Tailgate Window Motor Replacement Options - YotaTech.com
- 4Runner Rear Window Repair Walkthrough - YotaTech.com
- Window Motor - YotaTech.com
- Writeup for Power Window Motor Regulator Replacement - YotaTech.com

