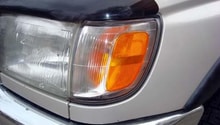
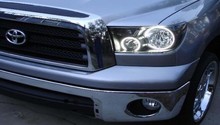
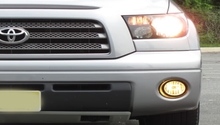
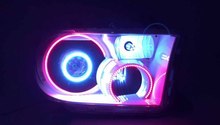
Toyota Tundra: How to Replace Parking Lights/DRLs with LEDs
Are you tired of the soft look on your parking lights? Why not replace them with LEDs? This how-to will show you what to do.
This article applies to the Toyota Tundra (2000-Present).
Do you not like the color of your daytime running lights? Do you wish your parking lights were easier to see? The solution may be easier than you imagined. Replacing your parking lights and daytime running lights with LED bulbs is sure to make them brighter and better looking. The installation is simple and only requires the attachment of a resistor to the wires. Follow the instructions below to learn more.

Materials Needed
- 3157/4157 CK LED turn signal bulb
- 1 watt 194/921 LED parking light bulb
- 50 watt load resistor
- Ratchet with 10mm socket
- Flat head screwdriver
- Wire stripper
- Soldering iron and solder
- Electrical tape
Note
It is important that you use a CK-type LED bulb for the turn signal bulb, as regular bulbs will not fit in the socket and could potentially blow a fuse.
Step 1 – Remove the headlight
There is not enough space behind the headlight to work in, so you'll have to remove the headlight. Removing the headlight will differ depending on your model year. In the 2000 to 2006 models there will be a push tab at the top that you'll need to pry off, then you'll need to slide out and disconnect the turn signal light. In the 2007 to 2013 models you'll need to first remove the trim underneath the headlight, then remove the bolts around the headlight, and pull the headlight out. In the 2014 and newer models you'll need to remove the grille first, then remove the trim underneath the headlight, and finally you can remove the headlight itself.
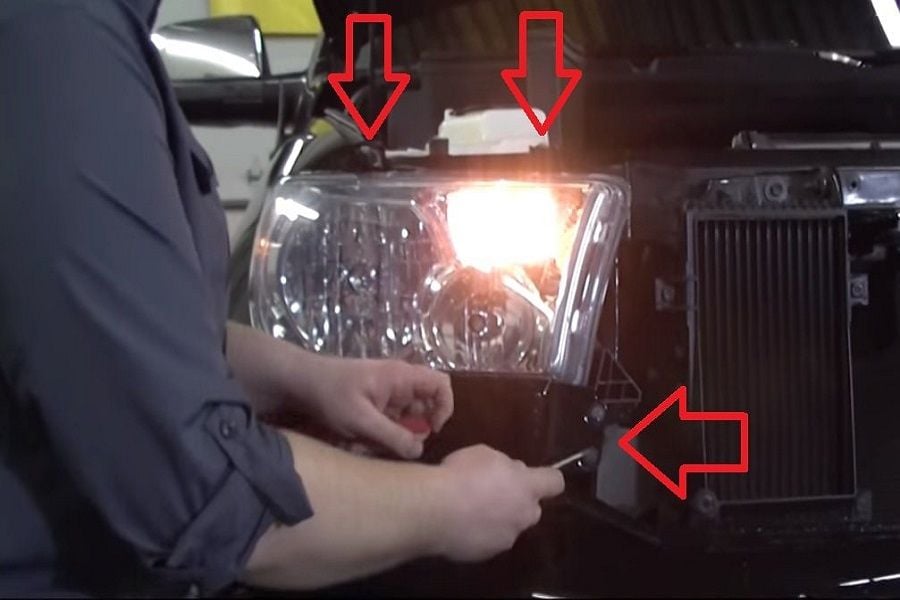
Figure 1. Use your 10mm for the two bolts up top and pop the two clips off on the side. 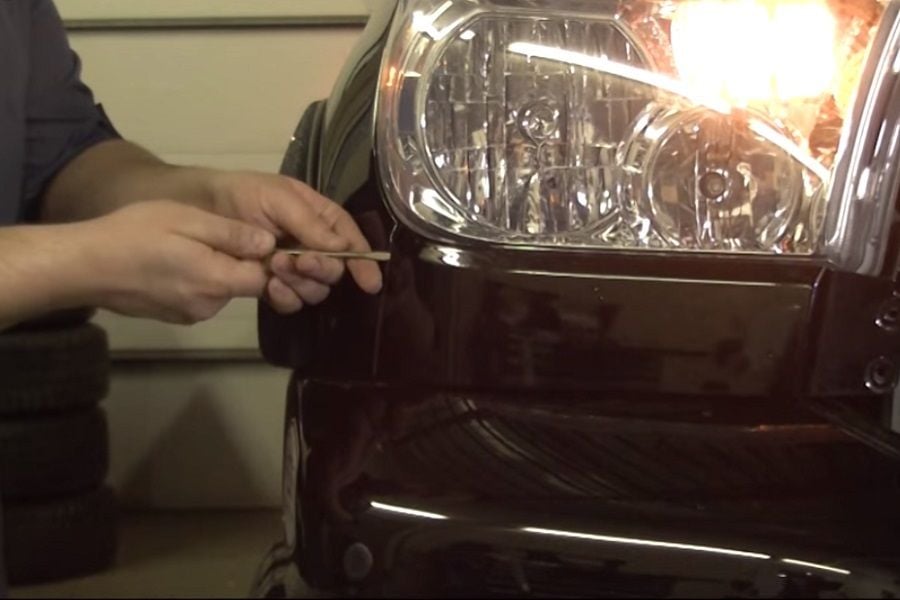
Figure 2. Use your pry tool to pop the two tabs loose on the back of this trim piece. 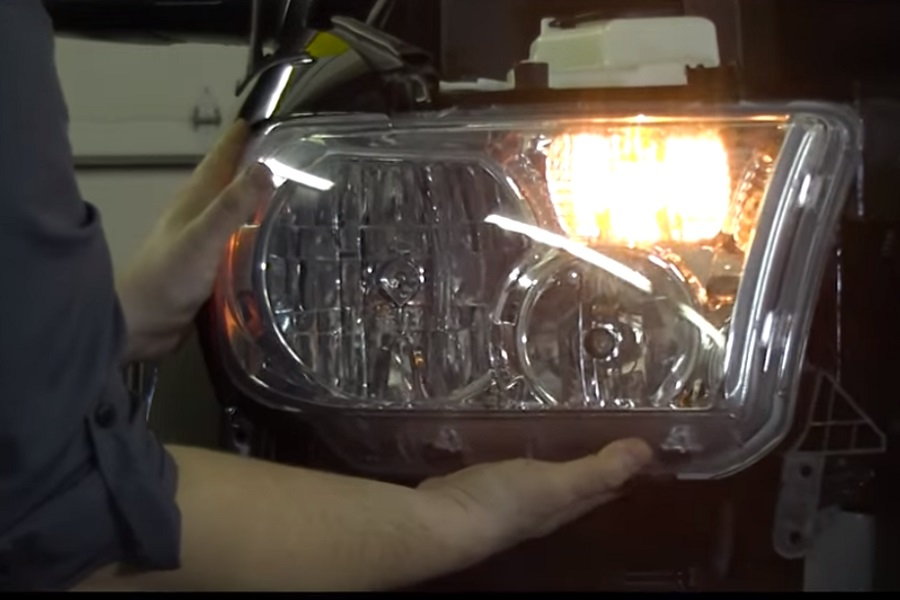
Figure 3. Lift the headlight up and out.
Step 2 – Replace regular bulbs with LED bulbs
Untwist or unplug the bulb sockets, then pull out the bulb. You'll replace your turn signal bulb with a 3157/4157 CK-type LED bulb. Then you'll replace your parking bulb with a 194/921 LED bulb. Just insert the LED bulbs into the bulb sockets like normal.
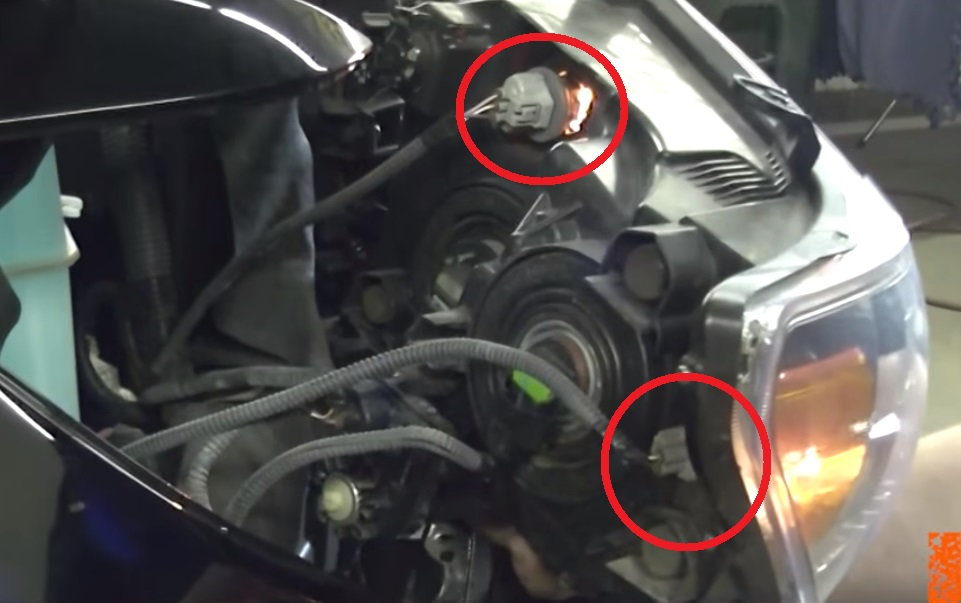
Step 3 – Connect your load resistor
You're essentially done at this point, but you'll find that if you try to use the turn signal, your LED bulb will flash very quickly. Some people are okay with this, but if you prefer it to flash like normal, you'll need to connect a 50 watt load resistor to the turn signal flash wire. The wires will be different depending on your truck model, so consult online or with a manual to correctly identify the positive turn signal flash wire and the ground wire that go to your turn signal bulb.
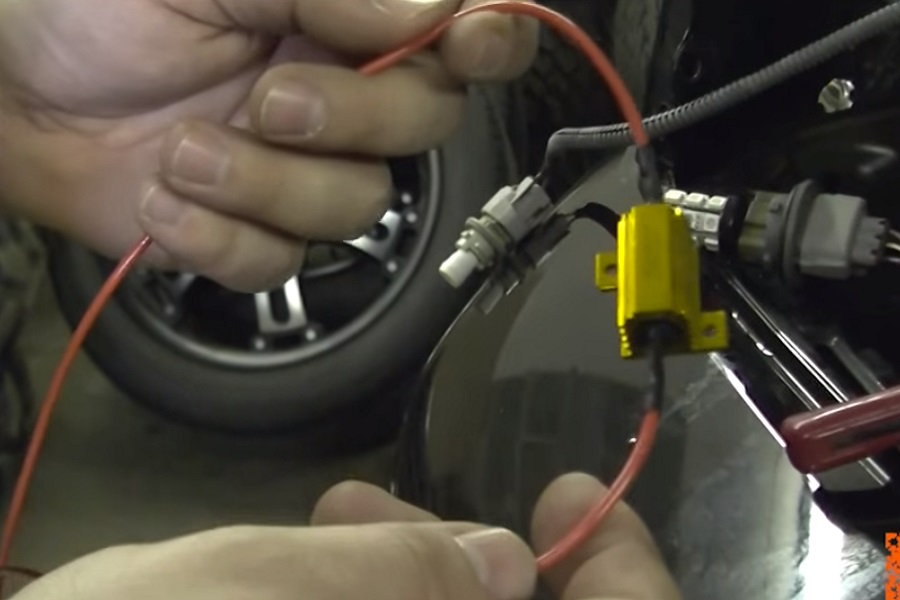
Once you've identified the turn signal flash and ground wires, you'll need to pull them out of the wire loom to get better access. Use a wire stripper to expose the bare wires. Wrap one end of your load resistor wire around the turn signal flash wire and the other end around the ground wire. To finish things up, solder the wires together to ensure they stay connected, and then wrap the connection in electrical tape to protect the bare wire from environmental exposure.
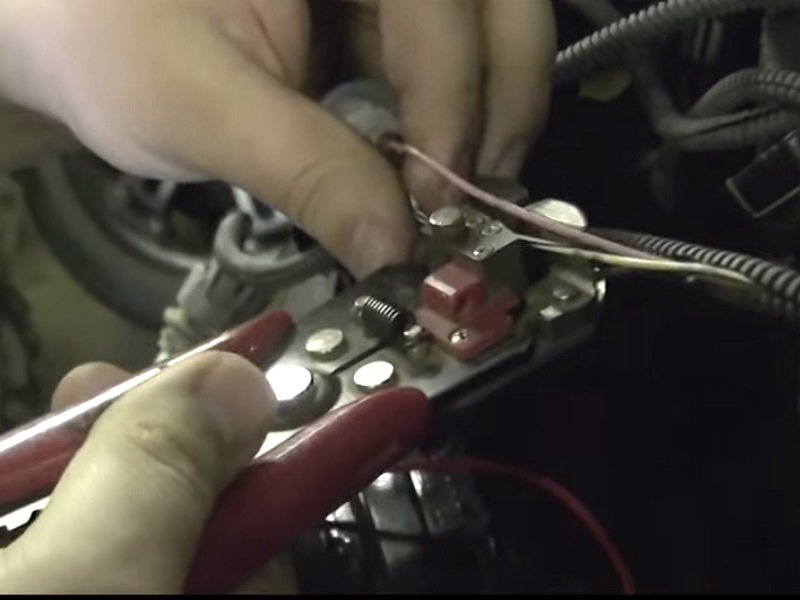
Figure 6. Use wire strippers to expose the wire. 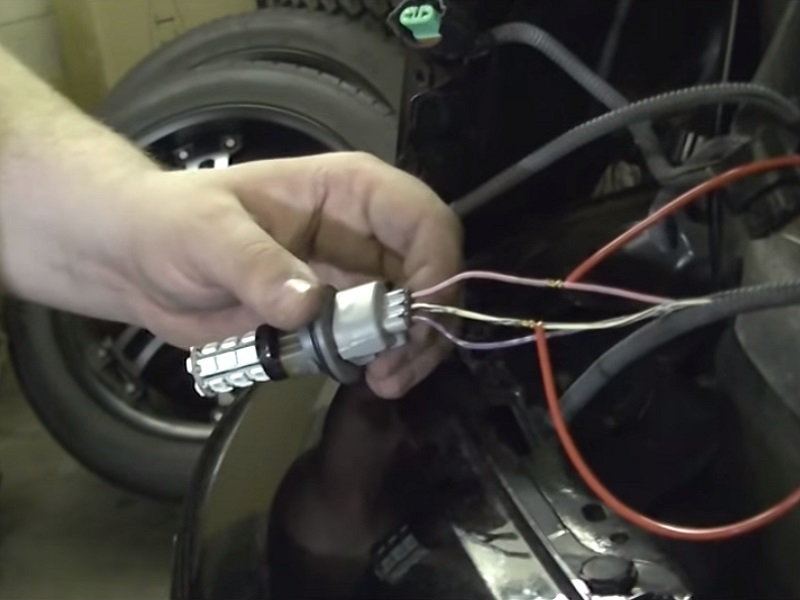
Figure 7. Wrap the resistor wire ends around the exposed wire. 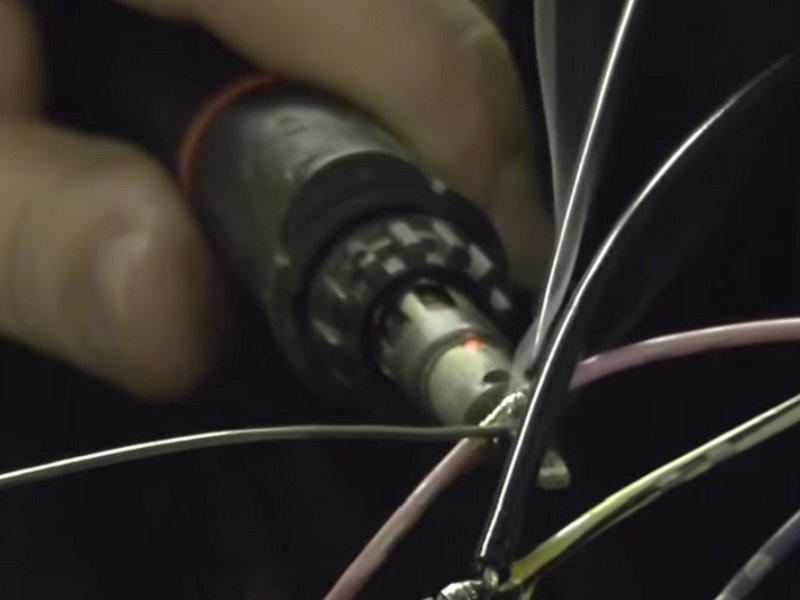
Figure 8. Solder the wiring for security.
Step 4 – Reinstall the headlight
Once everything is set up and connected, you can return your bulbs to the headlight housing. Before you put everything away, however, you should test the lights to make sure they're working properly. If one of the LEDs is not working, try taking it out and reversing it in the socket. LEDs need to be inserted in the correct polarity in order to work. After that, tighten down the headlights and return the lower trim and grille if necessary.
Featured Video: Toyota Tundra LED Turn Signal and Parking Lights
Related Discussions
- Custom LED Turn Signals and Corner Lights - YotaTech.com
- List of All Light Bulb Types - YotaTech.com
- DRL Mod - The Definitive Solution - YotaTech.com

