Toyota Tundra: How to Replace Oxygen (O2) Sensors
The O2 sensor keeps your truck running at perfect efficiency. If your oxygen sensor is not giving the computer accurate information, you have less power, less miles per gallon of gas, and more pollution coming out of your tailpipe.
This article applies to the Toyota Tundra (2000-Present).
The O2 sensor is responsible for measuring the air and fuel mixture coming out of the exhaust. It helps to make sure your truck is running more efficiently. When an O2 sensor stops working, it can not only hurt the performance of your truck, but it will cause a slight decrease in fuel efficiency and put up one of those annoying check engine lights. It's also pretty important if you live in an area that does emissions testing, as it will cause you to fail the test. They are easy enough to replace yourself, all you need are the dedicated sockets, which are available anywhere, and less than an hour of your time.

Materials Needed
- Replacement O2 sensor
- Ratchet with 12mm and 22mm O2 sensor sockets, and extension
- Anti-seize
- Safety glasses
- Code scanner (optional)
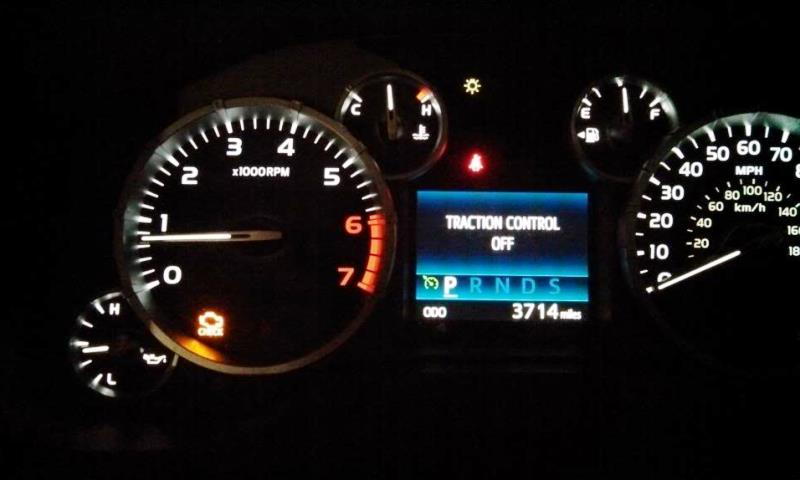
Step 1 – Read check engine light trouble code
If you don't want to buy yourself an OBD-II code reader, be sure to get your check engine light code read at your local auto parts store. It will tell you which of the four O2 sensors need to be replaced. Bank 1 means driver's side, while bank 2 means passenger side; also, when it says sensor 1 it means the front sensor and sensor 2 means the rear sensor. The front sensors are located before the catalytic converter, usually on the exhaust manifold and the rear sensors come after the catalytic converter. All of them are in the exhaust plumbing between the motor and the tailpipe, under the truck.
Step 2 – Remove the old O2 sensor
Warning
The exhaust gets extremely hot, and the catalytic converters can stay hot a long time after you shut the truck off. So allow it to cool off to avoid getting burned.
One of the nice things about having a tuck is that you can get under it for simple projects like this without even jacking it up. Depending on how new and clean your truck is, there could be no danger of getting crud in your eye, or a near certainty, so put on some safety glasses before messing around under there.
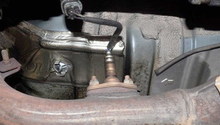
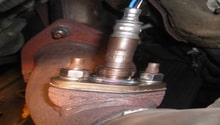
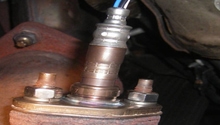
The O2 sensor is easy to identify. Just look for the the plug sticking out of your exhaust pipe with an electrical connector attached to it. Disconnect the electrical connector first by pushing in on the tab on the back of the connector. Then use your O2 sensor socket to loosen the sensor from the exhaust. The O2 sensor socket is like a regular deep socket, but has an opening to slide the electrical cable through. These sensor can be extremely hard to remove if there is rust and corrosion present, so you may need a breaker bar, or impact gun. Once you've loosened the O2 sensor, remove it from the exhaust.
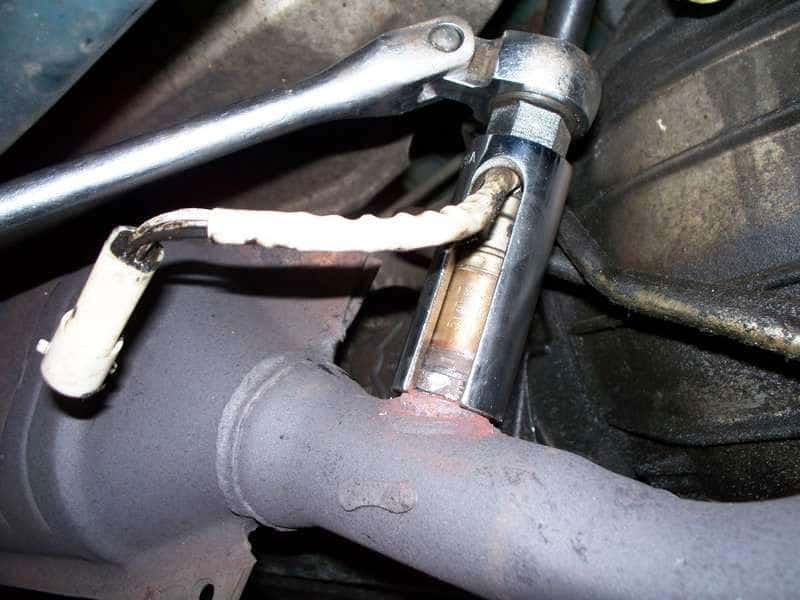
Figure 2. Typical O2 sensor and socket. 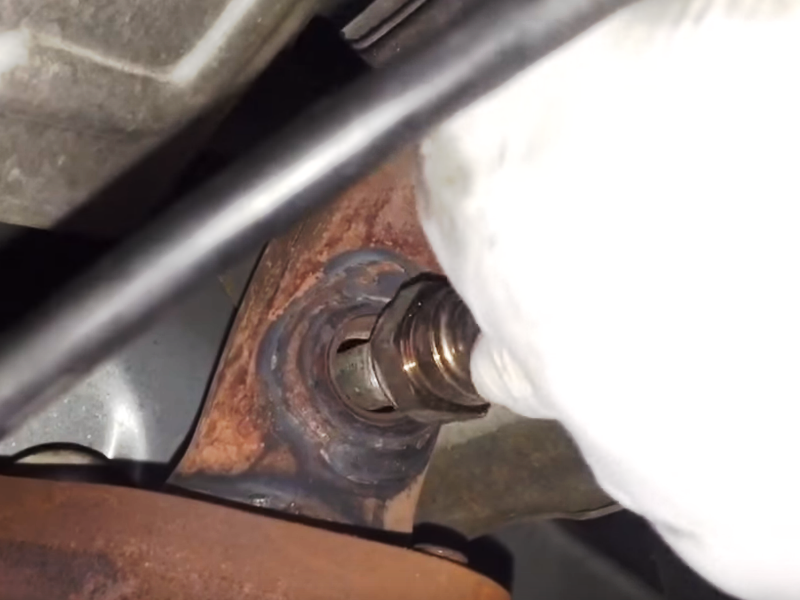
Figure 3. Remove the old O2 sensor.
Pro Tip
You may have a little more difficulty replacing the front O2 sensors, since they are harder to access. Use an extension if you have trouble reaching them.
Step 3 – Install new O2 sensor
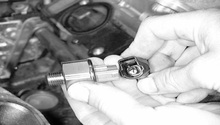
Compare your old O2 sensor with your new O2 sensor. They should be identical with the same length wire and electrical connector. Before you thread it into the exhaust, it's a good idea to apply some anti-seize grease to the threads on the sensor. This will make it easier to remove later on. After that, thread it into the exhaust by hand until it's firm, then turn it 1/2 to 3/4 of a turn more, or about 15ft/lbs. Reconnect the electrical connector. Repeat these steps for any O2 sensors you are planning on replacing.
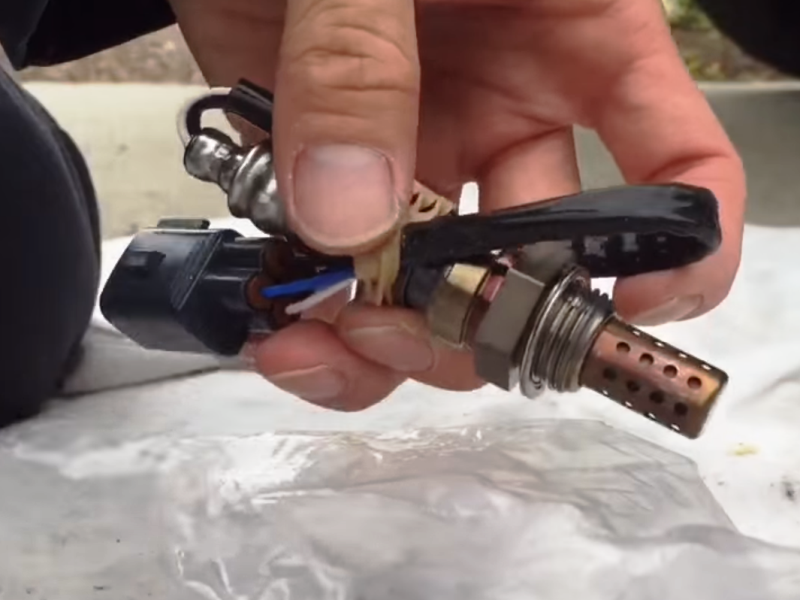
Figure 4. Make sure your new O2 sensor matches the old one. 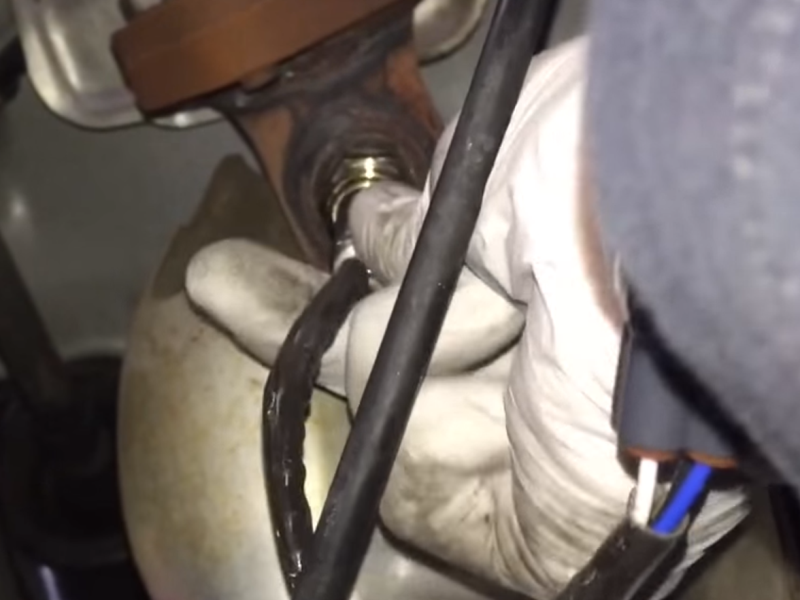
Figure 5. Install new O2 sensor.
Pro Tip
If after this point the check engine light is still on, you can either wait for the truck to adjust to the new sensor or you can use a code reader to clear the code.
Featured Video: O2 Sensor Replacement
Related Discussions
- O2 Sensor Replacement on V8 Tundra - YotaTech.com
- Wiring Harness Side O2 Sensor Broken - YotaTech.com
- 2002 Tundra Oxygen Sensor Problem - YotaTech.com

