Toyota Tundra: How to Replace Brake Pads, Calipers, and Rotors
Replacing the brake pads, calipers and rotors on your Tundra is a fairly straightforward DIY job that can be done in your own garage in just a few hours.
This article applies to the Toyota Tundra (2000-present).
Make sure your Tundra is in the best working condition for your travels, whether it is a daily driver or getting ready for that long trip. When checking your essential fluids and performing routine maintenance, don't forget to take a look at the condition of your braking system. This includes checking the pads and calipers for wear, as well as the condition of the rotors. Keeping them in tip top shape should be a priority for a big truck like the Tundra. If they need replacing, you have come to the right place. Changing your pads, calipers and rotors is not too difficult and can be done in just a few hours in your own garage, saving you a bundle from not taking it to a professional to do this job. Of course, if you are at all unsure about doing this job yourself, please find a reputable professional to do the work for you, as your brakes are too important to neglect.

Materials Needed
- Hydraulic floor jack
- Jack stands
- Four 8 x 1.25 bolts with at least 1" thread length
- Needle nose pliers
- Torque wrench
- Breaker bar for lug removal
- Brake fluid
- Brake caliper lubricant (optional)
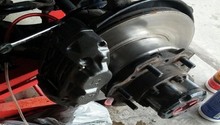
Front Brake Replacement
Step 1 – Lift Tundra and remove wheels
Using a hydraulic floor jack, lift the front end of your Tundra and place on jack stands in the approved jacking or lifting positions. If you have four jack stands, you can lift the rear and place it on jack stands as well. This guide starts with the front brake job first, and rear second, so if you have only two jack stands, lift the front first and start from there. A good rule of thumb is to jack the truck by the frame and set the jack stands only on the frame as well. Before you lift, it's a good idea to break the lugs free on your wheels while they are still on the ground.
As you already broke the lugs free before you lifted the truck, remove the lugs and the wheels should pull straight off with little effort.
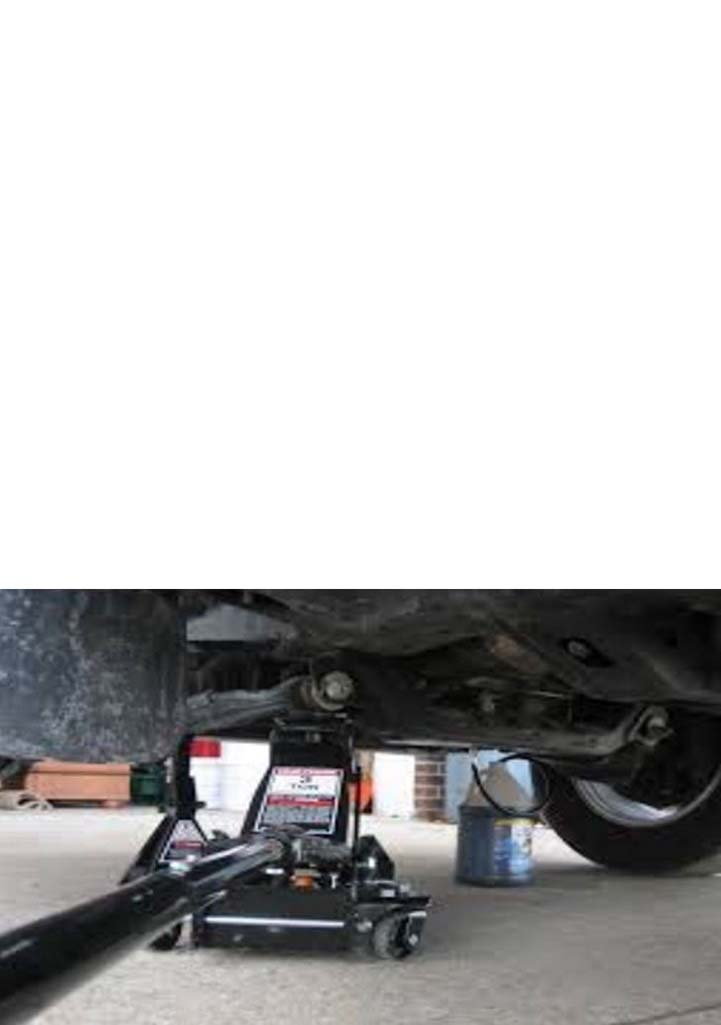
Figure 1. Jack your truck and place on jack stands. 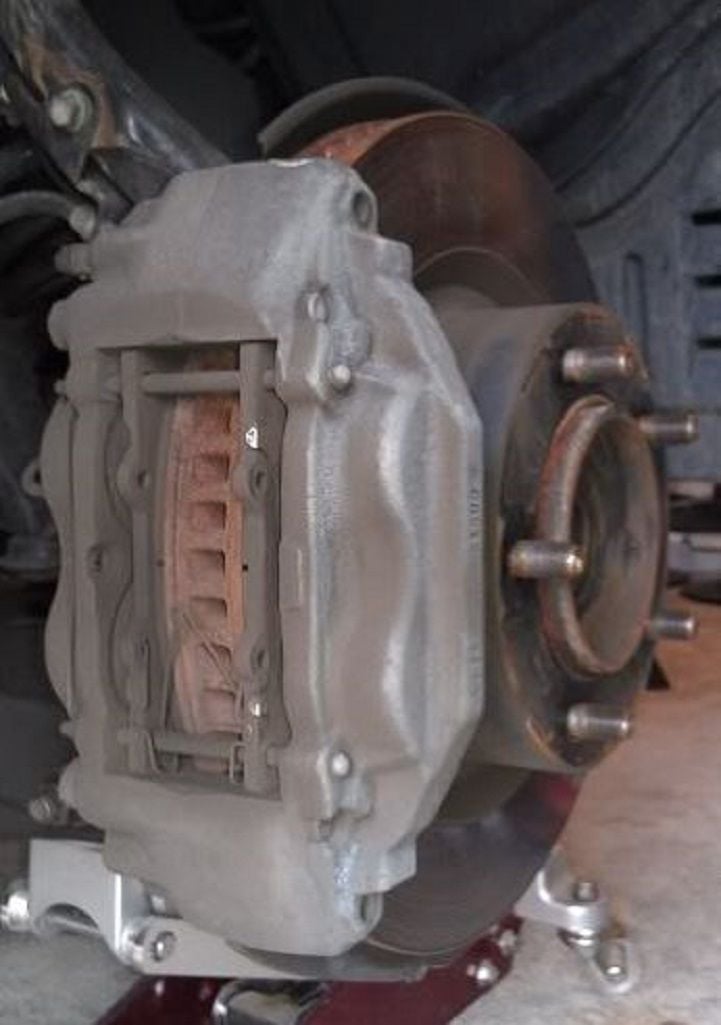
Figure 2. Remove the front wheel.
Pro Tip
Always use jack stands when working under your truck. Never work under your truck when only using a hydraulic floor jack.
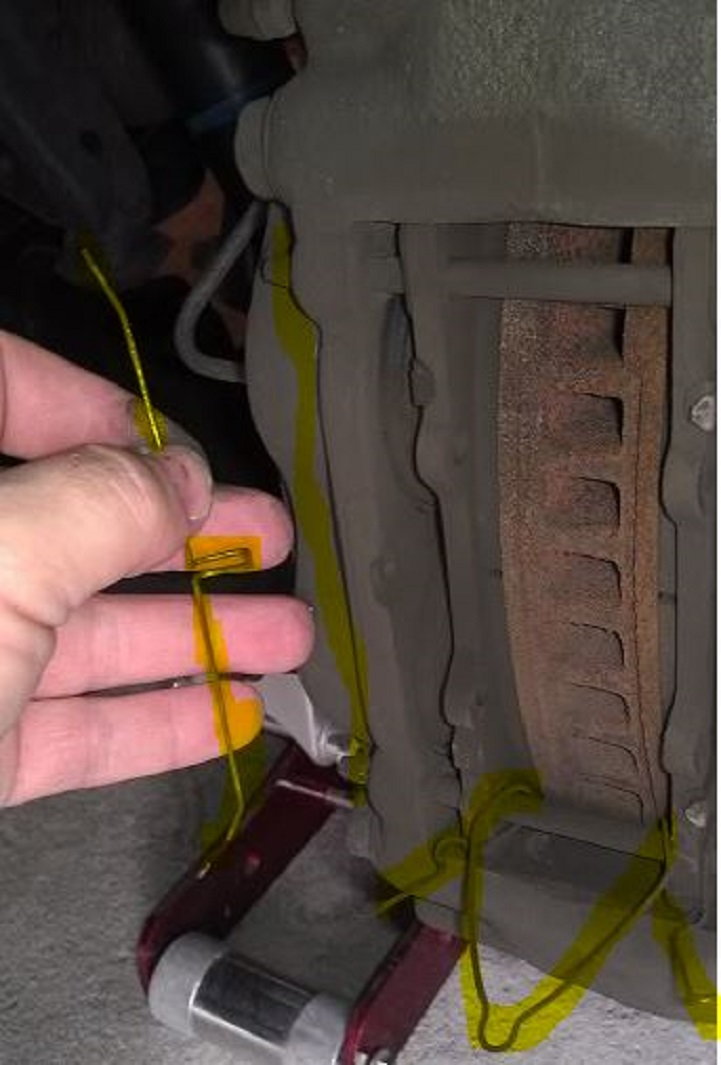
Step 2 – Remove wires and springs
There is a long wire that holds the pins in place as well as a wire spring that keeps the pads separated. Use a pair of needle nose pliers to carefully remove these items. Set them aside, as you'll need to reuse them.
Step 3 – Bleed the calipers (only if you are reusing them)
The calipers need to be fully depressed to do this job. You may be able to get the worn pads off easily, but installing new pads are going to be darned near impossible if you don't depress the calipers all the way.
- Locate the bleeder screw on outside of the calipers and remove the rubber boot if yours is still intact.
- Attach a hose or rubber tubing (aquarium air hose works great) to the bleeder nipple.
- Make sure the other end of the tubing is well into a catch pan or other container, as brake fluid will destroy paint really fast and is super slick. Wipe up any spills immediately.
- Use a flat head screwdriver between the brake pad and the rotor. As we are replacing the rotors here, don't worry too much about the rotors. If you are actually going to reuse the existing rotors, be extremely careful here that you don't gouge or scratch them when doing this procedure.
- Use the screwdriver like a pry and put pressure onto the brake pad. You should see and feel the pad depressing as well as brake fluid filling into your catch pan.
- Repeat process for the other half of the caliper, and repeat this on the other front wheel as well.
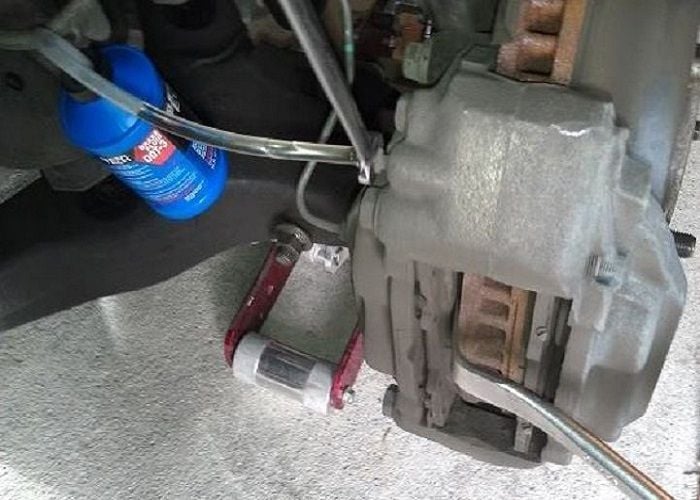
Figure 4. Hook up your bleeder tube to the valve and begin compressing the brake pads back into the caliper. 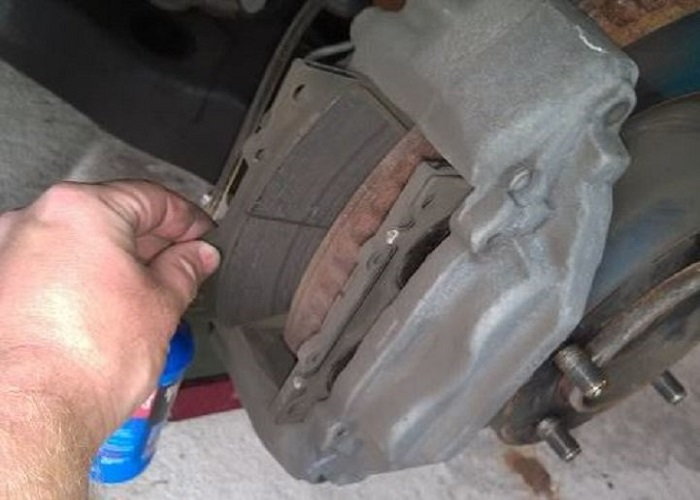
Figure 5. Remove the brake pads from the caliper.
Pro Tip
If you are replacing the entire braking system, including the calipers, you need not worry about bleeding the calipers. You can simply disconnect the brake line and capture all the fluid in your catch pan. Remove the two mounting bolts for the calipers and pull off the entire assembly, including the pads. If you are doing this, skip the next steps and go directly to removing the rotors.
Step 4 – Remove brake pads and hang calipers out of the way
If you are reusing your calipers, which most folks will do unless you have completely destroyed your braking system, you'll simply pull the pads out of the calipers and using a wire hanger or other such tool, hang the calipers up and out of the way from a spot on the frame. There are two bolts that attach the calipers to the spindle that need to be removed in order to completely take the calipers off and hang them. Do not hang them from either the soft or hard brake line. Be careful not to pinch or bend the hard brake line. If you need more wiggle room, you can un-mount the brake line from the mounting bracket to give a little more slack, but this should not be necessary.
Step 5 – Remove the rotor
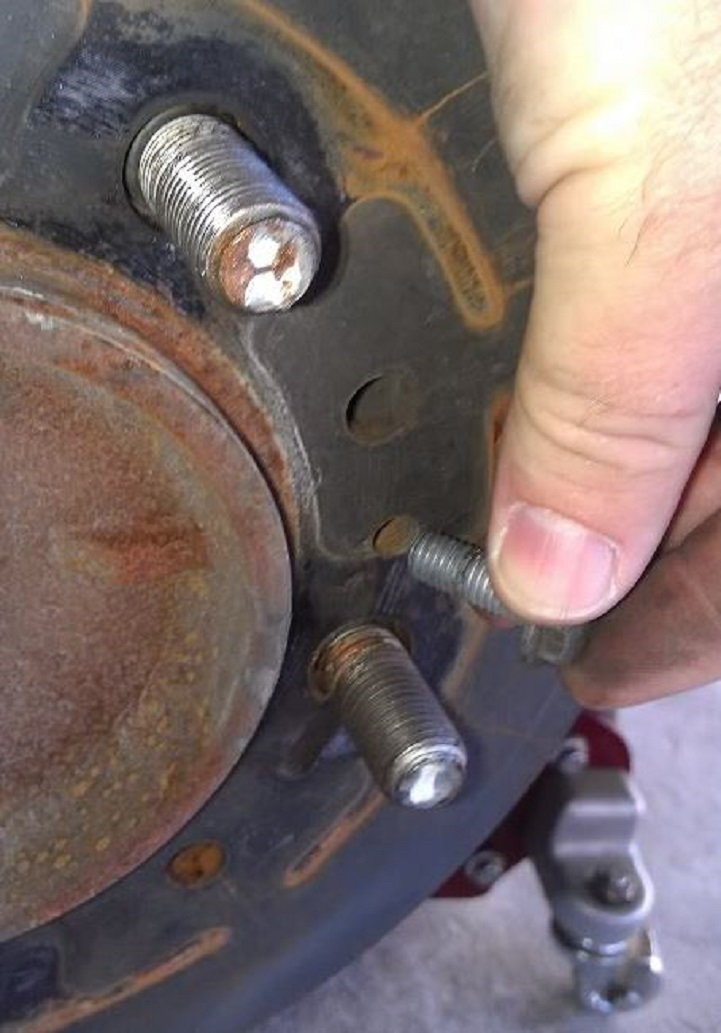
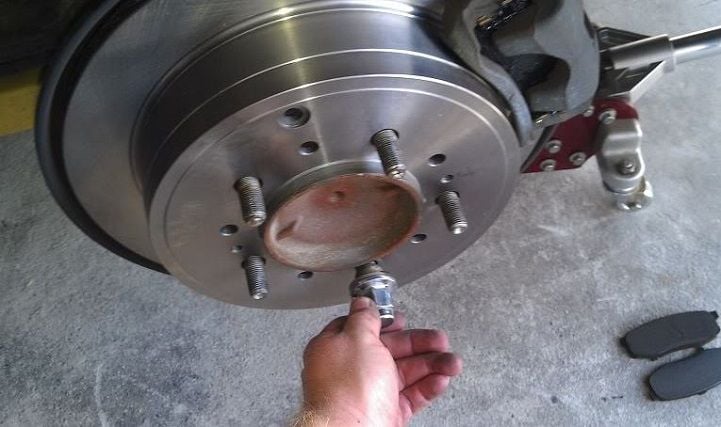
You will use four 8 x 1.25 threaded bolts to remove the rotor. The two smaller threaded holes are provided on the rotor hub. Simply insert each bolt into the hole provided and tighten evenly among each bolt. You should only tighten these in about an inch or so. This should free the rotor up to simply pull off; however, you may have to persuade it a little with a rubber mallet.
Step 6 – Install new rotor
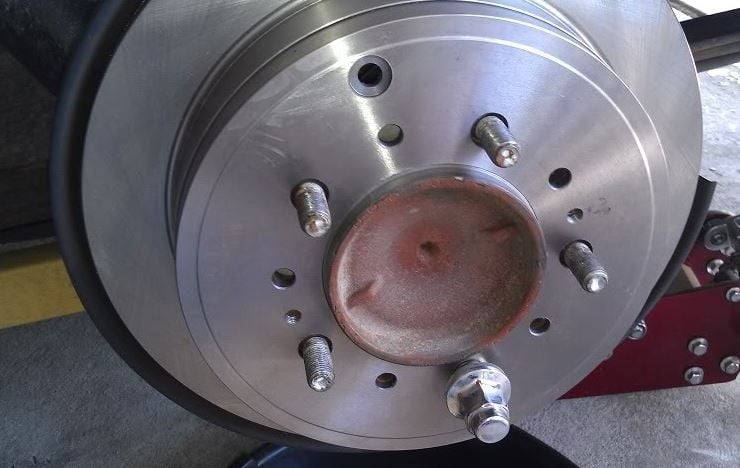
Before you install the new rotor, carefully inspect the hub, specifically in the spots where you turned the bolts to remove the rotor. You may have left an uneven impression or dimple, which you'll want to file down with a wire brush. You will also want to install the new rotor in the exact position the old came off, so that the threaded holes to remove it line up with the dimple marks that you made taking the old one off. This will ensure the most solid and flush fitment.
Step 7 – Install (new) calipers and pads
You may want to thread up one lug finger tight to hold the rotor in position while you install the caliper. The process is the same for new or existing caliper installation. If new, you'll connect your brake lines up to it and when the entire brake job is complete, you'll need to bleed and flush the entire system. Put the calipers in position and you will need to torque the mounting bolts to the spindle to 74 foot pounds. If you needed to move the break line from the bracket, reinstall it now; otherwise, install the new pads. They fit in only one, the correct, position and direction. Once the pads are installed, replace the wire and springs from Step 2. Repeat these steps for the other front wheel before moving onto the rear. An optional step is to apply brake caliper or pad lubricant to the BACK of the pads (Never on the friction side themselves!) to prevent squeaking.
Rear Brake Replacement
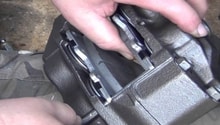
Step 8 – Compress brake pads and remove the caliper
As with the fronts, we'll need to compress the brake pads to get them out and the new ones in (unless you are replacing the calipers as well). If you are replacing the calipers, don't worry about bleeding them, just unbolt them and take the entire unit, brake pads and all out. You'll also need to disconnect the brake line and let the fluid drain into your catch pan. If you are reusing the existing calipers, follow these steps to compress the pistons:
- Locate the bleeder valve and remove the rubber boot.
- Attach the bleeder hose or tubing to the bleeder nipple and let it drain into your catch pan.
- Insert a flat head screwdriver between the brake pad and the rotor to compress the pad. Don't do this between the caliper piston and the pad, as you can damage the piston or the dust boot.
- Remove the bolt mounting the caliper to its bracket and then lay the caliper on top of the axle or otherwise, but do not just let it dangle by the brake line.
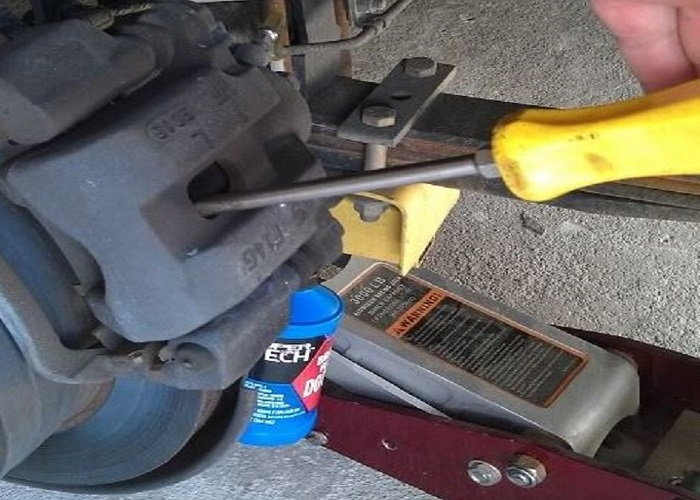
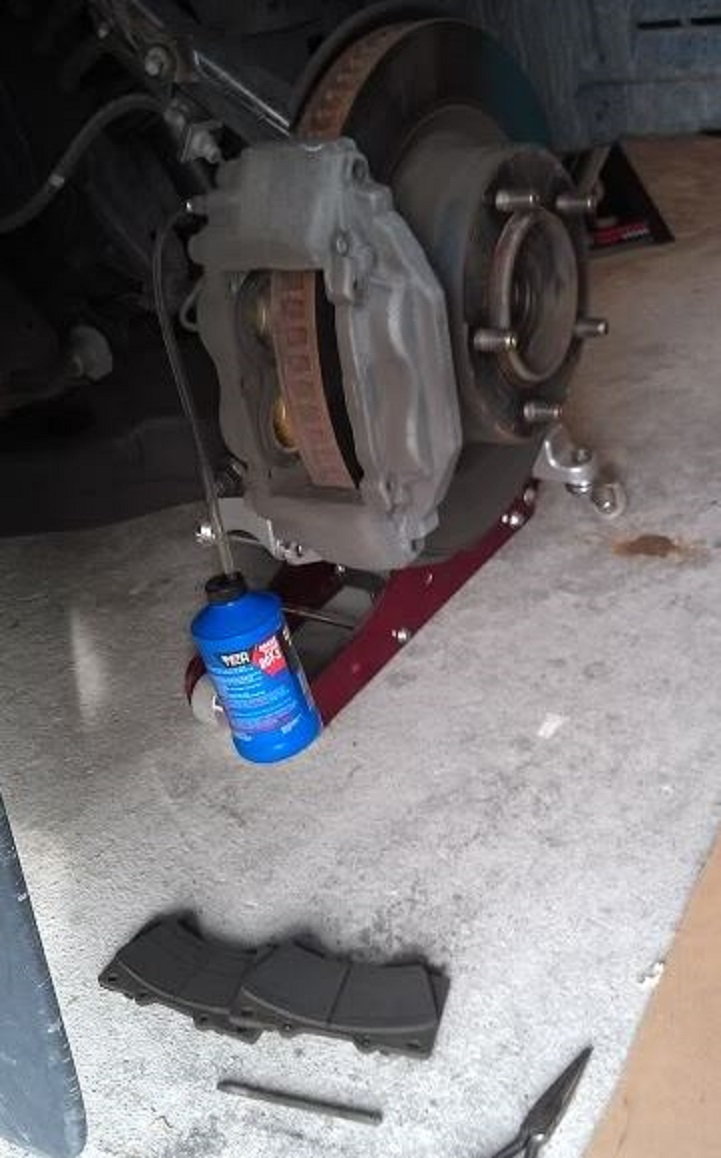
Figure 10. After you connect the bleeder tube, compress the pad into the caliper to facilitate removal. 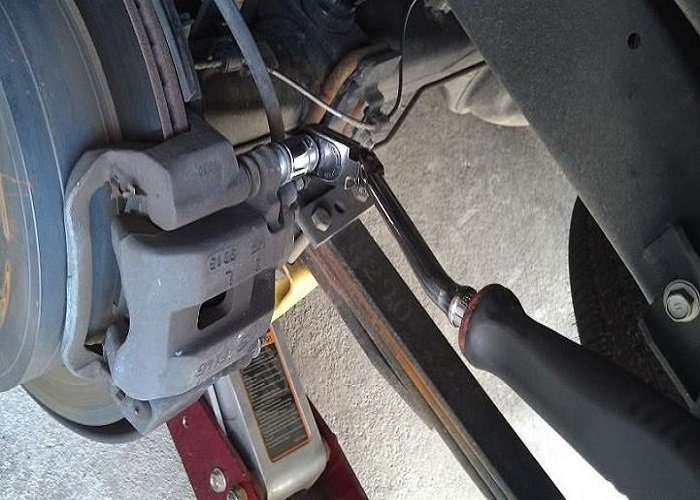
Figure 11. Remove the caliper from the caliper bracket.
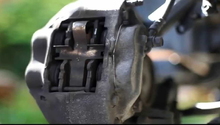
Step 9 – Remove the brake pads and the caliper bracket
The brake pads should pop right out of the caliper bracket with a little effort from your flat head screwdriver. When they are removed, you'll remove the entire bracket next.
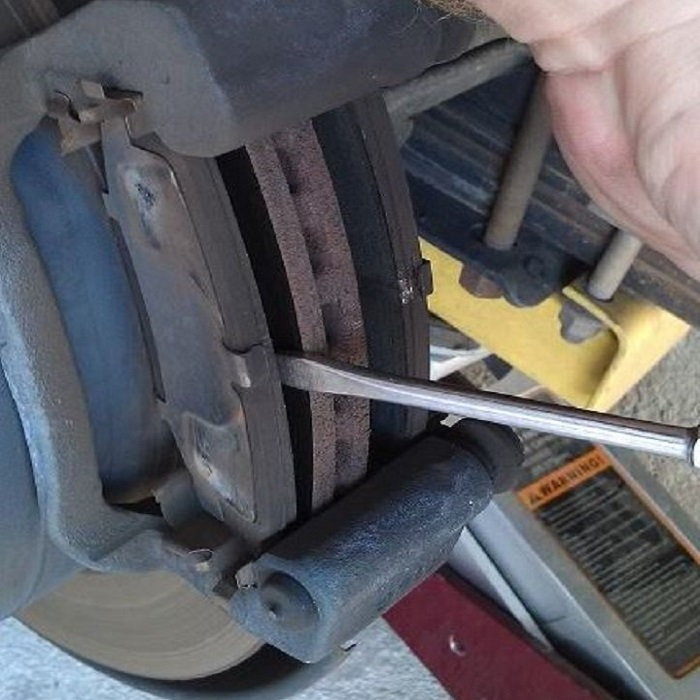
Figure 12. The pads should pop right out of the caliper bracket once the caliper is removed. 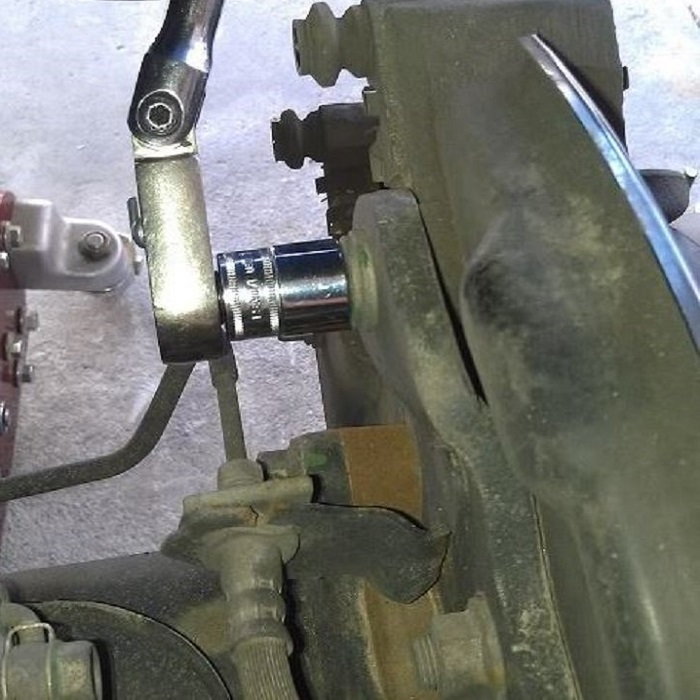
Figure 13. Remove the caliper bracket once the pads are removed.
Step 10 – Remove the rotor
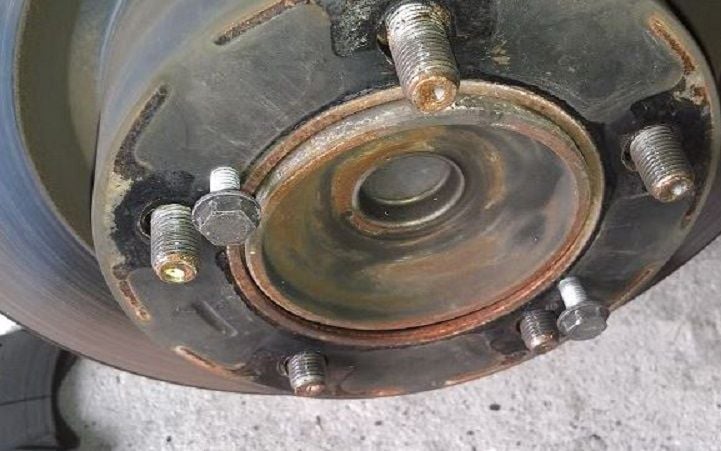
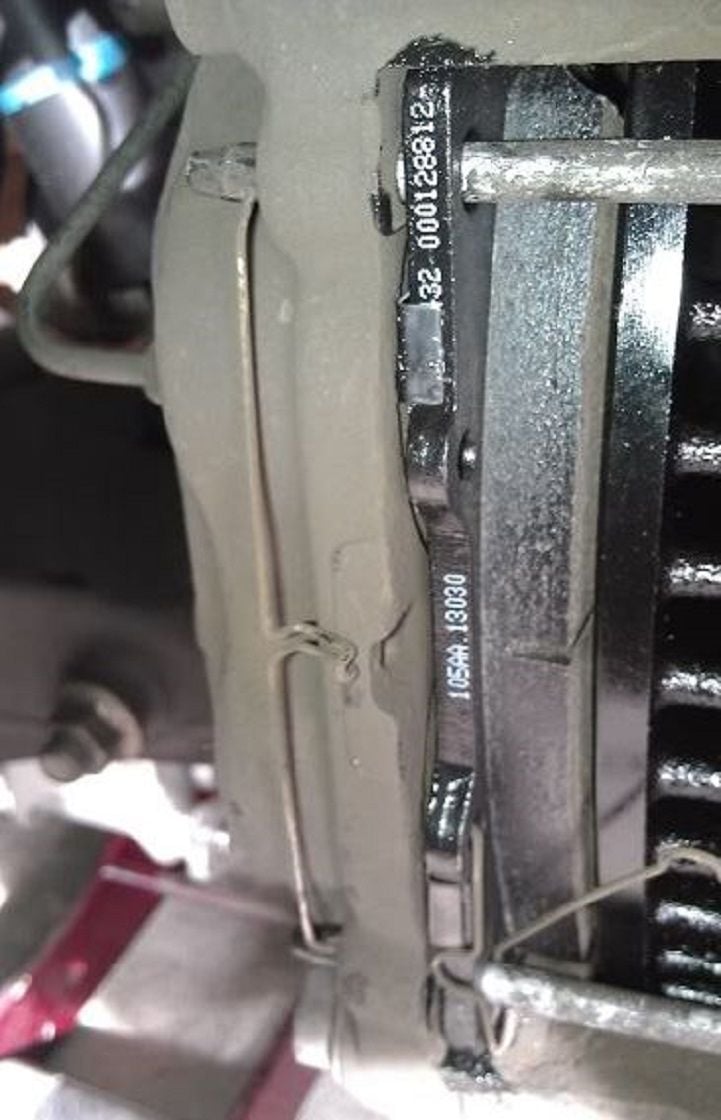
If you are replacing the rotors, you'll remove them much like you did for the front wheels. If they are seized up pretty good and will not just pull right off, use the bolt holes and the 8 x 1.25 bolts to screw in and pop it off. Again, you may need to use a rubber mallet to help facilitate this task. Remove the rubber inspection plug from this rotor, as you will use it on the replacements.
Step 11 – Install the new rotor
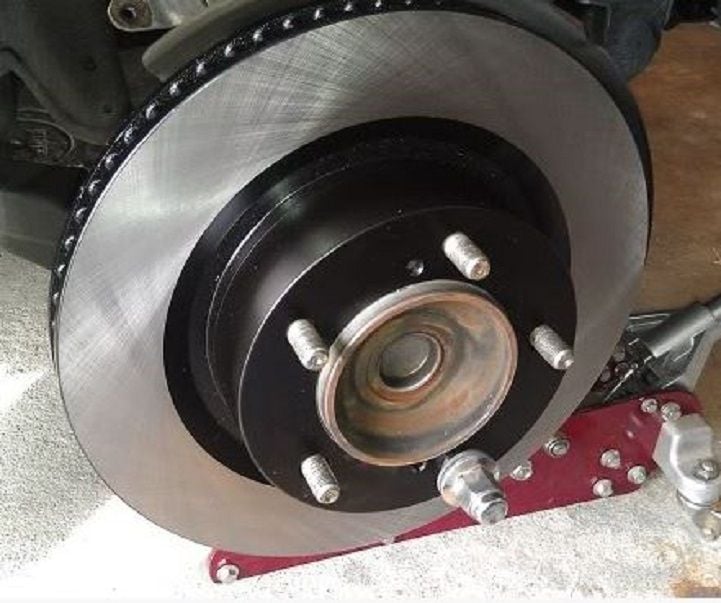
Make sure that you have a good match between the old and new rotors, and if all is good, install it on the rear wheel hub. Again, be sure to match the new up exactly in the same position as the old one was installed to ensure a solid and flush fitment. Replace the old inspection plug into the new rotor.
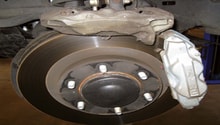
Step 12 – Install calipers
If you are using brand new calipers, you'll install much the same way, only you'll have the brake line to connect. Again, you'll have to do an entire system flush and bleed. Put a lug nut on one of the lug bolts and hand-tighten to prevent the rotor from moving.
- Reinstall the caliper bracket.
- Install the new brake pads into the caliper bracket (again, you may wish to apply lubricant to the back side of the pads).
- Install the calipers back onto the caliper bracket (check for proper torque setting).
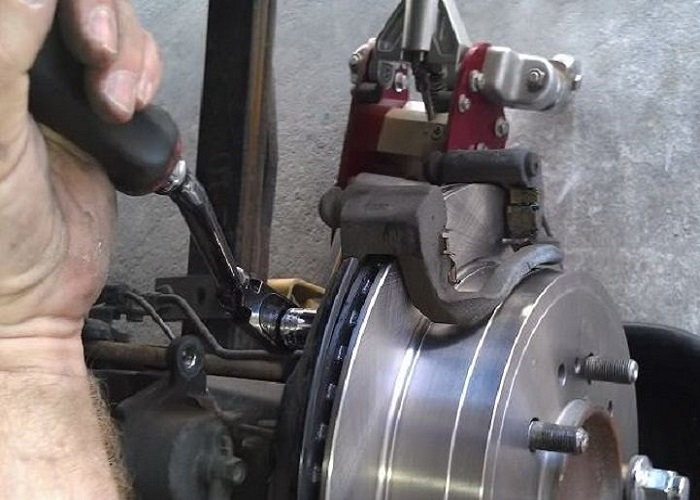
Figure 16. Reinstall the caliper bracket onto the rotor. 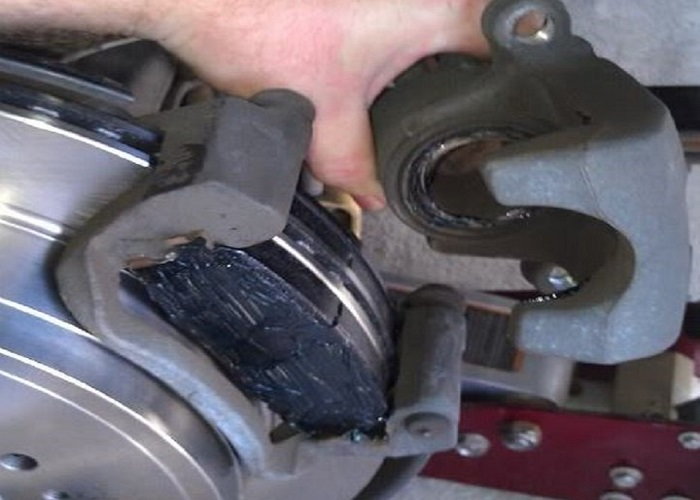
Figure 17. Install the new brake pads and reinstall the caliper.
Step 13 – Remove bleeder hoses and reinstall wheels
This step can be done at the end if you have four bleeder hoses simultaneously connected and draining into a catch pan, or you can do this one at a time for each wheel.
- Tighten back down the bleeder screw.
- Remove the bleeder hose and replace the rubber boot.
- Remove the hand-tightened lug nut from the rotor.
- Replace the wheels.
- Tighten and torque the lugs appropriately, and after driving about 500 miles, double check the lugs and tighten if necessary.
Step 14 – Lower truck and pump brakes
Lower your truck from the stands and check the brake fluid in the master cylinder. Add as necessary. If you did not replace the calipers entirely, you should not have experienced much fluid loss and there should not have been any air sucked into the lines. If you did replace the calipers, you'll need to flush and bleed the lines as well as add new fluid. Once the fluid level is sufficient, give the brakes several slow and short pumps to get the caliper pistons configured to the new rotors and pads correctly before you take off. Take a test drive close to home base, thoroughly testing the brakes without traffic or other dangers in your way.
Featured Video: How to Replace Rotors on Toyota Tundra
Related Discussion and Sites
- Sequoia Brake Pad Install - YotaTech.com
- Front Brake Job with New Rotors - TundraTalk.net
- Rear Brake Job with New Rotors - TundraTalk.net
- Brake Job: Toyota Tundra Brake Caliper Upgrade - BrakeandFrontEnd.com