This article applies to the Toyota Tundra (2000-2016).
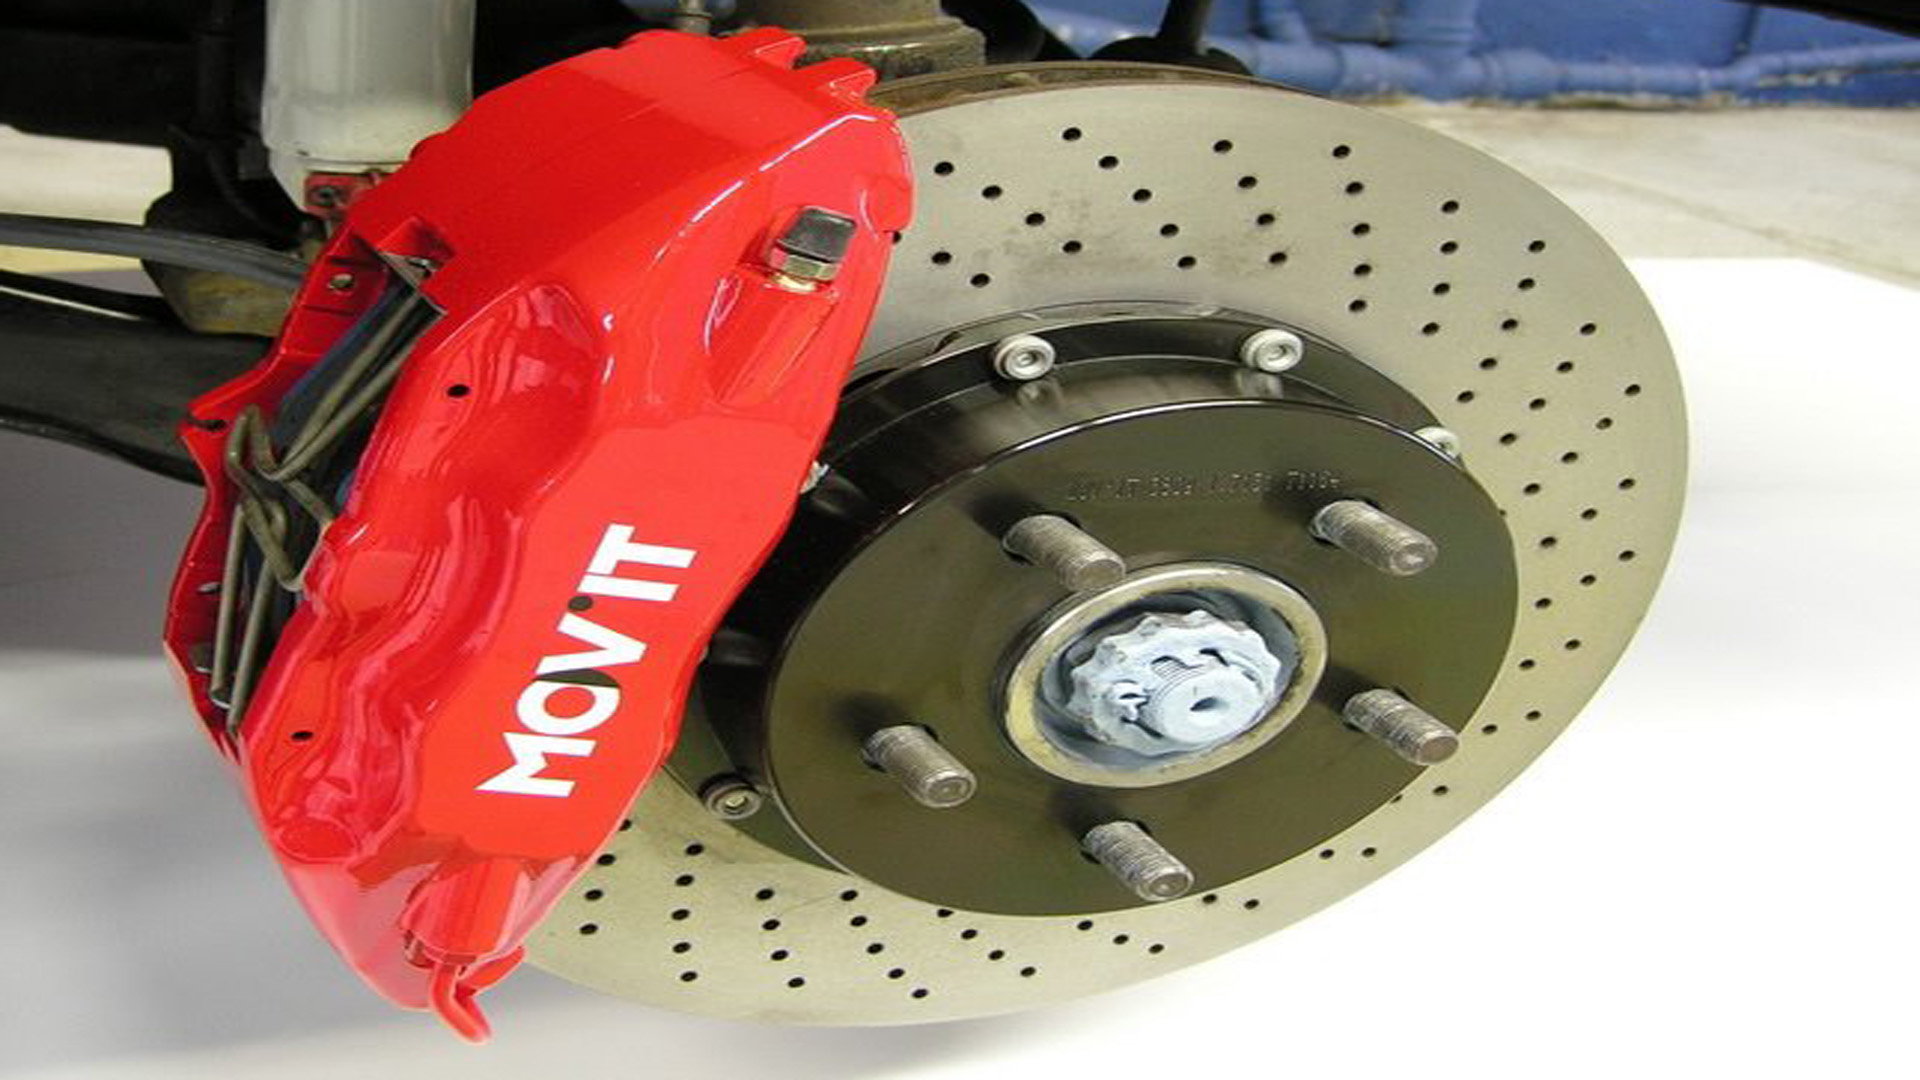
It is not known—or at least, not known by your humble author—which manufacturer in the automotive industry was the first to apply a touch of high-temperature paint to their brake calipers. It seems like a Lamborghini thing to do, but then again, perhaps it was not a manufacturer of cars but someone like Brembo, a caliper maker. Whoever it was, they started a revolution. Now if you don't have painted calipers, people are likely to think that you care very little about modifying your car. It might not add anything in the way of performance, but it's an easy way to add a little personality to a part of your car that sometimes seems to get overlooked, even though without brake calipers we'd all be in serious, serious trouble.
There are a couple of different kits for this available, both from auto parts stores and online, which should get everything you need to paint your calipers. Or, you can just use stuff you already have around to clean the surface, and just buy the proper caliper specific paint. Some users have recommended spending an extra few bucks on a better brush than the ones that come with the kits; just throwing that out there.
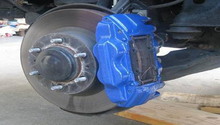
Figure 1. Custom aftermarket red calipers.
Materials Needed
Brake cleaner
Safe jacking equipment (jack, jack stands, wheel chocks, etc.)
Masking material (paper, aluminum foil, painter's tape)
High temperature paint
Brush (if using brush-on paint)
Buy the complete kit that contains cleaner, brush, paint, etc. (optional)
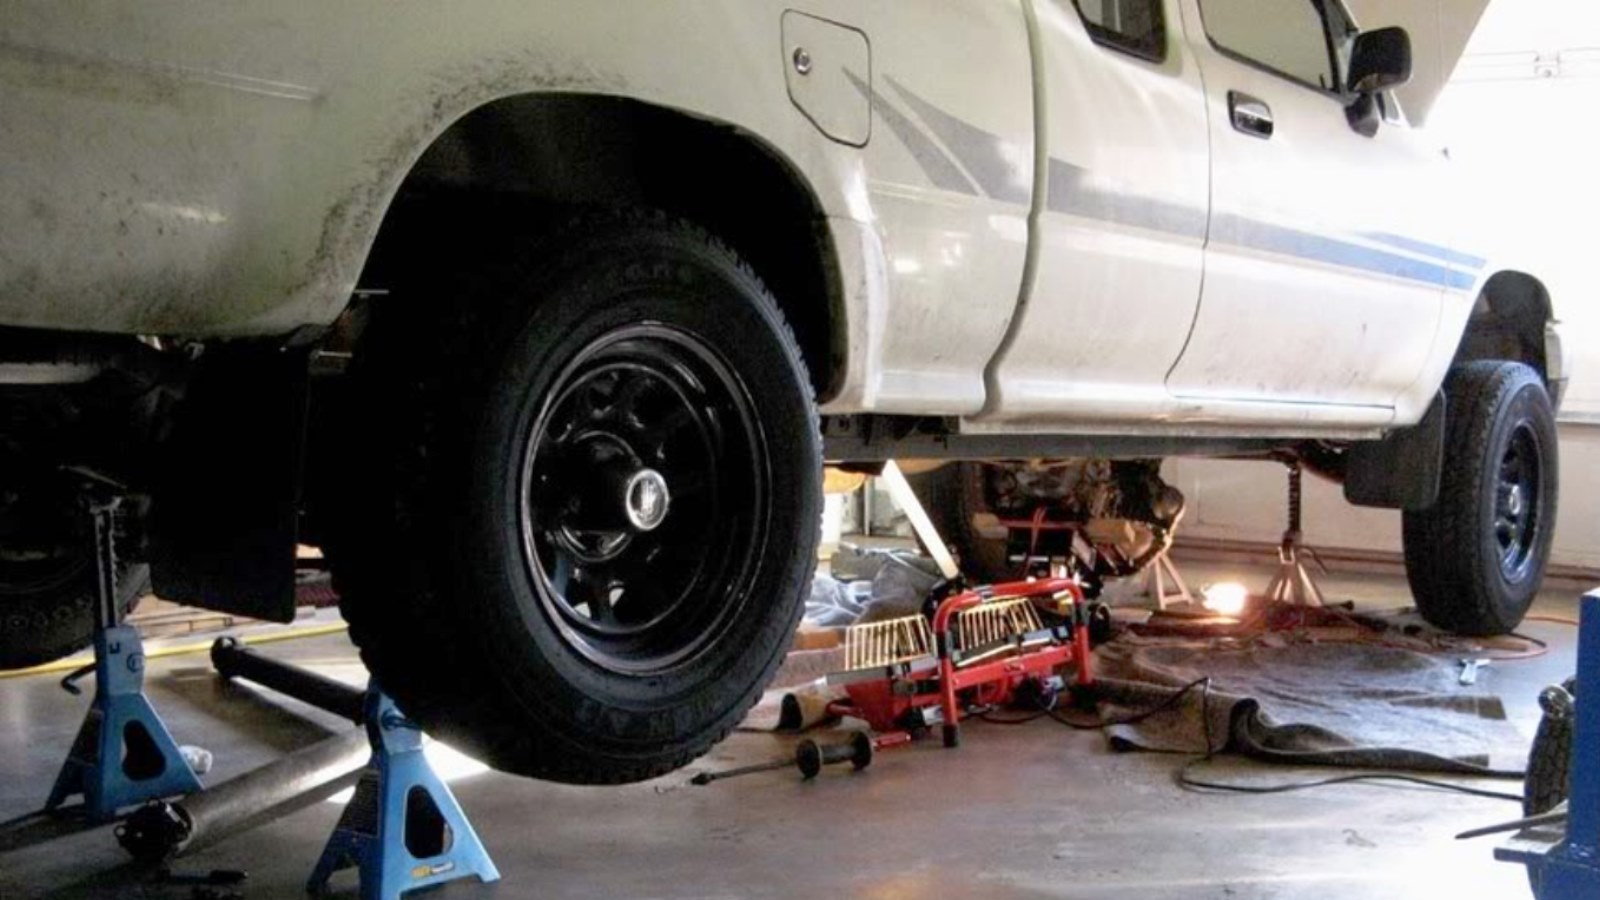
Step 1 – Safely jack up your vehicle
As with any project that includes removing tires and working on the braking components, we need to make sure we get the vehicle up in the air, off its tires, and stable while we work.
Warning
You already know this, but be careful while you jack up your car. It is completely possible to accidentally run yourself, which will not only hurt you pretty bad, but you'll have to explain what happened to everyone, and they will all laugh...hard.
Figure 2. Toyota truck properly supported by jack stands.
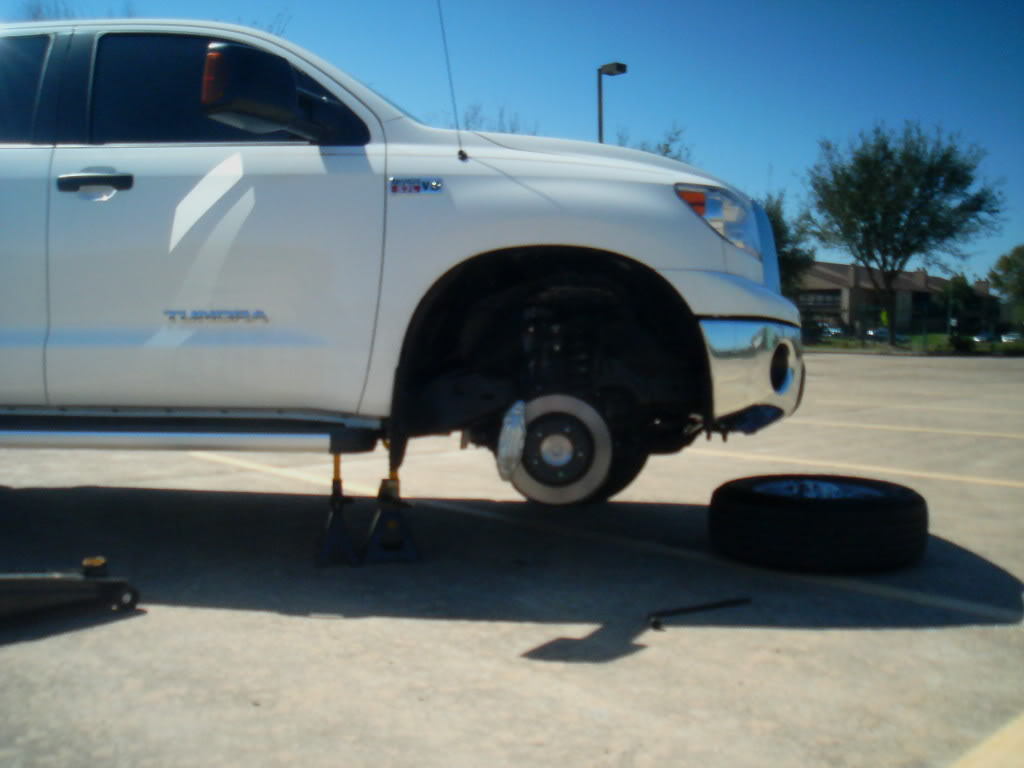
Step 2 – Remove tires
You may choose to complete work on a single caliper, then move on to the next, or paint all four concurrently. Either way, you're going to need the tires off to get to the calipers, so remove them and set them aside.
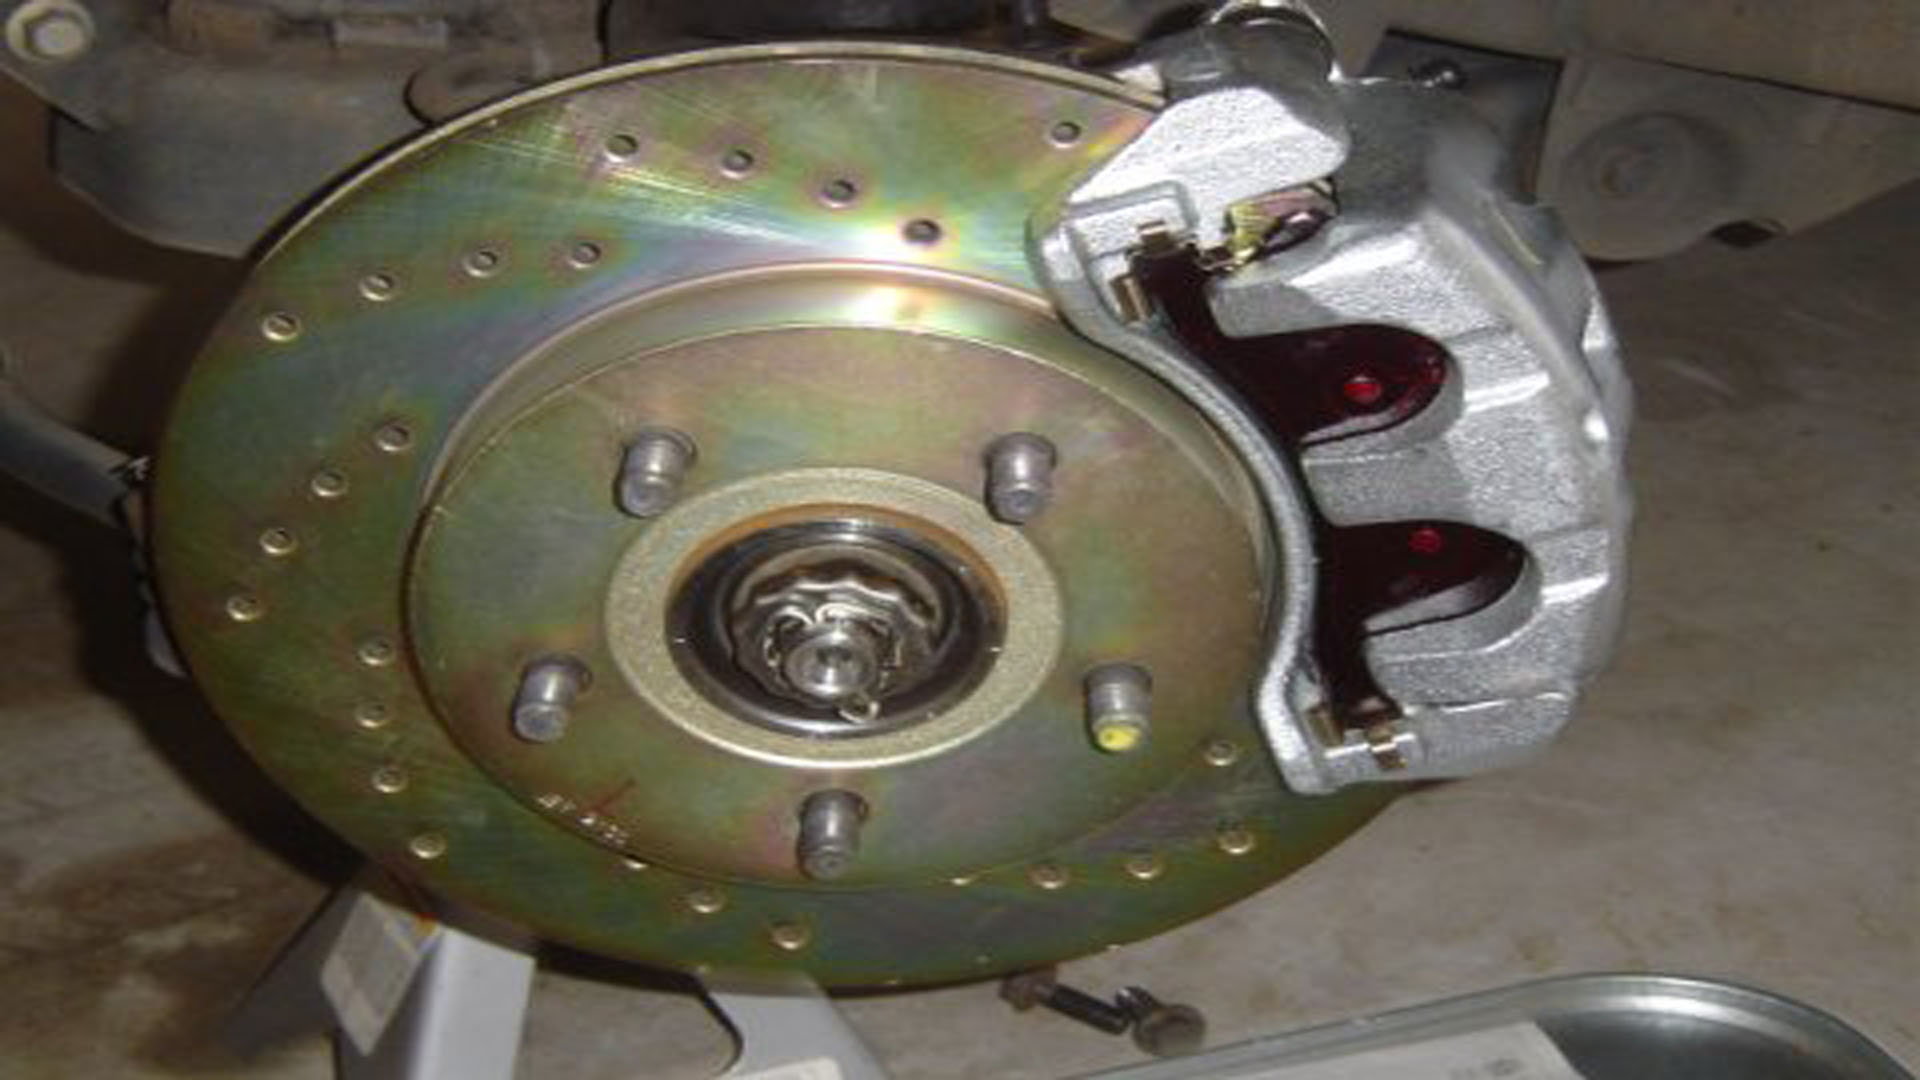
Figure 3. Tundra with front wheel removed.
Pro Tip
Again, you already know this, but don't lose your lug nuts. They'll roll down a driveway and clunk down into a storm drain if you give them half a chance. If this happens, you can use a nut or two off the other wheels to drive to the auto parts store.
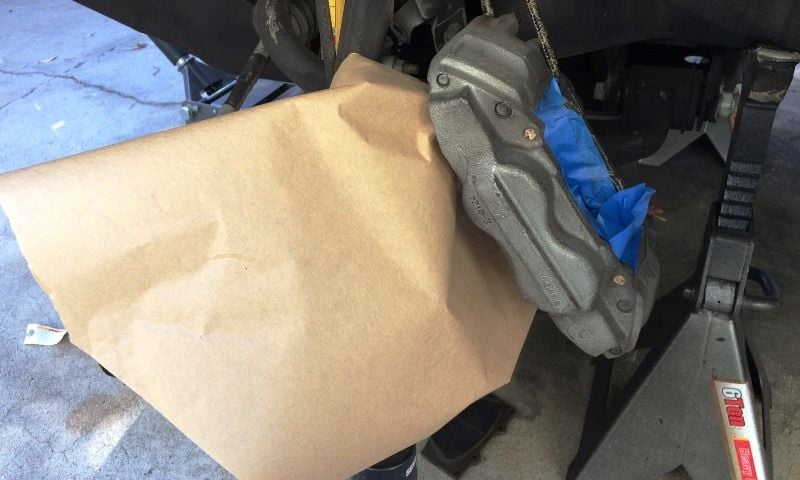
Step 3 – Mask off work area
At this point you'll be faced with a decision: do you want to paint your calipers with them still on the truck, or do you want to do the job right like the hardy men and women who built your great country would have?
We're not trying to tell you how to live. You're a grown person (presumably), but it's probably best to remove the calipers for painting.
It might seem like a no-brainer that it's easier to paint the calipers without removing them from the truck. You save yourself the trouble of dealing with brake fluid and bleeding the brakes when you're done. But you also run the risk of over-spraying paint onto your rotor or truck (if using a spray product), or getting paint onto your brake pads. Using painter's ape, newspaper, or aluminum foil, mask of your work area so that paint, cleaner, and/or any other flying debris doesn't go anywhere it doesn't need to.
Figure 4. Painting a caliper on the truck.
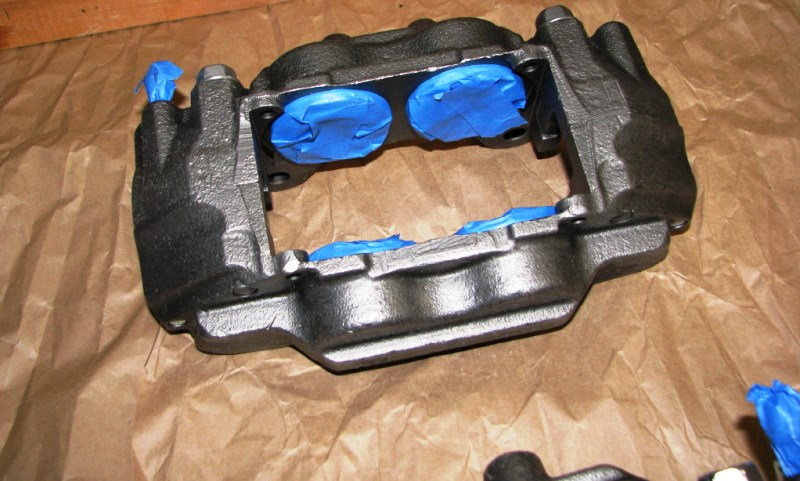
Figure 5. Brake caliper masked for painting.
Pro Tip
Don't drip paint onto your driveway, especially if you're a renter. Your landlord will not be amused, even if your truck looks awesome.
Step 4 – Make sure your calipers are clean
That's how it goes with painting things. Prep is everything.
If you bought a kit, you might have a spray bottle of cleaner or you can spray your brakes down with brake cleaner. Whatever your option of choice, you want to make sure that you are applying the paint to clean metal that has no grease, brake dust, or filth on it. This might be the most work you do during this whole process.
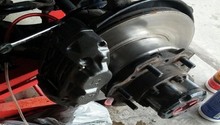
Figure 6. Make sure to remove any dirt from your calipers.
Step 5 – Paint your caliper(s)
Either brush or spray on your chosen paint. There are several kits to choose from in various colors from black to crazy sparkles. Follow your kit's instructions on how many coats to use and how long to wait in between, or read the can of paint if you're making your own kit.
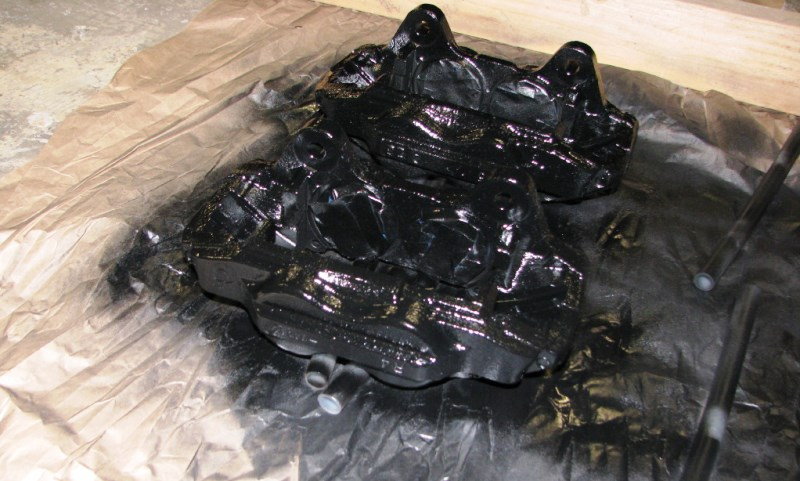
Figure 7. Calipers with a fresh coat of black paint.
Step 6 – Let paint dry and admire your work
If you've applied the coats your instructions advise, then it's now time to stand back and admire your handiwork while you wait the requisite amount of time. Seriously, Tom Petty is right, this is the hardest part.
If you did this the right way [cough!], then you'll also need to reinstall your calipers, bleed the brakes, and put your wheels back on. A link to a video on how to bleed brakes is at the bottom. If you didn't take the calipers off, make sure to remove any masking you put in place before you go bolting the wheel up and driving around. Either way, make sure to properly tighten all the lug nuts.
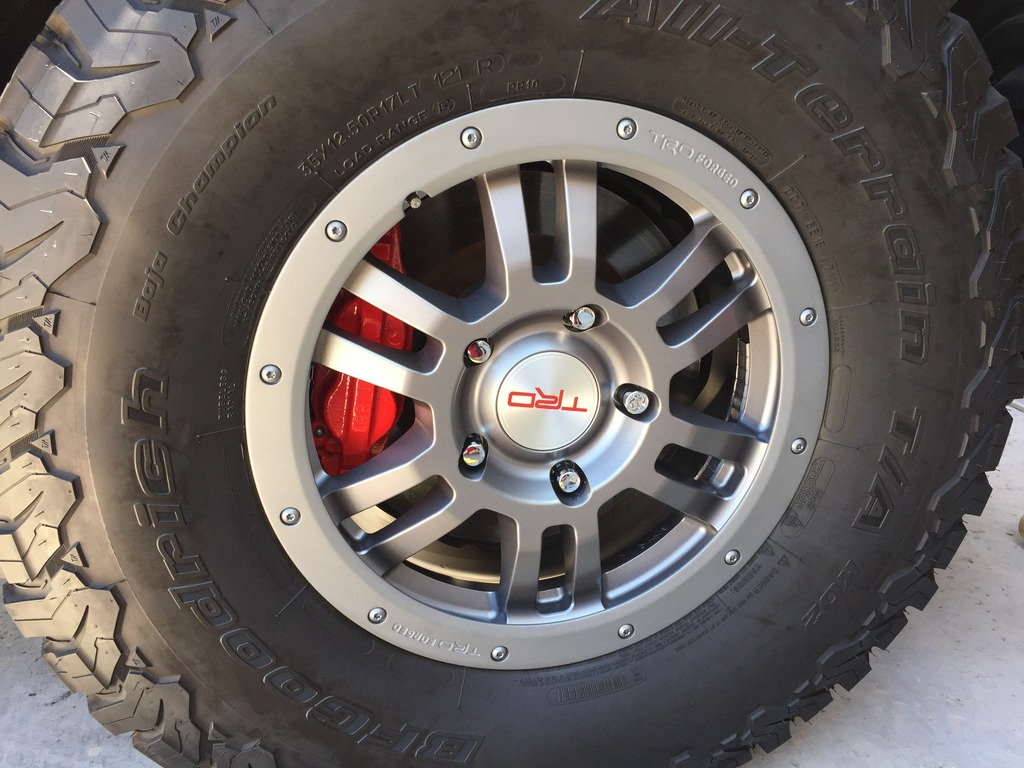
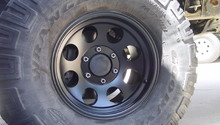
Figure 8. Tundra wheel with nifty new red caliper.
Pro Tip
Some kits require that you wait 24 hours after painting to let the paint cure before use! Respect the time your paint needs or you might end up with ugly fingerprints in it, or see it flaking off in a very short amount of time.
Toyota 4Runner Tacoma Tundra How to Plasti-Dip Rims
How to Plasti-Dip Rims
Add several coats of Plasti-Dip to the rims of your Toyota truck for a bolder, more aggressive look.
This article applies to the Toyota ...
Toyota Tacoma Powder Coating Calipers
How to powder coat calipers
Give your calipers a looks that really pops.
This article applies to the Toyota Tacoma (1996-2015) and Toyota 4Runner (1984-2002).
So you just ...
Toyota 4Runner Brake Fluid Replacement
How to Replace Brake Fluid
Make sure your brakes are in good condition.
This article applies to the Toyota 4Runner (1984-1995).
Brake fluid is hygroscopic, meaning it ...
Toyota Tacoma Upgrading Brakes to Tundra 231mm
Tundra 231mm Brake Upgrade
Give your truck some real stopping power. Upgrade to Tundra brakes.
This article applies to the Toyota Tacoma (1996-2015).
The 231mm ...
Toyota Tundra Replacing Brake Pads, Calipers, and Rotors
How to Replace Brake Pads, Calipers, and Rotors
Stay safe and make sure your Tundra's brakes are in good working condition.
This article applies to the ...
Toyota Tacoma Brake Master Cylinder Replacement
How to Replace Brake Master Cylinder
Does your brake pedal feel spongy?
This article applies to the Toyota Tacoma (1996-2015).
The master cylinder in the Toyota ...