Toyota Tundra: How to Install Halo Headlights
If you’re looking for an affordable way to make your Toyota Tundra stand out on the road, consider upgrading your current headlight assembly for halo headlights instead. Installation is easy and can be done at home.
The article applies to the Toyota Tundra (2000-present).
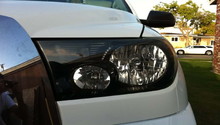
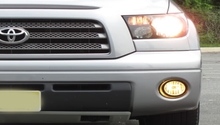
A popular trend among Toyota Tundra owners is to upgrade the vehicle’s headlight assembly to halo headlights. If you are ready to change the look of your Tundra by installing halo headlights, then continue reading for the easy step-by-step guide.

Materials Required
- Halo headlight kit
- Phillips head screwdriver
- Plastic removal tool
Step 1 – Remove headlight supports
Start by popping the hood for access to the upper headlight mounting bolts. The headlight assembly has two tabs or brackets that secure the headlight to the radiator core support. Use your 10mm socket and remove the bolts that secure it. Next, take the plastic walls off below the headlight, they use 10mm mounting bolts initially, and then use a plastic removal tool to finish removing them as they get wedged in. This will give you a lot of room to work with, and make the installation process a lot easier later on. Once that’s complete, remove the plastic clips and 10mm bolts atop the headlight assembly.
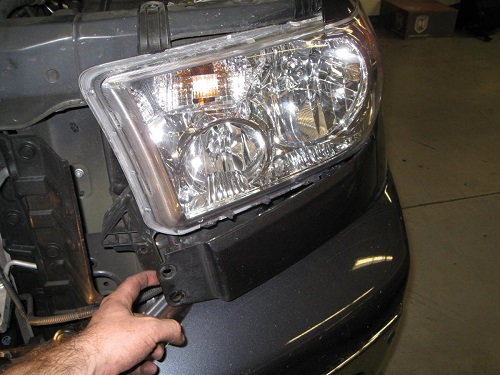
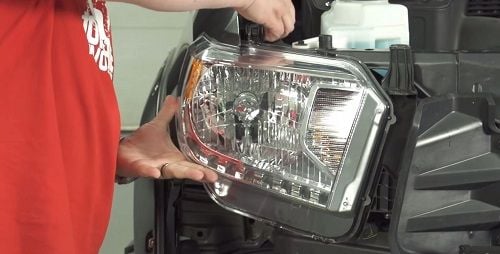
Step 2 – Remove the headlight assembly
Now the headlight should be loose. Slowly remove it until the headlight bulbs and their respective wiring harnesses are visible. Use your Phillips-head screwdriver to remove the set screws that secure the bulbs to the back of the housing, and then remove the bulbs and set them aside. Do not yank or stretch the harnesses or pull too hard on the bulbs; it will only go poorly for you.
Warning
Do not touch the headlight bulbs with your bare hands. Your fingerprints will create hot spots on the bulb and cause premature failure of the unit.
Step 3 – Install the halo headlight assembly
Begin installing the halo and LED wires to the driving lights. The black wire should be connected to the ground wire of the driving lights, and the white wire should connect to the positive wire of the driving lights. If you want, you can also connect the black wire from the Halo and LED wires together with the ground wire of the driving light, and connect the white wire from Halo and LED on the positive wire of the driving light.
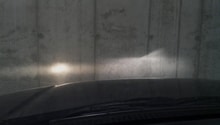
Once you are confident everything is hooked up, check the wires for damage and zip tie them together to ensure clean organization. Now turn the lights on to ensure proper operation. If running properly, move on to test the high beams and blinkers.
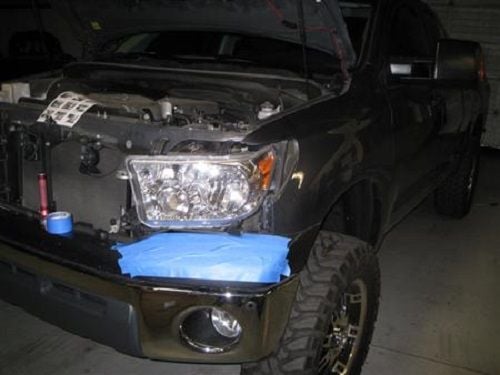
Step 4 – Reinstall assembly kit
If the assembly is operating properly, slide the kit back into place and secure the black plastic plugs. Next, tighten the bolts atop the assembly. Finally, reinstall the plastic walls below the headlights.
Again, test the lights out to ensure no wires were pinched/severed during the assembly's re-installation.

Featured Video: Toyota Tundra LED Headlight Installation
Related Discussions and Site
- Projector Headlights - YotaTech.com
- Halo Headlights - YotaTech.com
- How to Wire Aftermarket Halo Style Headlights - TundraTalk.net