Toyota Tundra: How to Install Car Stereo
Updating the radio in your Tundra is one of the more significant upgrades you can make to the vehicle. That’s because it not only improves the value of the car, it improves the driving experience too. Toyota’s made it easy for owners to make this upgrade themselves. Read on to learn how.
This article applies to the Toyota Tundra (2000-Present).
In the market for a new radio in your Toyota Tundra? Well, the bad news is there are a ton of makes and models to choose from. The good news is that no matter which model you go with, it’s likely to be pretty easy to install yourself. A new radio can really improve your driving experience. To learn how you can do it yourself, in under an hour’s time, read on.

Materials Needed
- New radio
- Plastic pry tool
- Ratchet set
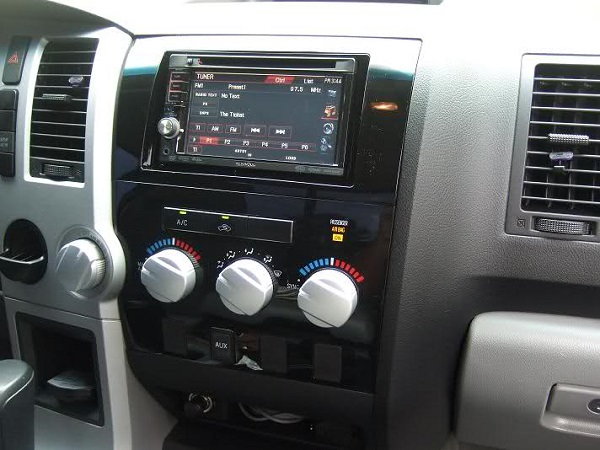
Step 1 – Disassemble dash
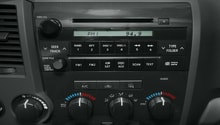
To access the radio, we first need to pull away the plastic trim surrounding it to expose the radio's mounting bolts. Start by un-clipping the dash bezel and temperature controls using a plastic pry tool.
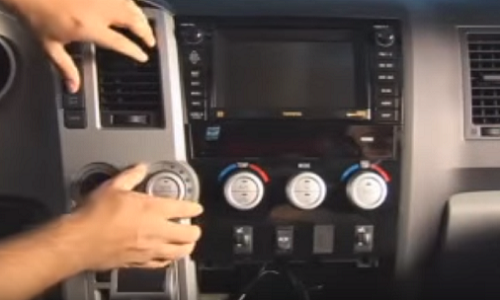
Figure 2. Trim side pieces coming off. 
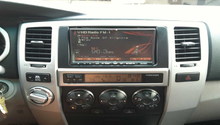
Figure 3. Radio accessed.
Step 2 – Remove radio
Carefully remove bolts using ratchet set and place to the side for safekeeping; on most models, these are 10mm bolts. Slide the head unit out and disconnect the wiring harnesses.
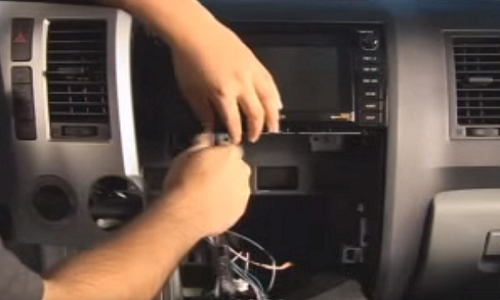
Figure 4. Removing the head unit. 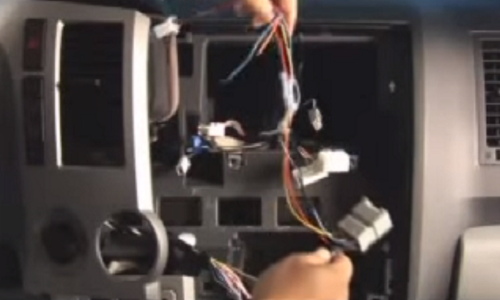
Figure 5. Unclip the harness.
Step 3 – Install new radio
Connect the new radio harness with the existing, in-vehicle harness. Once connected, connect opposite end of new harness to new radio. Connect all appropriate RCA connections, and match colored wires with colored inputs on back of radio.
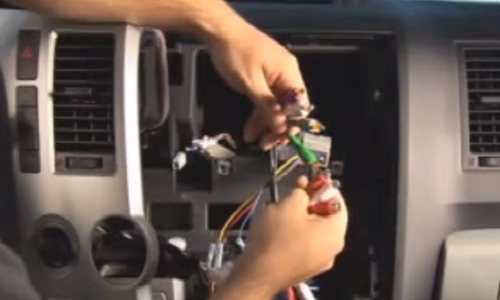
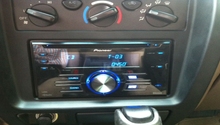
Figure 6. Match the factory harness up to the new radio cables. 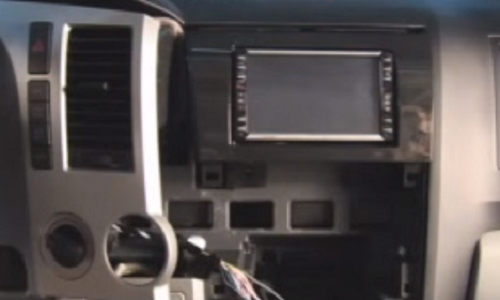
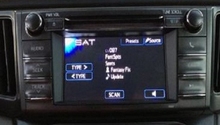
Figure 7. New radio in place.
Step 4 – Put it all back together
Slide new radio back into place. Before putting the dash back together, test the radio to ensure it powers on. Assuming all goes well, bolt the radio into its housing unit, and secure dash face back into place.
Featured Video: Stereo Replacement Installation in Toyota Tundra
Related Discussions
- Aftermarket Radio Install No Rear Speaker Sound - YotaTech.com
- 2005 Tundra non JBL Radio Install - YotaTech.com
- 2002 4Runner Stereo Install - YotaTech.com
- Where Did You Install Front Speaker Cross-over - YotaTech.com