Toyota Tundra: How to Black Out Headlights
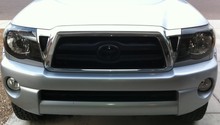
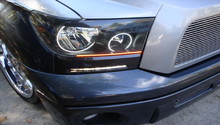
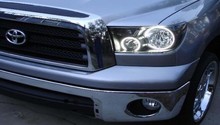
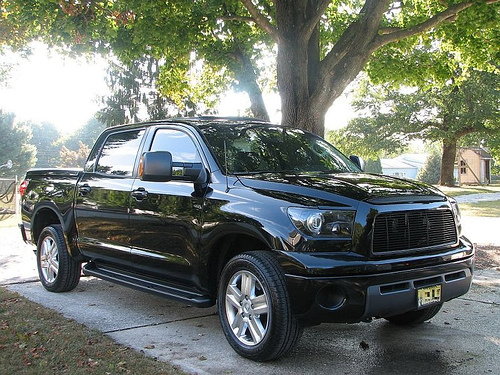
Looking for a cheap, easy way to modify the look of your Toyota Tundra? Consider blacking out the truck’s headlights. The process is pretty simple, it’s super cheap, and the end result is a whole new look to your car.
This article applies to the Toyota Tundra (2000-present).
Blacking out the housings of your headlights is a common DIY modification to improve the looks of your rig. Fortunately for us, doing this modification does not require much in the way of supplies. Black spray paint of your choosing and the oven in your kitchen will do most of the legwork. Yes, you heard right, an oven. Intrigued? Read on for this easy how-to guide for blacking out your headlights.

Materials Needed
- Phillips head screwdriver
- Flat head screwdriver
- Plastic removal tool
- Primer spray paint
- Black spray paint
Step 1 – Remove encasement materials surrounding headlights
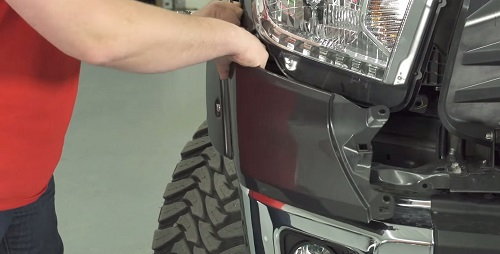
Take off the plastic walls below the headlight using a plastic removal tool (helps to avoid scratching your Tundra). Once that’s complete, remove the plastic clips and 10mm bolts atop the headlight assembly.
Step 2 – Remove the headlight assembly
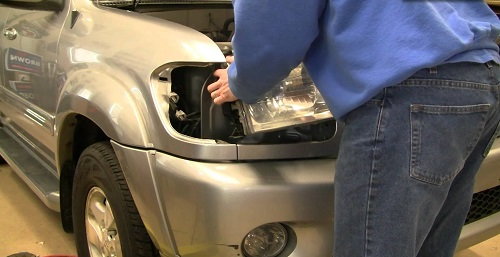
Slide the headlight assembly out of the Tundra, leaving behind the bulbs and wires in the truck.
Step 3 – Bake the assembly in your oven
Preheat your oven to 215 degrees Fahrenheit. While the oven heats up, look at your assembly up and down to check for screws that might be holding the outer shield to the assembly (varies depending on whether this is an aftermarket headlight assembly or not). Remove screws as appropriate.
When complete, place headlight assembly in oven for 15 minutes. Once time has passed, remove the assembly and using a flat head screwdriver, begin to pry the back half of the housing off the assembly. There will be a lot of loose/soft glue, so take your time and use your hands to wiggle the shield off the assembly when needed. The lens should slowly separate from the back of the housing.
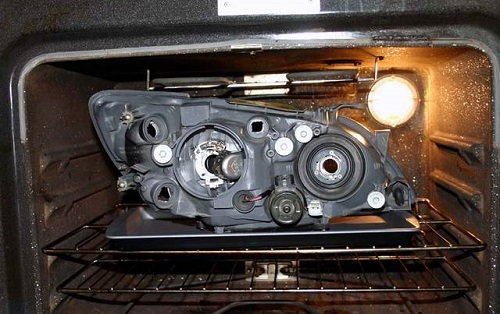
Step 4 – Remove the chrome housing and back bezel
Remove these components and place to the side for safe keeping. Begin masking the areas of the assembly you do not want blacked out (e.g. the orange reflector area).
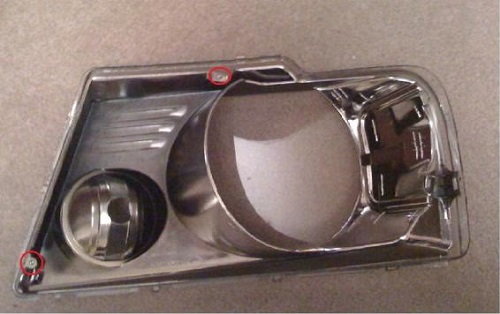
Step 5 – Prime and paint
Begin spraying the assembly with primer. Do not go heavy with this—two to three coats should do the job. Allow to dry for 45 minutes to an hour. Wet sand if you want.
When complete, paint the housing unit. Any form of black will do, though the popular option is to go with is gloss black. Two to three coats should provide an adequate foundation; when satisfied with coverage, finish with a final heavy coat. Allow the paint to dry and cure overnight.
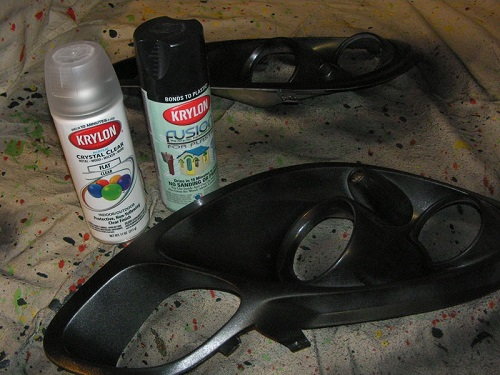
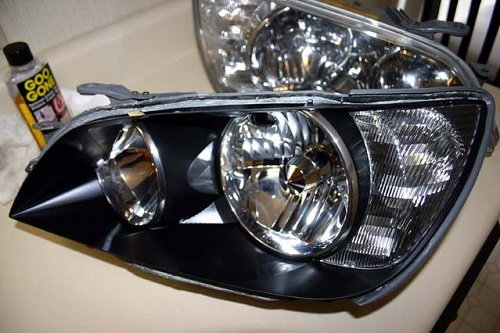
Step 6 – Check for even coverage and replace assembly
If the paint looks to be evenly applied across the assembly, preheat your oven to 215 degrees. Place the shield back into the housing, making sure to align all tabs up properly as you do so. Press hard to ensure you get the headlight aligned correctly.
Bake the headlight for 15 minutes to soften the glue. When you remove the assembly, squeeze the headlight together as hard as you can so it reseals properly. Replace any screws you removed and tighten.
Reinsert bulbs and wires, then slide the assembly back into its housing unit within the Tundra.
Turn the car on and check the quality of the headlights to ensure you are satisfied with the overall look of the modified units. If so, replace plastic clips and tighten top screws.
Featured Videos: Tundra Blackhoused Headlights
-
Tundra Black Headlight Mod
-
Colored Headlight Housings
Related Discussions and Site
- Black Headlights Installed - Before/After - YotaTech.com
- JDM Black Headlights - YotaTech.com
- Photos of New Brake and Headlight Upgrades - YotaTech.com
- DIY Black Headlight Mod Video Tutorial - TundraSolutions.com

