Toyota Tundra 2000-Present: How to Change Transfer Case Fluid
Replacing the transfer case fluid in the Toyota Tundra is a critical piece of maintenance to keeping your 4WD running strongly.
This article applies to the Toyota Tundra (2000-present).
The transfer case only exists for the 4WD Toyota Tundras, or for an all-wheel-drive vehicle. It is located on the back of the truck. Like any gear box, the transfer case has fluid inside of it to keep the gears lubricated and cool. After awhile, the oil loses its thickness which can cause wear and damage to the gears. Like replacing the engine oil, replacing the transfer case's oil is considered a maintenance item with an interval of roughly 30,000 miles. If you don't remember the last time you've replaced your Tundra's transfer case fluid, maybe now is the time. Read on to learn how to do it.

Materials Needed
- Socket (12mm and 24mm)
- Transfer case fluid
- Drain pan
- Fluid pump
Step 1 – Remove skid plate
The transfer case is protected by a skid plate on the bottom rear of your Tundra. Remove the bolts holding it in place to remove it.
Step 2 – Drain fluid
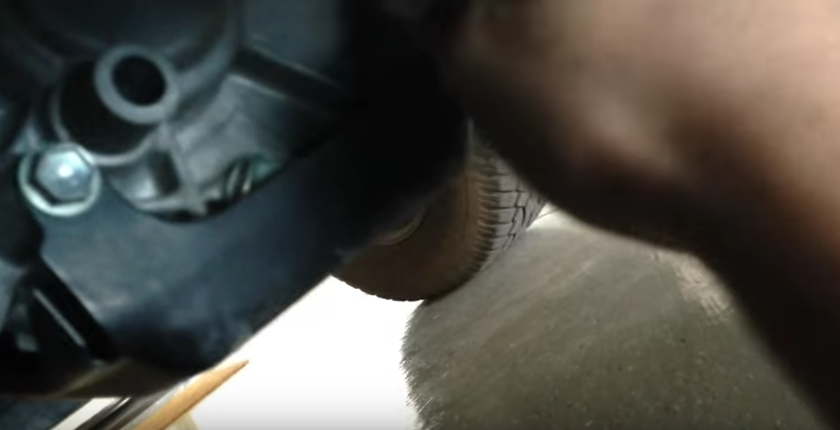
Place the drain pan under the transfer case. Using your 24mm socket, remove the top bolt, then remove the lower one as shown below.
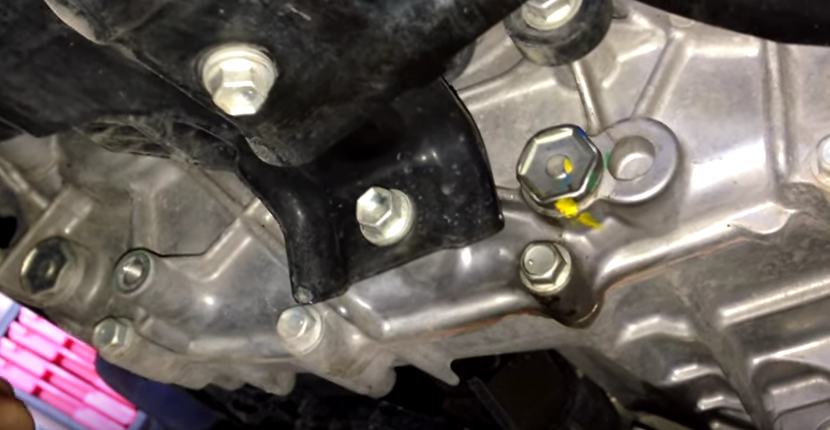
Figure 2. Remove bolt marked in yellow. 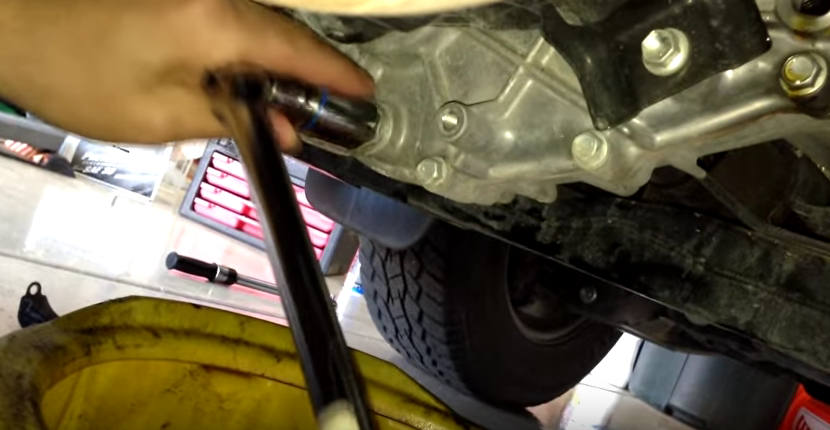
Figure 3. Remove drain bolt. 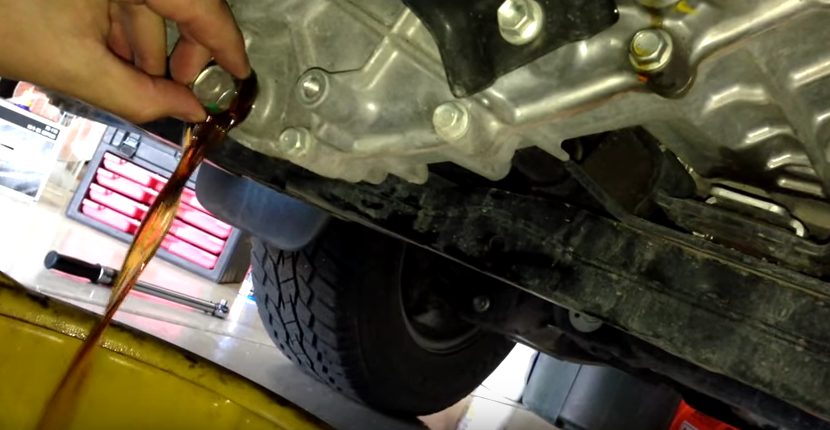
Figure 4. Drain transfer case.
Step 3 – Fill transfer case with fluid
After tightening the drain bolt, use your fluid pump to pump 1.2 quarts of transfer case oil into the upper hole that you've removed the bolt from. Then, tighten the bolt. Install the skid plate over the transfer case.
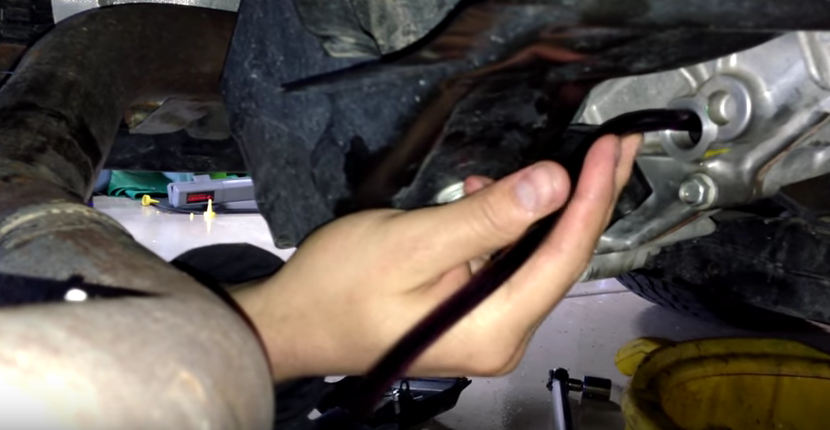
Featured Video: Transfer Case Fluid Change
Related Discussions
- Transfer Case Fluid - YotaTech.com
- Changing Transfer Case Fluid - YotaTech.com


