Toyota Tacoma: Lift Kit Review and How to Install Lift Kit
So you want to lift your Taco, but don't know where to start?
This article applies to Toyota Tacoma (1996-2015).
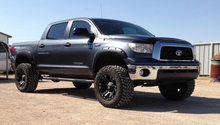
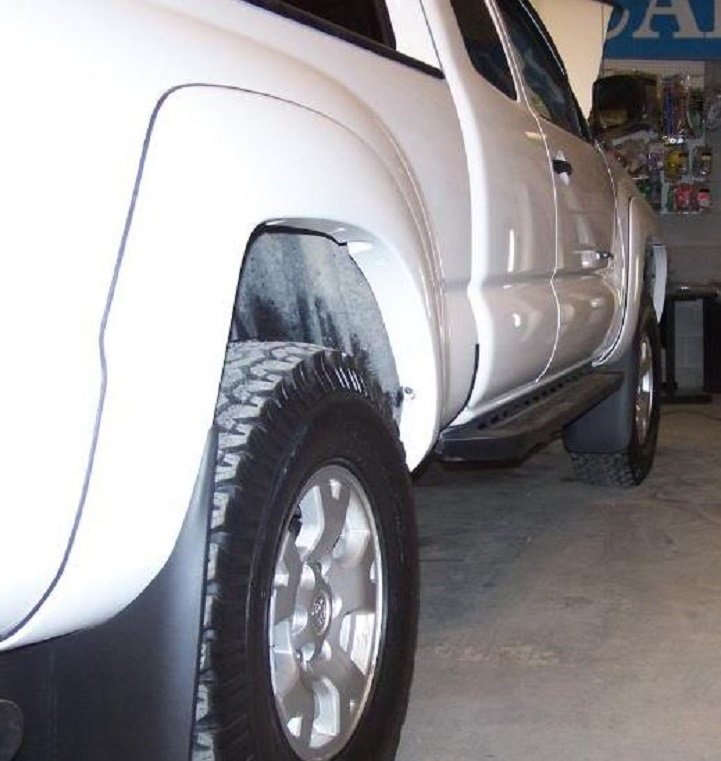
A lift gives your Tacoma a nice new look, as well as a new ride and feel. Deciding on which lift kit is right for you can be a daunting task. These are not the cheapest DIY jobs out there, so picking the right one for you is vitally important. You need to decide on the height, whether or not you want a rake, the stiffness or softness of the ride, the handling and whether or not you want huge wheels. Such a myriad of factors come into play when you are looking for a lift kit for your Tacoma. One of the largest factors, as with anything, is the cost. Are you looking for the cheapest lift kit possible? Are you willing to sacrifice quality for a cheaper price? Read on to help make your purchasing decision a bit easier and then learn how to install it yourself.
Table of Contents
How to Install a Lift Kit

Materials Needed
- Hydraulic floor jack
- Jack stands
- Torque wrench
- Breaker bar
- Ball joint fork, large hammer, or mallet
- Spring compression tool (for in-strut lift kits)
- Replacement cotter pins
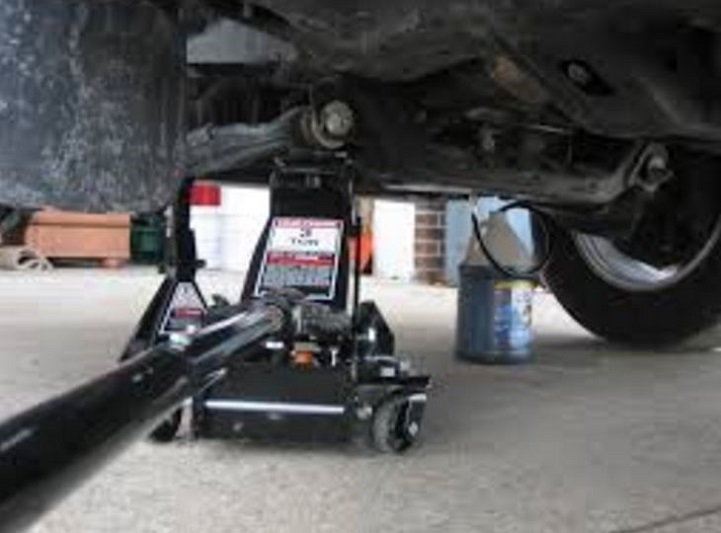
Step 1 – Jack up truck and remove wheels
Use the approved jacking locations and raise up your Tacoma. Place on jack stands. If you have at least four stands, go ahead and jack the entire truck and work on all fours at the same time. Before you actually lift your truck, it's a good idea to break the lugs free first, so you aren't wrenching on the wheels when it's up in the air. Once you have it up on the stands, remove the lugs and take off the wheels.
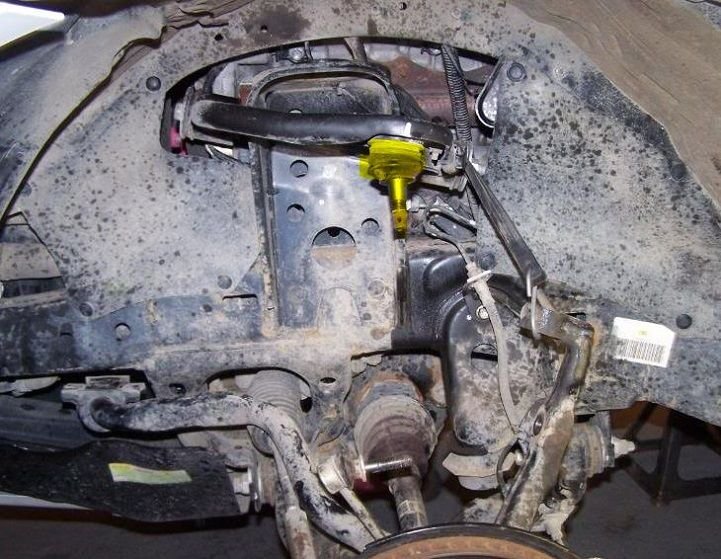
Step 2 – Remove sway bar and separate ball joints
Remove the bolts that mount the sway bar and set it aside. Remove the cotter pin and the bolt for the upper ball joint. If you do not have the special fork tool that makes separating the ball joint much easier, you can use a rubber mallet or other hammer to get it apart. Just be careful on what you are hitting, so that you avoid damaging the ball joint.
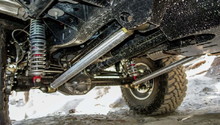
Step 3 – Remove strut and install spacer
This is the most difficult part of this job and will require the use of a spring compression tool. You can purchase a spring compression tool for relatively little cost, or you may be able to borrow or rent one from an auto parts store. Extreme caution must be exercised using the spring compressor. This is inherently dangerous, as the spring is under a great deal of tension. If you are unsure at all about its proper use, simply remove the two strut towers and take them to a professional shop and have them do it for you. Take your spacers with you and they can reassemble them as well. They may charge you a nominal fee, but that's better than injuring yourself and/or damaging your vehicle.
- Remove the three outside bolts on top of the strut tower.
- Do NOT remove the center nut on top of the tower, as this releases the spring pressure and can cause a great deal of damage.
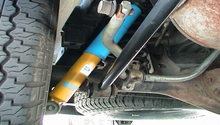
- Remove the lower mounting bolt on the bottom of the shock.
- Have a good grip on the heavy strut and carefully lower it out from the truck.
- If you are using the compression tool yourself, install it on the spring and slowly turn the top center nut until the spring pressure is completely released. Always follow the directions using the tool.
- Once the spring is released, slide it off the tower, and insert your spacer below the tower and above the spring.
- If you are using the same shocks, insert them now or use the new heavy duty shocks that you purchased or came with your lift kit.
- Reinstall the center top nut and torque it to 18 foot-pounds.
- Remove the spring compression tool and your strut tower is ready to be reinstalled onto your truck
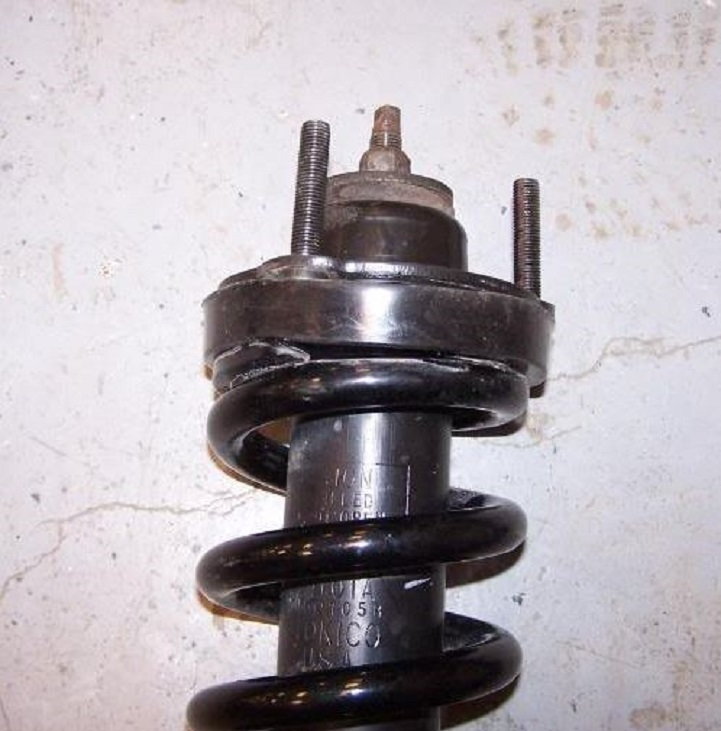
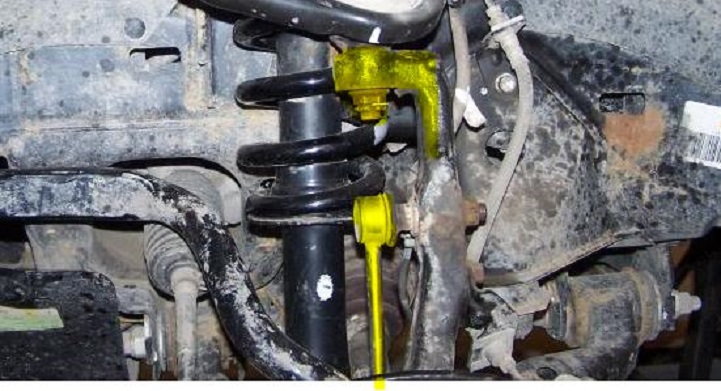
Figure 3. Install the spacer above the spring, tapered side down. 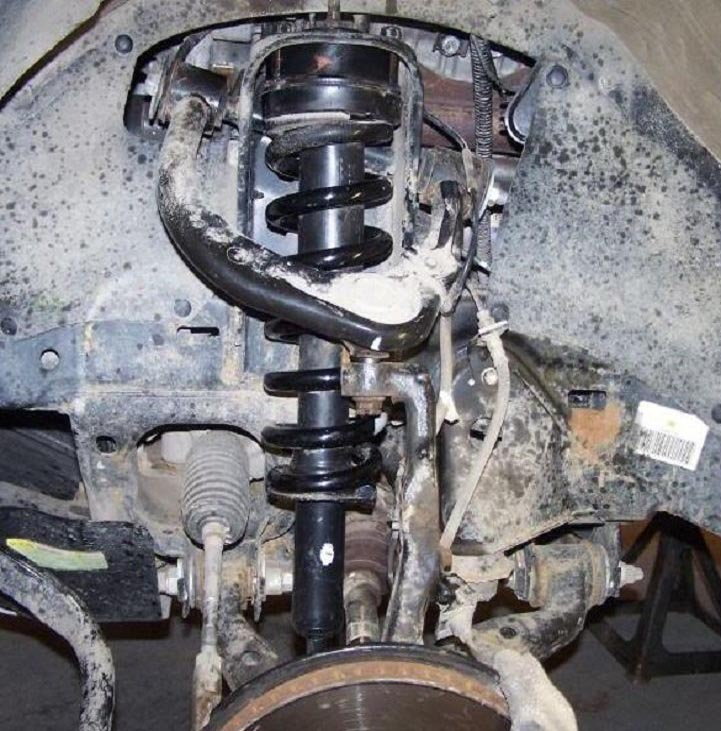
Figure 4. Reinstall the strut tower and torque the lower mounting bolt to 100 foot-pounds.
Step 4 – Replace the ball joints and sway bar
Use your floor jack to lift the control arm in order to reconnect the ball joint. Torque the bolt to 40 foot-pounds and replace (with new) cotter pin. Reinstall the sway bar and end links.
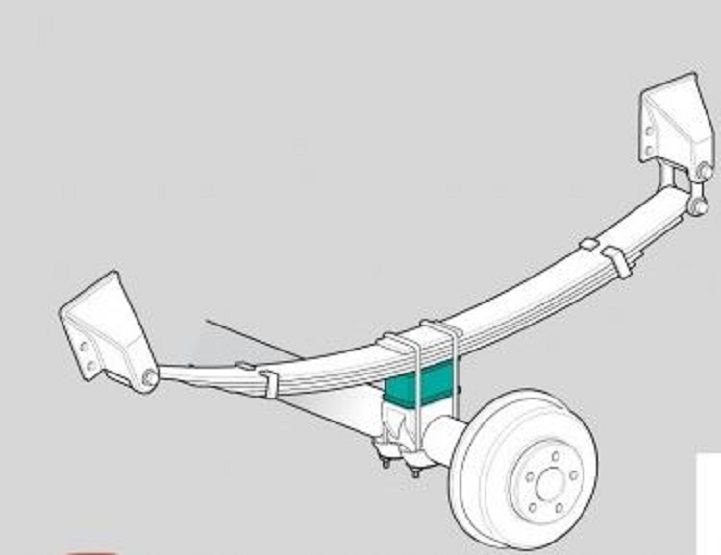
Step 5 – Add spacers to rear
If you are lifting the rear end as well, it is much easier.
- With the rear end lifted, locate the U-bolts.
- The U-bolts connect the leaf springs to the axle.
- Use your floor jack to support the leaf springs.
- Remove the U-bolt nuts and remove.
- Insert your spacer on top of the axle and under the leaf spring.
- Reinstall the U-bolts, or if they were included in your kit, use those.
- Reinstall the nuts and torque to the recommended settings.
Step 6 – Replace wheels and lower truck
When you are finished with the lift, reinstall your tires and hand-tighten the lugs only. Lower your truck and then tighten your lugs completely. Take her out for a test drive and enjoy your new lifted ride.
Featured Videos: Lift Kit Install
-
How to Install a 3" Lift
-
How to Install an OME Lift Kit
Lift Kit Reviews
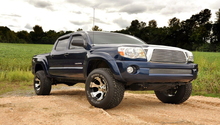
if it's time for you to do some off-road running, you'll need a good lift kit for your Tacoma. There are quite a few choices out there, and you'll want to make the best decision for your truck as well as your wallet. Some lift kits are specifically designed for the hard terrain of the off-road, and some are just fine for the daily drive. No matter what type of lift you use, you will definitely see a difference in your fuel economy as well as the ride itself. Some are super stiff and others are pretty loose, or compare a great deal to the stock setup. You first must decide why you want the lift and what your primary purpose of your truck is going to be. Installing a lift isn't the easiest job in the world, so you want to be sure to pick the best one for you, so you won't have to do it all over again. Here are a few different lifts for you to look over to help you make the wisest decision that you'll be happy with for many years down the road.
OME |
Rough Country |
DayStar |
Revtek | |
|---|---|---|---|---|
Price |
$750 | $250 | $140 | $415 |
Lift Height |
3" |
3" |
2.5" |
3" |
Ride Quality |
Light/Med/Heavy depends on coil | Little Stiff | Comfortable | Very Stiff |
Tire Fitment |
Up to 33" | Up to 33" | Up to 31" | Up to 33" |
Best Value: Rough Country
OME

Price – $750
Lift Height – 3"
Ride – Standard to stiff depending upon coil used
Tire Size – Up to 33"
The OME brand lift kit is one of the most popular lift kits for the Tacoma. It consistently gets excellent reviews for the high quality materials and fabrication. This kit can be custom built for your particular tastes by choosing front versus rear lift height as well as the type of coil you would like: standard, medium or heavy duty. Recommended for anyone who wants one of the best quality lifts on the market with the ability to customize ride feel.
Rough Country
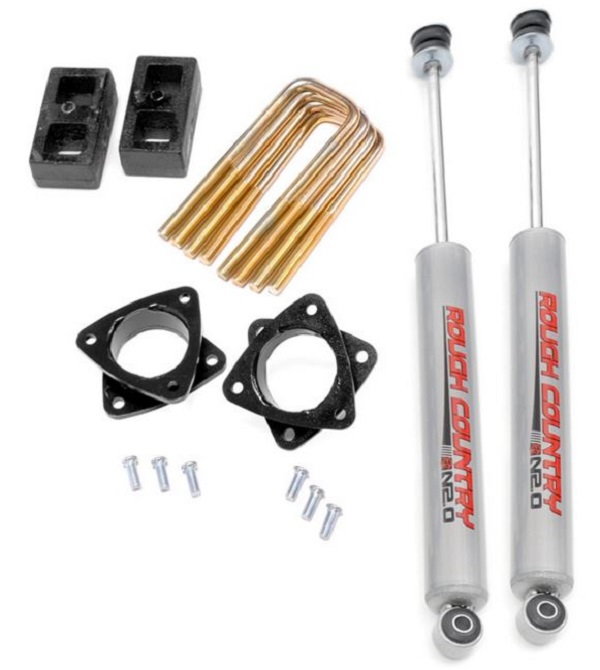
Price –$250
Lift Height – 3"
Ride Quality –Slightly stiffer
Tire Fitment – Up to 33"
The Rough Country kit is a very nice kit for a low price point. This is a great starter lift kit that is pretty easy to self-install. However, there are reports of odd fitment issues that might pose an installation challenge. The ride is slightly stiffer than stock with this kit, but it is touted as still being quite smooth. Recommended if you don't want to spend a large amount cash, but still come away with a high quality, nice looking lift on your Tacoma.
DayStar
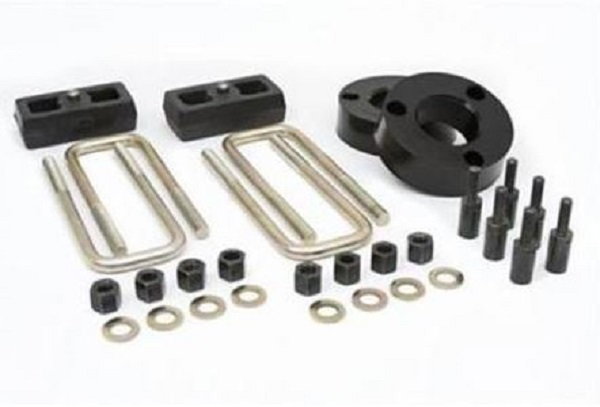
Price – $140
Lift Height – 2.5"
Ride Quality – Comfortable (softer)
Tire Fitment – Up to 31"
The Daystar 2.5" lift is a fairly popular lift, especially for those who don't want to get that high off the ground. It is also one of the more bare bones lift kits on the market today. If you are happy with your shocks, struts, springs and coils, then you shouldn't need to purchase those items in a more expensive kit. This is a really easy install job, basically only adding some spacers and minimal other items. Recommended for those who want a shorter lift, but retain more of the normal stock suspension feel.
Revtek
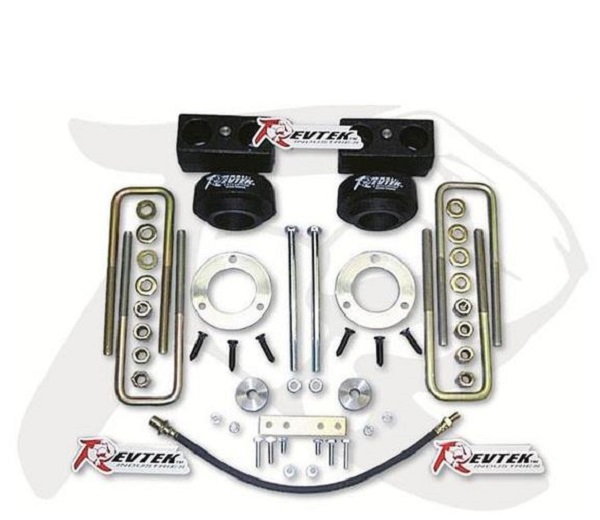
Price –$415
Lift Height – 3"
Ride Quality – Very stiff
Tire Fitment – Up to 33"
Revtek offers a mid-range price point on a quality lift, but the ride is very stiff. Reviews, in regards to handling and performance, have been marginal with this lift kit. This kit does not come with shocks, which will ultimately bring it up into the price range of the OME lifts. In that case, the OME is a better buy, especially since the ride quality can be somewhat customized. Recommended if you want a real stiff ride and use much of your original equipment.
Related Discussions
- Daystar 2 1/2 Leveling Kit Install - YotaTech.com
- Rough Country 3" Lift on 2007 Tacoma Review - YotaTech.com
- OME Lift Kit, Medium or Heavy Duty? - YotaTech.com
- REVTEK 3" Lift Kit - YotaTech.com
- How Does 3" Toytec Lift Ride? - YotaTech.com
- Show Me Your Lift! - YotaTech.com