Toyota Tacoma: How to Replace Struts and Shocks
Don't ride around on bad shocks and struts; get them replaced right away.
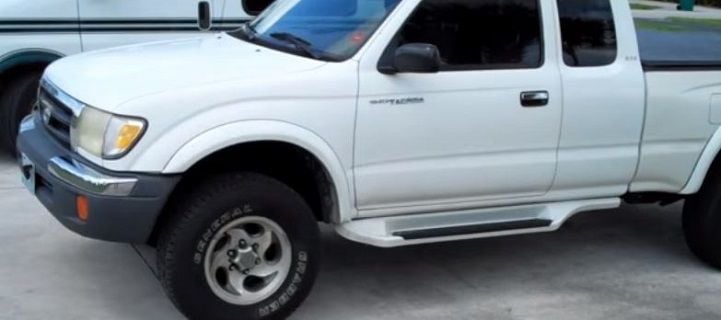
This article applies to the Toyota Tacoma (1996-2015).
If the ride has started to go really bad on your Tacoma, it is time to consider changing your shocks and struts. It is vitally important that you change out the front struts very soon, as the tie rods are rather weak and will quickly break if you continue to run on bad struts. Lucky for you, this is not too difficult a task for you to take on in the comfort of your own garage. The only thing that you need to worry about is getting your hands on a good quality spring compressor, if you are trying to save money and re-use the existing springs and just change the shocks. These are inherently dangerous if you haven't used one before; but if you take your time and follow the instructions, you can get through this task pretty easily. You may be able to rent one from your local auto parts store. The labor to do this job is a small fortune, so if you take this on yourself, you'll save enough cash that you can purchase some high performance or top of the line shocks. If you spend the extra money you saved from doing this job yourself, you can get yourself a pre-assembled strut system and replace the entire unit, more easily than it was taking the old system out.

Materials Needed
- 3/8" drive ratchet and ratcheting wrench
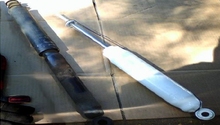
- Spring compressor
- Replacement shocks and strut assembly
- Hydraulic floor jack
- Jack stands
- Wheel chocks
- 17mm socket
- Crescent wrench
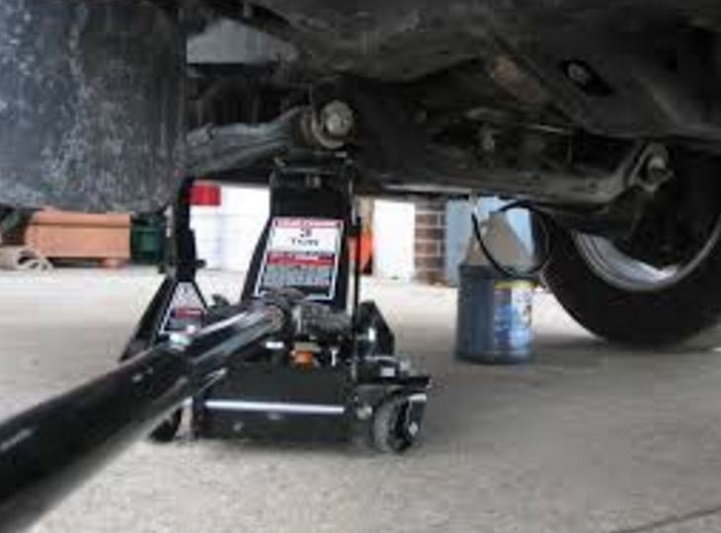
Step 1 – Jack up truck and place on jack stands
You can jack the entire truck up if you have a least four jack stands, or you can do one end and then the next. If you only do one end at a time, be sure to chock the wheels on the ground in both the front and behind to prevent any rolling. Before you lift, break the lugs free on the tires first. Use a hydraulic floor jack to lift the truck in the recommended area and then place on jack stands.
Pro Tip
Always use jack stands when working under your truck and chock the wheels if the entire truck is not lifted.
Step 2 – Remove front tires
Remove the lugs and pull off the wheels.
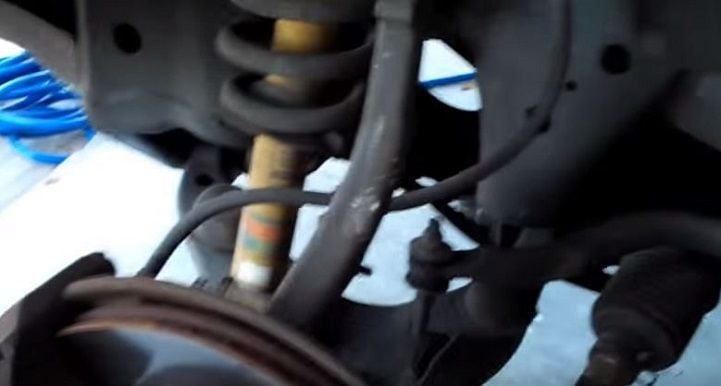
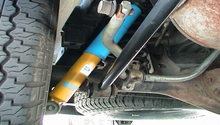
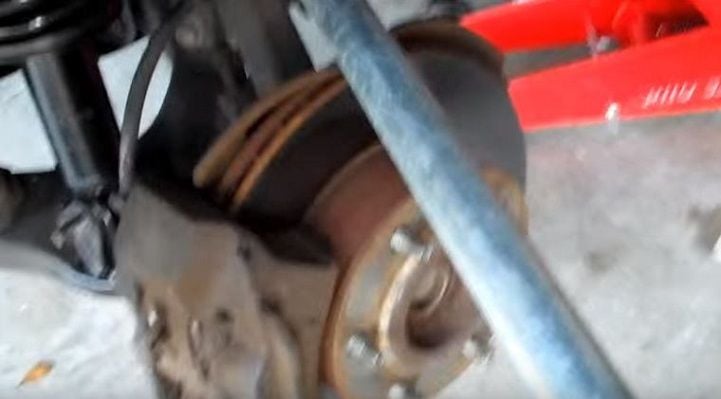
Step 3 – Remove lower shock mounting bolt
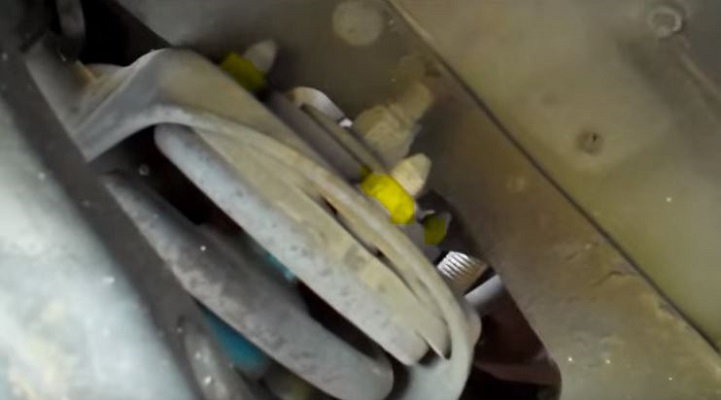
You will need either a very long handled ratchet or a breaker bar. The 19mm lower mounting bolt for the shock will likely be seized on pretty tight. You'll need some serious leverage to get this off. You might consider using some PB Blaster or other penetrating spray and let it soak for a while before proceeding. Otherwise, wrench that bottom bolt off completely.
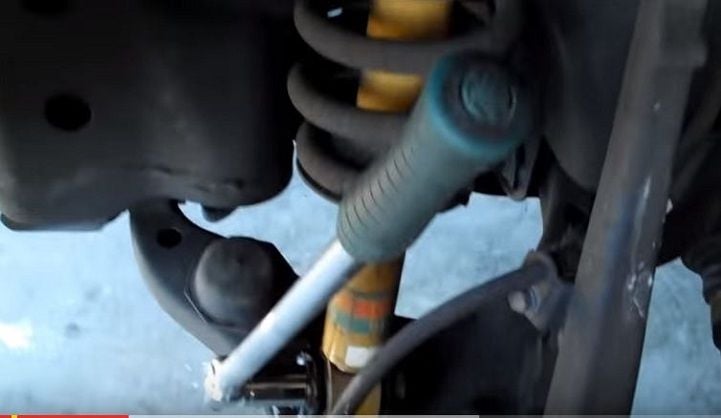
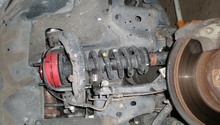
Step 4 – Remove the strut tower
There are three mounting bolts at the top of the strut tower and one bigger bolt in the center. Do NOT touch the center bolt as this is for the spring compression and you'll seriously injure yourself. Remove the other three bolts that mount the strut to the top of the tower. Once the bolts are removed, the entire strut assembly will come right down and out. It is rather heavy, so take care that you don't let it go crashing to the floor.
Step 5 – Mount the new strut assembly
If you purchased an entire new assembly, the installation is pretty simple; though you may run into one tricky issue with lining up the lower mounting bolt.
- Mount the assembly to the tower first.
- You may find that this strut is a bit longer than the one you removed.
- You may need to get the suspension to drop low enough in order to line up that lower shock mounting bolt.
- You can borrow a spring compression tool and shorten the length of the new assembly to match that of the old.
- You can use the floor jack to jack up on the upper control arm to get the suspension to drop.
- You can also remove the A-arm bolt and let the suspension completely drop, which may be the easiest method for a one-person DIY job.
- You can use a long bar to wedge and forcefully get the bolt holes to line up, but you risk some damage of the areas you used as a wedge.
Step 6 – Remove and replace the rear shocks
Jack the rear of your truck up, chock the front tires and remove the rear wheels. The best place to jack is under the rear differential and then place jack stands on the axle on either side of the differential. Again, use penetrating spray lubricant on the mounting bolts for the shocks. These are not coilover shocks or struts, so they are much easier to come off than the fronts.
- Spray mounting bolts with lubricant and let sit for a short while.
- Start with the upper shock mount.
- Use a Crescent wrench to hold the shaft still.
- Use a ratcheting wrench to loosen and remove the upper mounting nut.
- Use a Crescent wrench to hold the lower nut and a ratchet and socket to remove the lower mounting bolt (19mm).
- The shock will drop right out much easier that the front struts came out.
- Transfer the accessory hardware from the old shock over to the new shock.
- Mount the shock at the upper mounting bed, but hand-tighten only to maintain some play when mounting the lower.
- Mount the lower shock back onto the bolt and tighten completely.
- Tighten the upper mounting points completely.
- Repeat for the other side.
Figure 6. Remove the upper mounting bolts first. 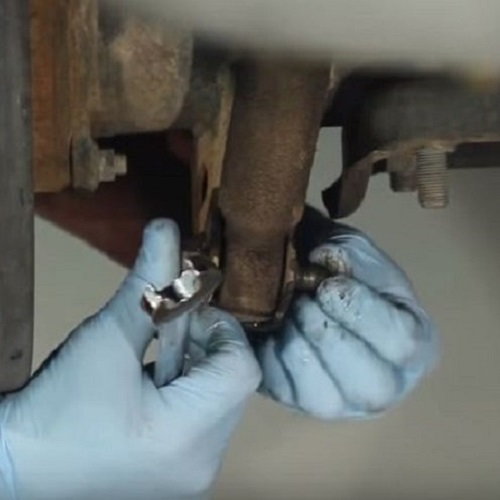
Figure 7. Remove the lower rear mounting bolts next. The shock will drop straight away. 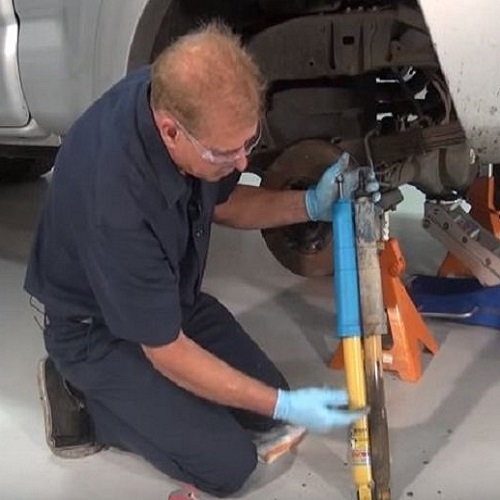
Figure 8. Transfer mounting hardware from old shock to new and then mount the new shock; top first, then bottom.
Step 7 – Mount rear wheels and drop the truck
Once the rear shocks are completed, re-mount the rear tires, drop the Tacoma and take her for a test drive. If everything checks out, consider scheduling your truck for a wheel alignment to ensure that no alignment settings were compromised when the suspension was disassembled.
Featured Videos: Toyota Tacoma Damper Replacement
-
Front Strut Replacement
-
Rear Shock Replacement
Related Discussions
- 03 Tacoma TRD, Front Struts or Shocks? - YotaTech.com
- When to Replace Shocks? - YotaTech.com
- Tacoma Front Shock/Strut Bushings? - YotaTech.com
- Installing New Struts/Shocks - DIY or Professional? - YotaTech.com