Toyota Tacoma: How to Replace Serpentine Belt
Routing that serpentine belt can seem like a real pain. Fortunately, it is not too hard to replace that belt.
This article applies to the Toyota Tacoma (1996-2015).
Different types of vehicles make use of drive belts to run their accessories, such as the alternator or air compressor, on a engine. While some cars have a specific drive belt per accessory, others make use of a serpentine belt to run all of them. Due to the many different types of engine variations the Tacoma has, there are several different types of serpentine belt setups. However, each one requires a similar disassemble, as explained here.

Materials Needed
- 14mm socket
- New belt
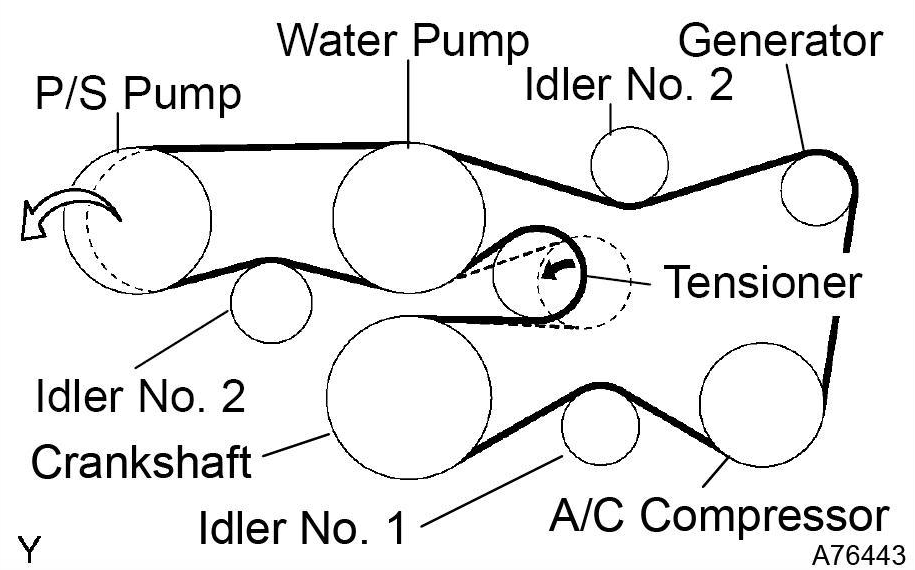
- Belt diagram
Step 1 – Remove the old belt
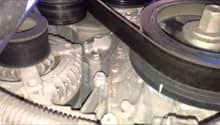
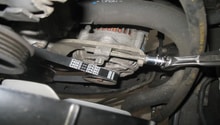
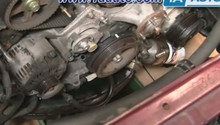
Although this a very easy to do, it does take a bit of time maneuvering it off all of the pulleys. The belt is held in place by the use of a special component called the tensioner. This pulley is mounted on a swivel that can be loosened by rotating it clockwise with a ratchet. When the tensioner is loosened, the belt gets enough slack to give your hands space to remove it. After lifting the belt off, gently allow the tensioner to move back to its location. The location of every tensioner varies according to the type of engine you have, but is generally found on the upper portion of the pulley assemblies.
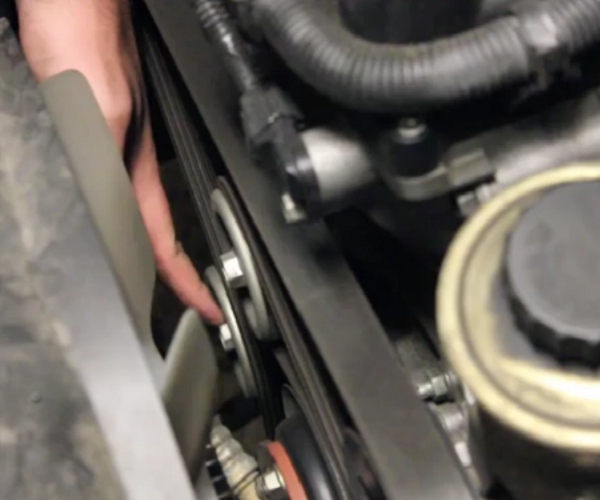
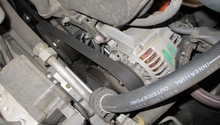
Figure 2. Shows the location of the tensioner pulley. 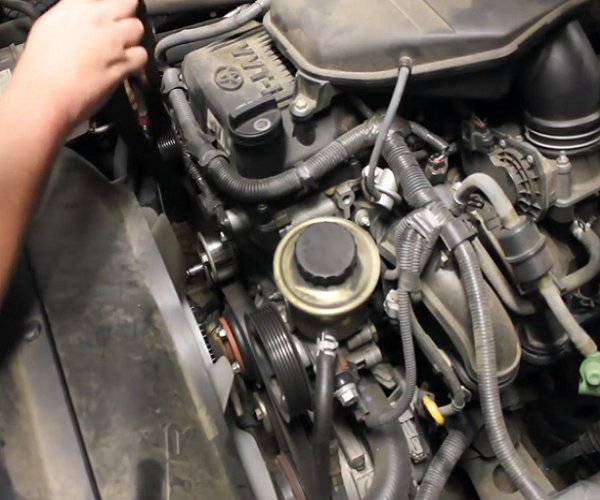
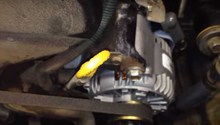
Figure 3. Loosen the tensioner pulley. 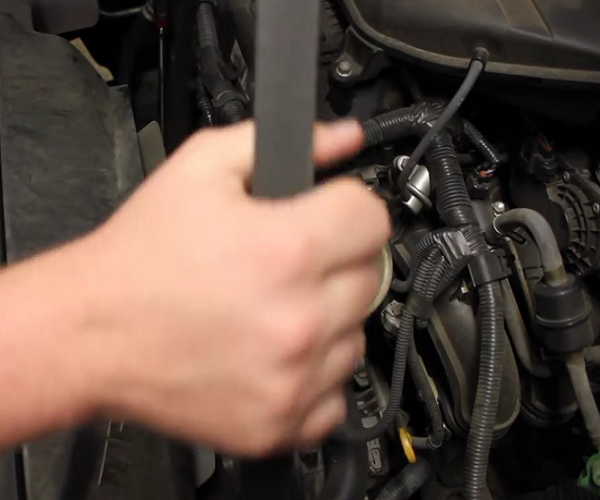
Figure 4. Remove the serpentine belt.
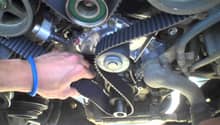
Step 2 – Install the new belt
This is where having a diagram is very important. Routing the belt incorrectly can lead to you accidentally stretching it out and ruining the rubber. Using your diagram, be sure to properly route the loose belt to through each pulley. Some of the pulleys will not be easy to reach and may require you to crawl under the vehicle. When the belt is properly routed, you will notice that it will not be able to fit over the last pulley. Here you have to move the tensioner away and slide the belt onto the last pulley. Make sure to double check that the belt is seated correctly before releasing the tensioner.
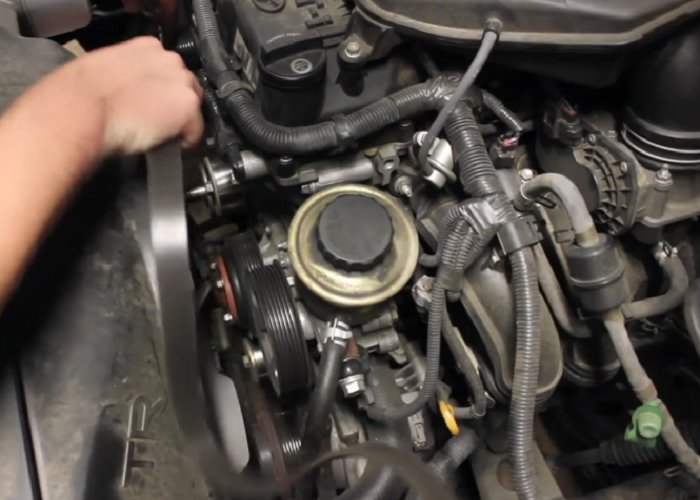
Figure 5. Route the new serpentine belt in place. 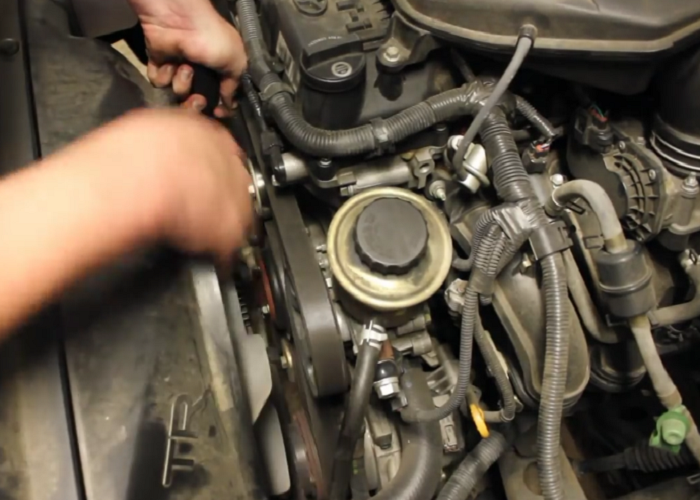
Figure 6. Release the tension for the new belt.
Featured Video: Replacing Serpentine Belt on Toyota Tacoma
Related Discussions
- How to Change Serpentine Belt on 3.4L 5VZ-FE V6 - YotaTech.com
- Serpentine Belts on the 3.4 - YotaTech.com
- Tacoma 3.4L 4x4 Belt Replacement - YotaTech.com
- Drive Belt Replacement - YotaTech.com