Toyota Tacoma: How to Replace Rear Differential
Replacing the rear differential isn't too difficult a task and you can get it done in one weekend.
This article applies to the Toyota Tacoma (1996-2015).
If you have a bad leak around your rear differential, you may need to consider replacing it. It most cases, a leak is just the result of a bad gasket or seal and that is a very inexpensive DIY repair. In more serious cases, the rear differential may need rebuilt or just flat out replaced. A local salvage yard should have some rear differential offerings at very good prices to make this an excellent DIY job that can save you a ton of money from not taking it to a professional. This is not a difficult job, but you'll be dealing with some stubborn parts that will need a good persuading to remove as well as some crazy heavy parts (actual differentials) that you'll need help with lifting. If you can't use a floor jack to help with the differential, you'll need a friend and a very strong one at that. Read on to learn how to replace the rear differential on your Tacoma.

Materials Needed
- Catch pan
- 10 and 14mm sockets and wrenches
- Brake pad cleaner
- Brake fluid
- Gear oil
- Shop rags
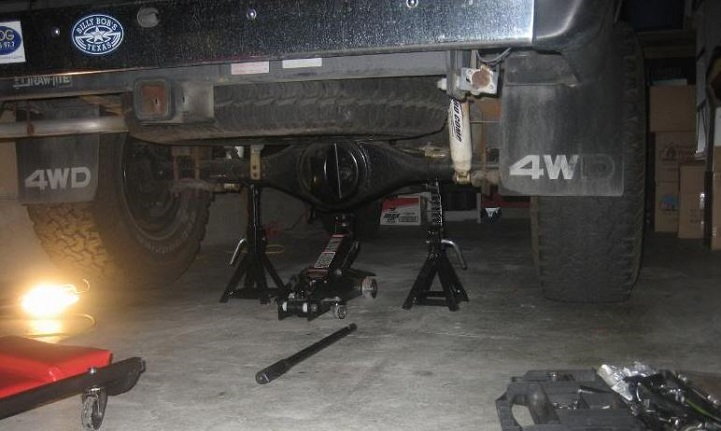
Step 1 – Loosen lugs and jack rear end up
Before you lift your truck, break free the wheel lugs. Chock the front wheels in the front and the back of each tire. Use a hydraulic floor jack and lift the rear end of the truck. Use jack stands on each side, right under the axle on either side of the differential. Lower the truck onto the jack stands. Remove the rear tires.
Pro Tip
Always use jack stands when working underneath your truck. Never work under any vehicle when only a floor jack is used.
Step 2 – Remove brake lines
The emergency brake lines need to be removed, as well as the regular brake lines.
- The emergency brake line connects to a spring loaded level attached by a cotter pin on a post.
- Remove the cotter pin.
- Pull the post.
- Remove the E-brake line, replace the post and cotter pin.
- Remove the four 10mm bolts on the back of each wheel hub.
- Remove the brake line from each wheel and watch for leaks, as you'll lose some brake fluid.
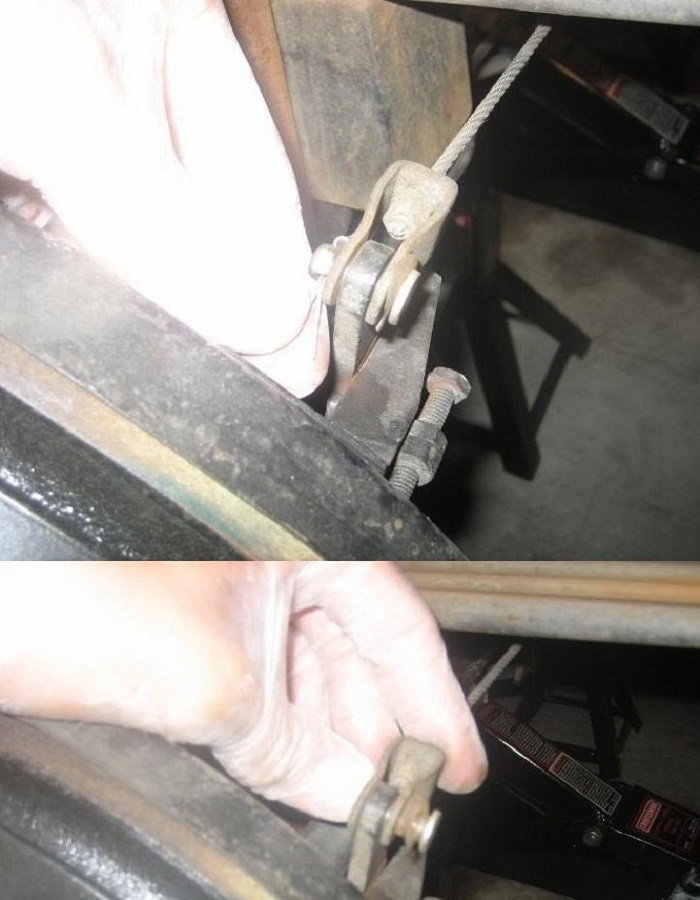
Figure 2. Remove the emergency brake lines. 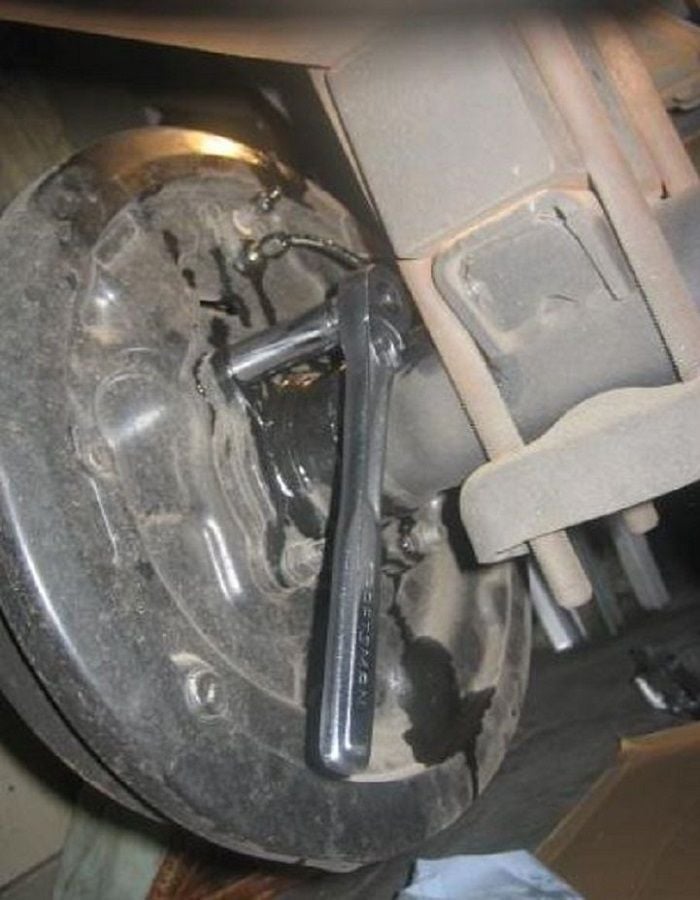
Figure 3. Remove the four 10mm bolts from the back of each hub. 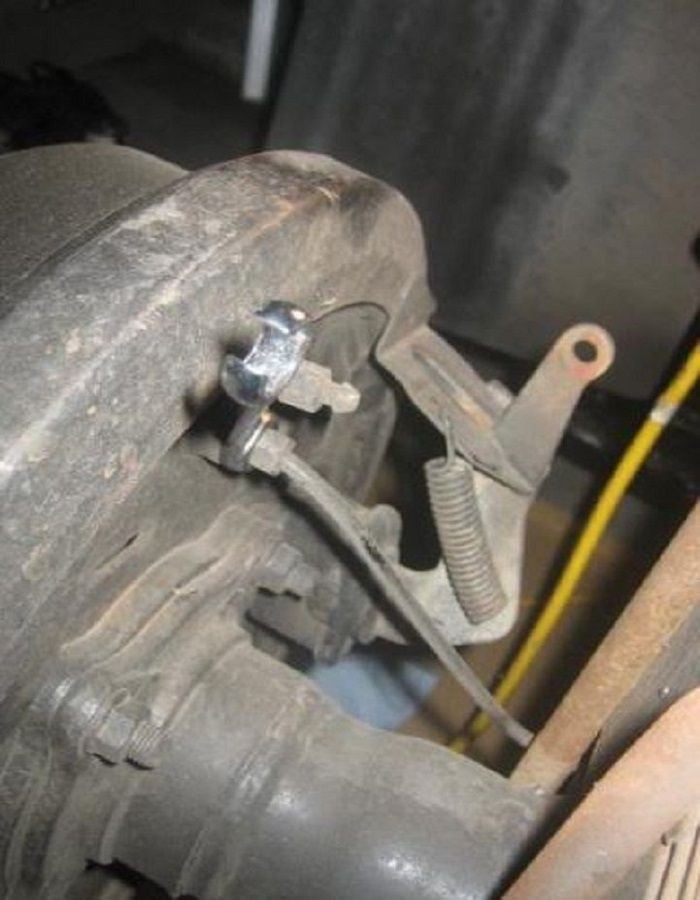
Figure 4. Remove each brake line from each wheel.
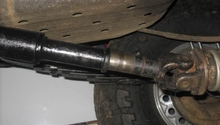
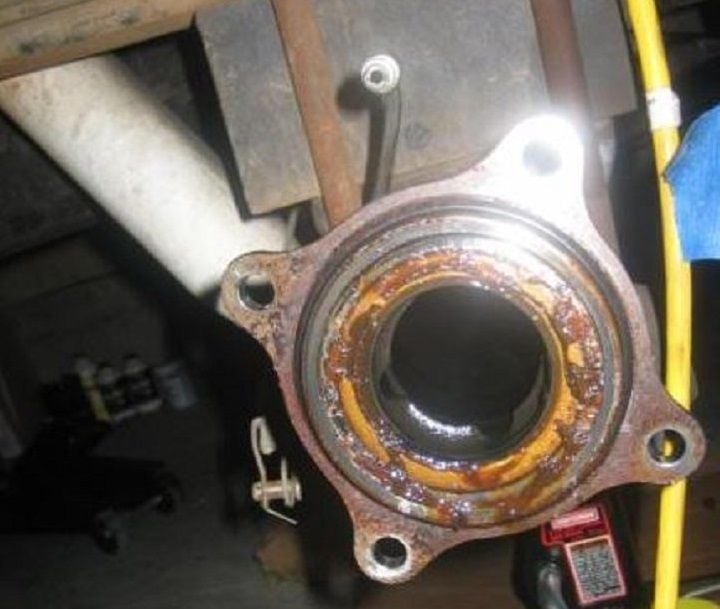
Step 3 – Remove the hub and axle
Remove the hub and axle from the housing. You can pull them out just enough to clear the differential, or you can remove them completely. These are very heavy, so take care when removing because the rubber seals on the end of the housing can be easily damaged.
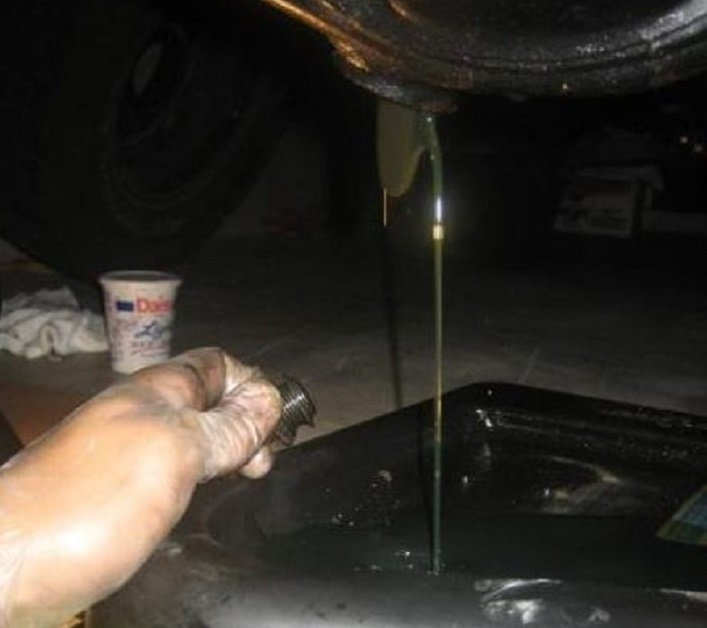
Step 4 – Drain the differential
Use a big ratchet and socket to remove the differential plug. Drain the fluid into a catch pan.
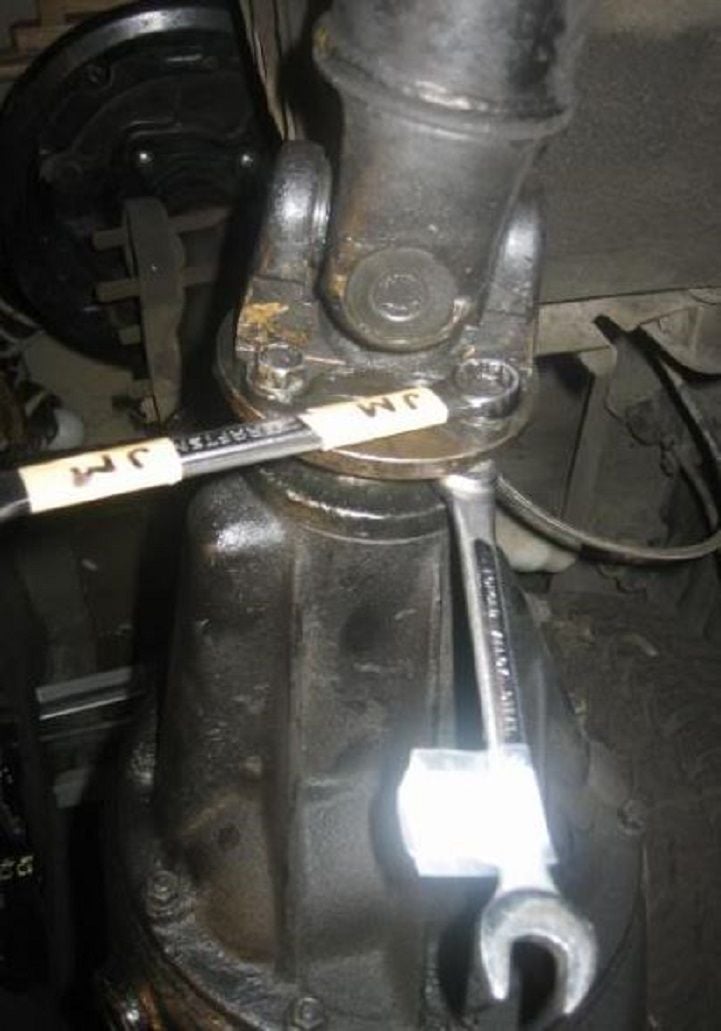
Step 5 – Remove the driveshaft
There are four 14mm bolts that hold the driveshaft to the flange. You'll need a wrench and socket for each bolt to get them off. Once the bolts are out, you should be able to compress the driveshaft and push it aside, out of the way. You may want to mark the position of the shaft on the flange so you can put it back together in the same position.
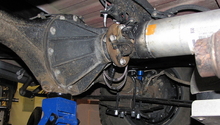
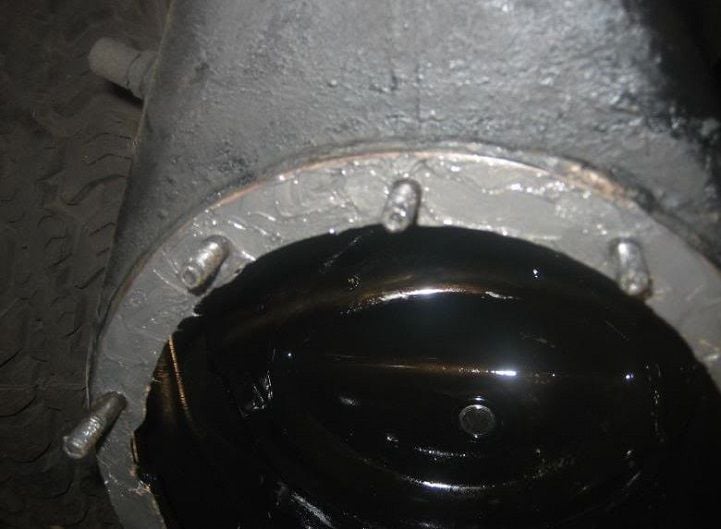
Step 6 – Remove differential
There are 10 bolts that mount the differential. The differential is extremely heavy. You will need to prop the differential onto a hydraulic floor jack before you begin. You can also get the aid of a beastly friend to hold the differential while you are removing the bolts. To minimize stress on the bolts, remove the bolts around the bottom first, and then the ones at the top last. Set the differential to the side in a safe, clean area.

Step 7 – Clean mating surfaces before installation
With the old differential out, take this time to prep the diff housing for reassembly. Use Brakleen or similar as well as a rag to clean up the mating surfaces of the diff cover and face the diff housing. If there is any crud or buildup inside the housing, give that a quick wipe down as well.
Step 8 – Install new differential and reinstall
Again, use the floor jack or a freakishly huge friend to help lift and hold the differential into position.
- Replace the 10 bolts and torque to specifications.
- Push the driveshaft back into position of the yolk or flange, and make sure that it lines up exactly the same way as when you took it off.
- Torque the four 14mm bolts to specifications.
- Replace the differential drain plug, unless the replacement differential already has a plug installed. Refill the differential fluid with gear oil until it just reaches the bottom lip of the fill hole.
- Slide the axle and hub back into the axle housing and torque the four bolts according to specifications.
- Replace the brake lines. The brakes will need to be bled.
- Replace the emergency brake lines.
- Replace the wheels onto the hub and hand-tighten the lugs.
- Drop the truck back onto the ground and torque the lugs to specification.
- Take her for a test ride and make sure you did a great job.
Featured Video: How to Swap Toyota Rear End Gears
Related Discussions
- Rear Diff Removal Help - YotaTech.com
- Rear Differential Replacement - YotaTech.com
- 1987 4Runner SR5 Rear Differential Gasket Replacement DIY Guide - YotaTech.com