Toyota Tacoma: How to Replace Oxygen (O2) Sensor
Learn how to replace the O2 sensor on your Tacoma with the help of this article.
This article applies to the Toyota Tacoma (1996-2015).
The O2 sensor in your Tacoma plays a big role in your truck's performance. This sensor dictates the mixture of oxygen and air that goes into your truck's engine, which then ignites fuel and allows the engine to run with the right balance of fuel, etc. Internal combustion engines depend on fuel and oxygen to operate, and that's why the O2 sensor plays such important role. Use the following directions to replace the O2 sensor in your truck.

Materials Needed
- New oxygen sensor
- Ratcheting wrench (with adjustable head preferably)
- 12mm socket
Step 1 – Locate sensor
In order to replace the oxygen sensor, one must first locate it and remove it. Follow these steps:
- Allow truck to cool down if driven recently.
- Locate exhaust manifold on the front or side of the engine block.
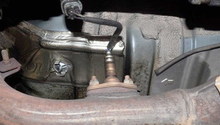
- Locate the O2 sensor prod that is mounted directly on the manifold.
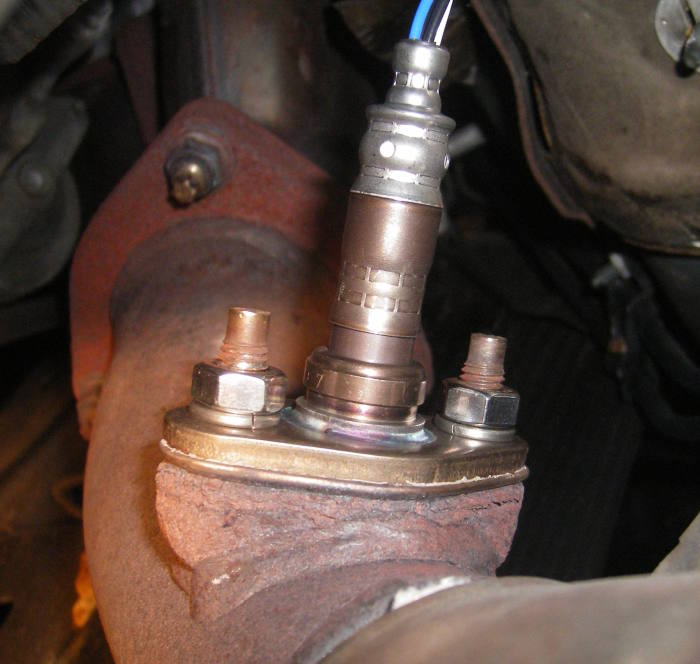
Pro Tip
The sensor is hardly visible from the top of the engine bay. Locate it from underneath the car.
Step 2 – Remove sensor
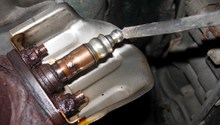
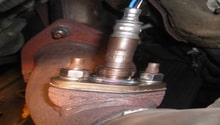
Once the sensor is located, you may proceed to remove it with the appropriate tools. Notice that the two bolts on the side must be removed, but the sensor prod in the middle stays attached.
- Use ratchet wrench and 12mm socket to undo the two bolts on the side of the sensor prod.
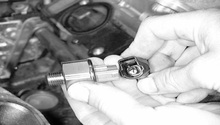
- Once removed, unplug the wiring connector on the opposite end of the sensor.
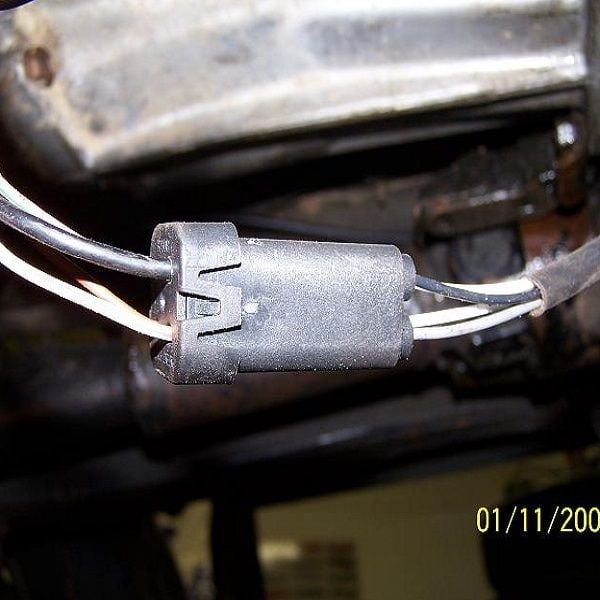
Figure 2. Connector end of sensor. 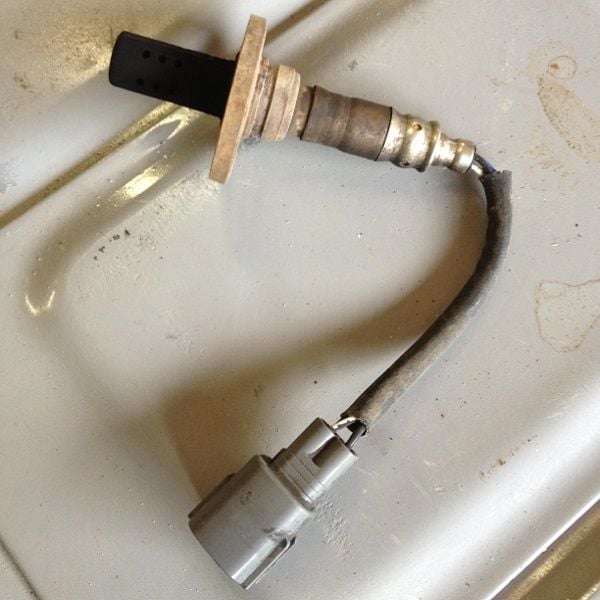
Figure 3. Sensor removed.
Step 3 – Install new sensor
With the old and faulty sensor removed, it's time to install the new one. Follow the same original steps but in reverse order.
- Install new sensor.
- Plug in connector end.
- Tighten both nuts down on sensor end.
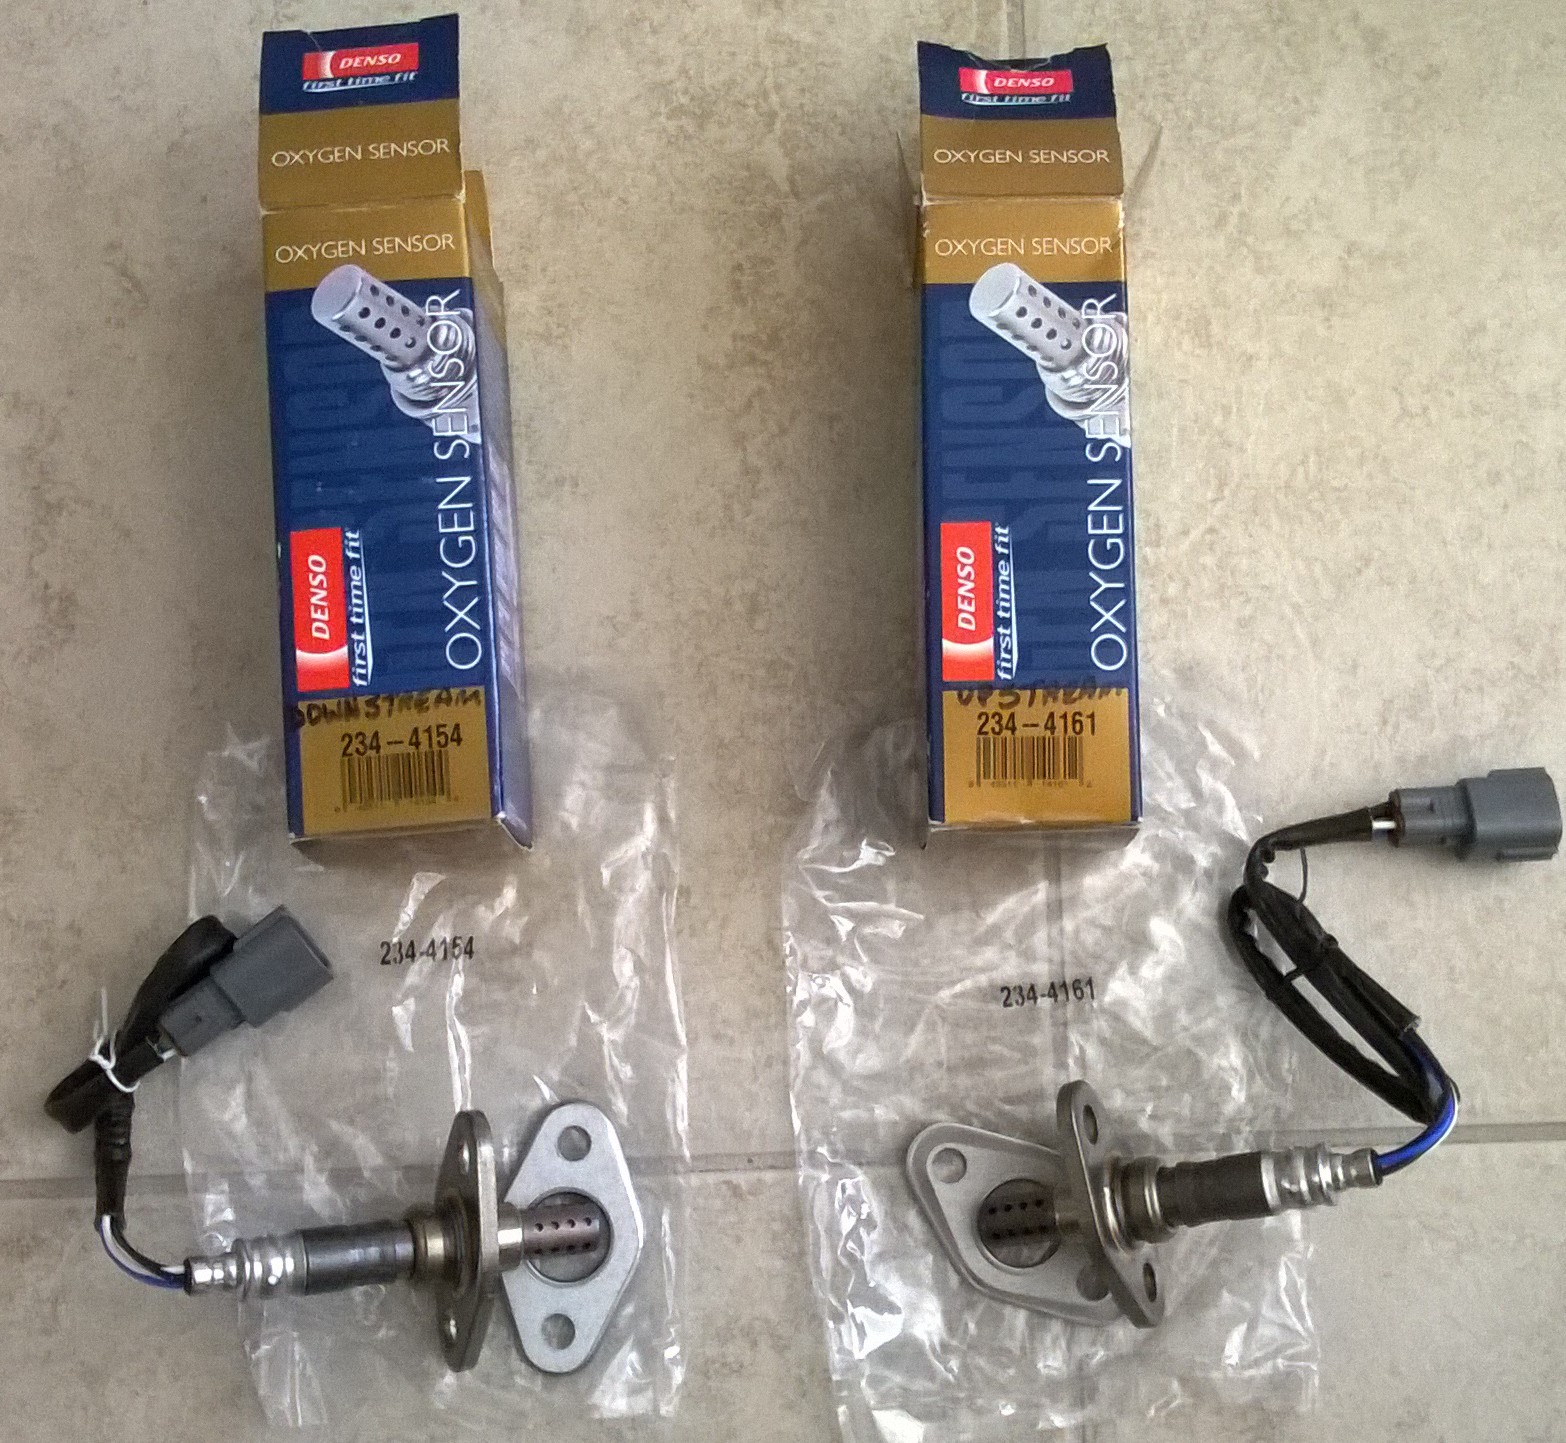
Featured Video: Tacoma Oxygen Sensor Replacement
Related Discussions
- What To Do If O2 Sensor Bolts Are Rusted on Tacoma - YotaTech.com
- Toyota Tacoma Oxygen Sensor Wiring Diagram - YotaTech.com

