Toyota Tacoma: How to Keep Power Steering Fluid from Leaking into Intake Manifold
The 1st and 2nd generation Tacos had a common problem with the power steering. Learn how to fix yours.
This article applies to the Toyota Tacoma (1996-2015).
The first and second generation Tacoma used vacuum lines on the power steering air control valve. After 2001, the Taco had an electronic version, rather than vacuum, and as hindsight reveals, this was a good change. If you are finding that every 50 miles or so, you are needing to re-fill your power steering fluid, but you can't find any sign of a leak, it is likely your air control valve and the vacuum lines. If you don't fill it, you might be hearing an annoying and loud whine. Another telltale sign is a large cloud of blue and white smoke from your exhaust. Both of these symptoms point to the same issue. You will also find that your oil level seems to always be overfull. This is from the steering fluid getting sucked back into the intake. The power steering air control valve and its lines need to be replaced. Thankfully, this is a relatively easy and straightforward process that doesn't take very long at all. You can save a bundle doing this yourself, but if you just do not want to tackle this simple DIY, please contact a reputable pro with knowledge of this issue to get it resolved right the first time around.

Materials Needed
- Crescent wrench
- Power steering air control valve kit
- Vacuum hoses
- Hose clamps
- Teflon tape
- Power steering fluid
Step 1 – Pop hood and locate air control valve
Park your Taco on a flat and level surface. Open your hood and look for the power steering reservoir. It most likely has a black twist off cap and the power steering pump sits right below it. Next to this is the air control valve, and you'll see two hoses coming from it.
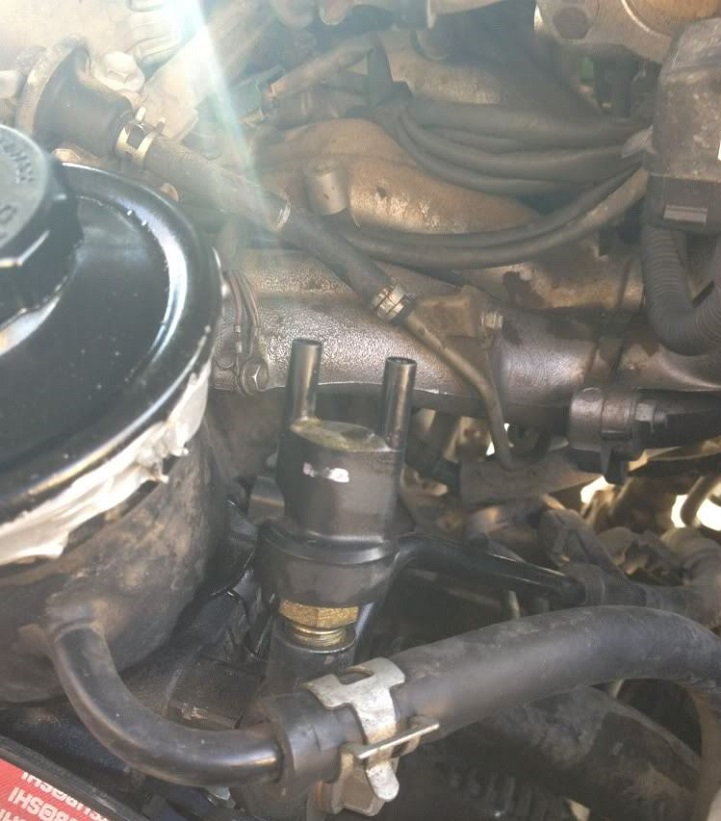
Step 2 – Test the air control valve for leaks
If you are at all unsure that the air control valve is the culprit, there is one easy test you can do. Take one of the vacuum hoses and create a loop from one valve port to the next. Start your Tacoma and let it idle for a few minutes. You will likely see fluid come pouring out of the valve.
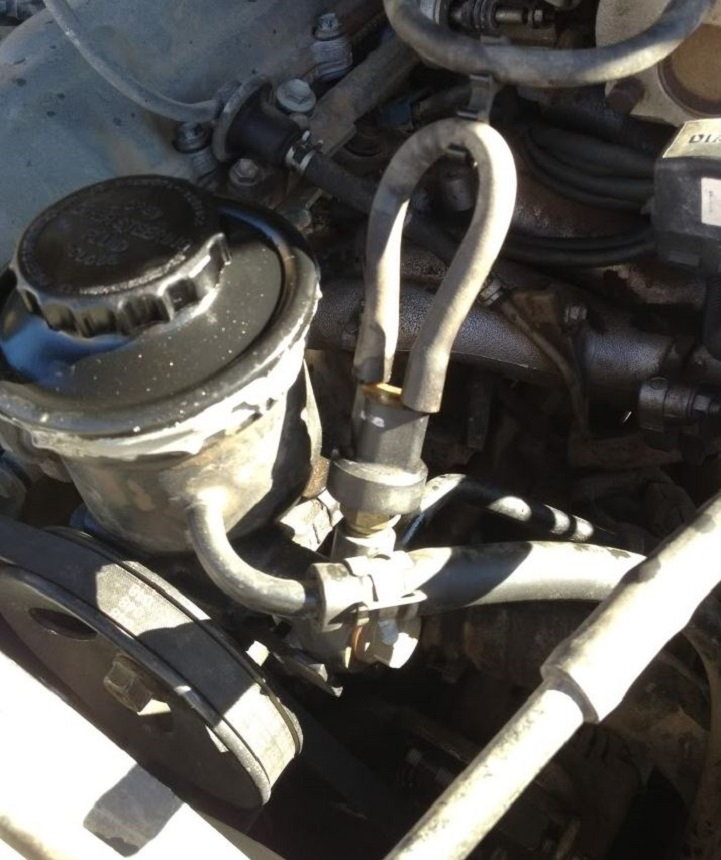
Step 3 – Remove air control valve
- Remove the vacuum lines from the air control valve.
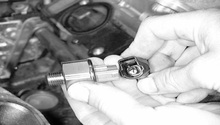
- Use a crescent wrench to loosen the large nut on the bottom of the valve.
- Unscrew the nut fully and pull off the air control valve.
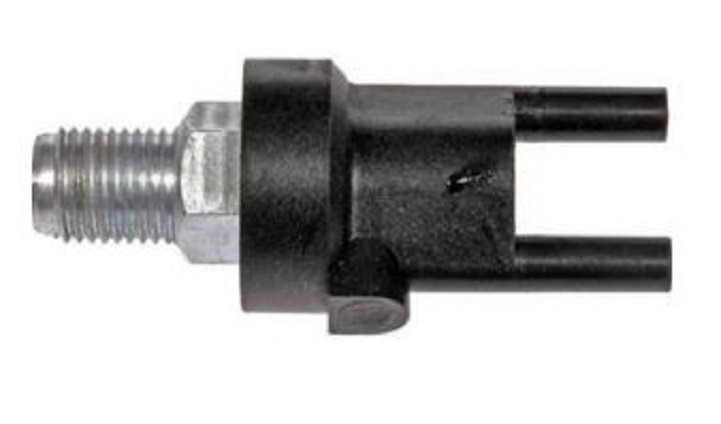
Step 4 – Remove and replace vacuum lines
Trace the lines that you pulled off of the valve back to the termination point at the intake and remove the lines. Replace with new vacuum lines and secure with hose clamps. Replacing your vacuum lines are optional, as your case was fairly proven to be the valve itself. Since you are getting in there anyway and must pull the lines off the valve, you might as well replace the vacuum lines at this time just to prevent the need of doing this job again in the near future.
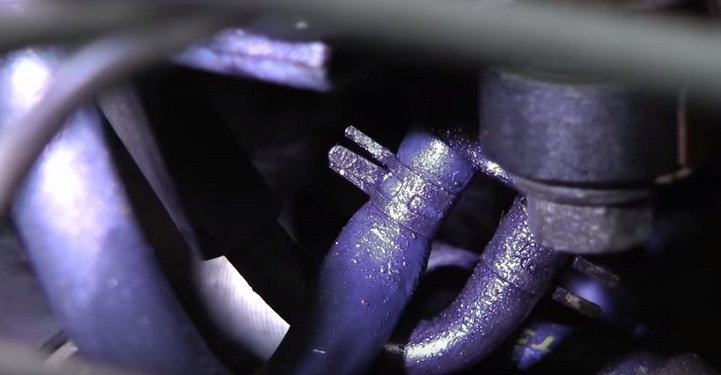
Step 5 – Install new air control valve
Wrap the threads of the new air control valve with Teflon tape. These valves operate under a tremendous amount of pressure and the Teflon will help seal up the connection and help prevent it from blowing off. Connect the new vacuum lines to your new valve. Refill your power steering reservoir. Test the steering by moving the wheel back and forth from full lock to full lock, and then take her for a test spin.
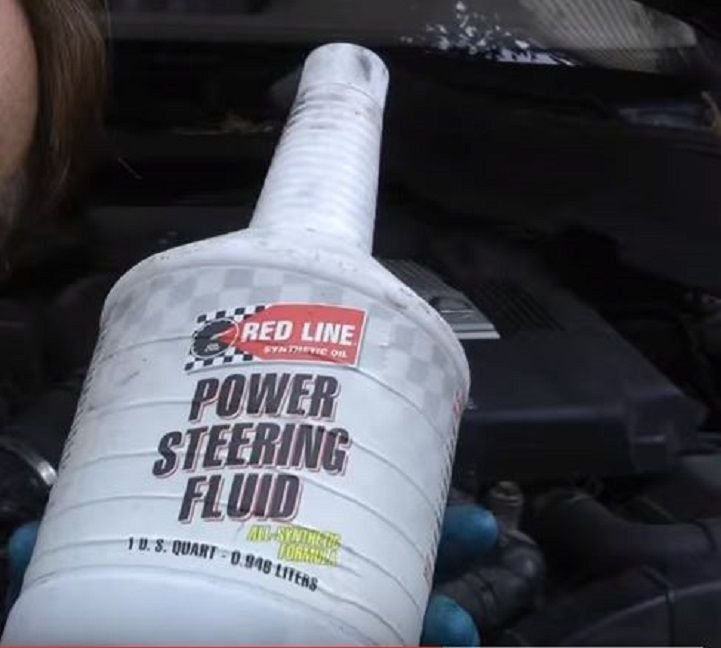
Featured Video: Toyota/Lexus Power Steering Pump Check Valve Repair
Related Discussions
- Beware: Power Steering Air Control Valve - YotaTech.com
- 22re Oil Getting Into Intake After Rebuild - YotaTech.com


