Toyota 4Runner, Tacoma and Tundra: How to Reset Check Engine Light
If you already know why your check engine light went on and are ready to turn it back off, keep reading.
This article applies to the Toyota 4Runner, Tacoma, and Tundra (1984-present).
The check engine light in the Toyota is an important light. It's your truck's way of communicating with you. It's recommended you don't try to turn off the warning light until you've discovered why it was on in the first place. Whether it's on because the gas cap is not tightened properly, or you have a serious engine issue, an OBD-II scanner can be used to diagnose the underlying issue. You simply plug it in, and it connects to your truck's computer and tells you what is wrong with it. Once you've figured out the issue and are ready to turn that light off, just follow the steps below and enjoy driving without an engine light shining in your face.

Material Needed
- Wrench
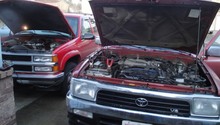
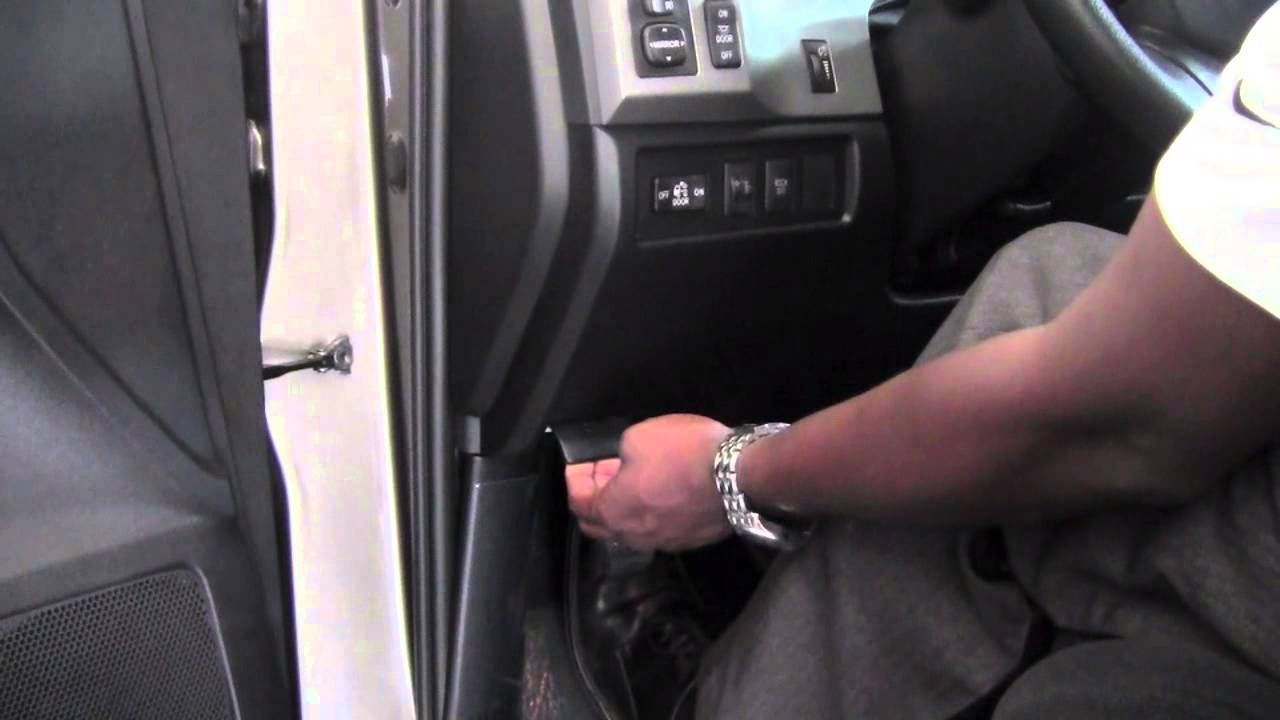
Step 1 – Release the hood
Using the hood release lever, release the hood. Open the hood by pulling up on the lever from under the grille.
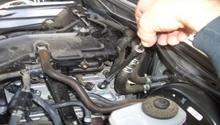
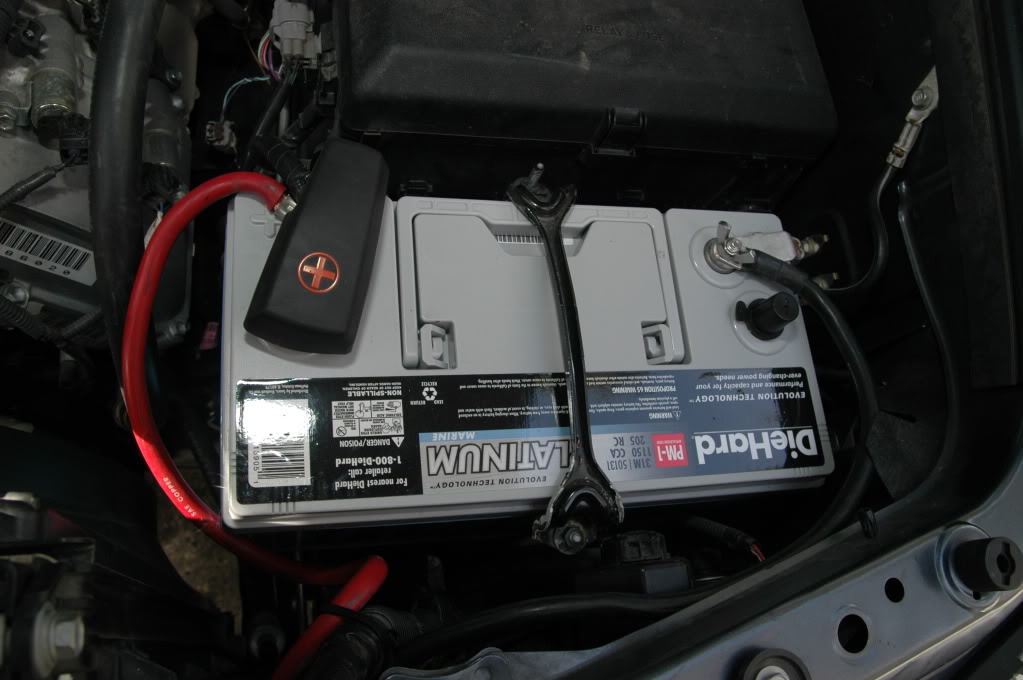
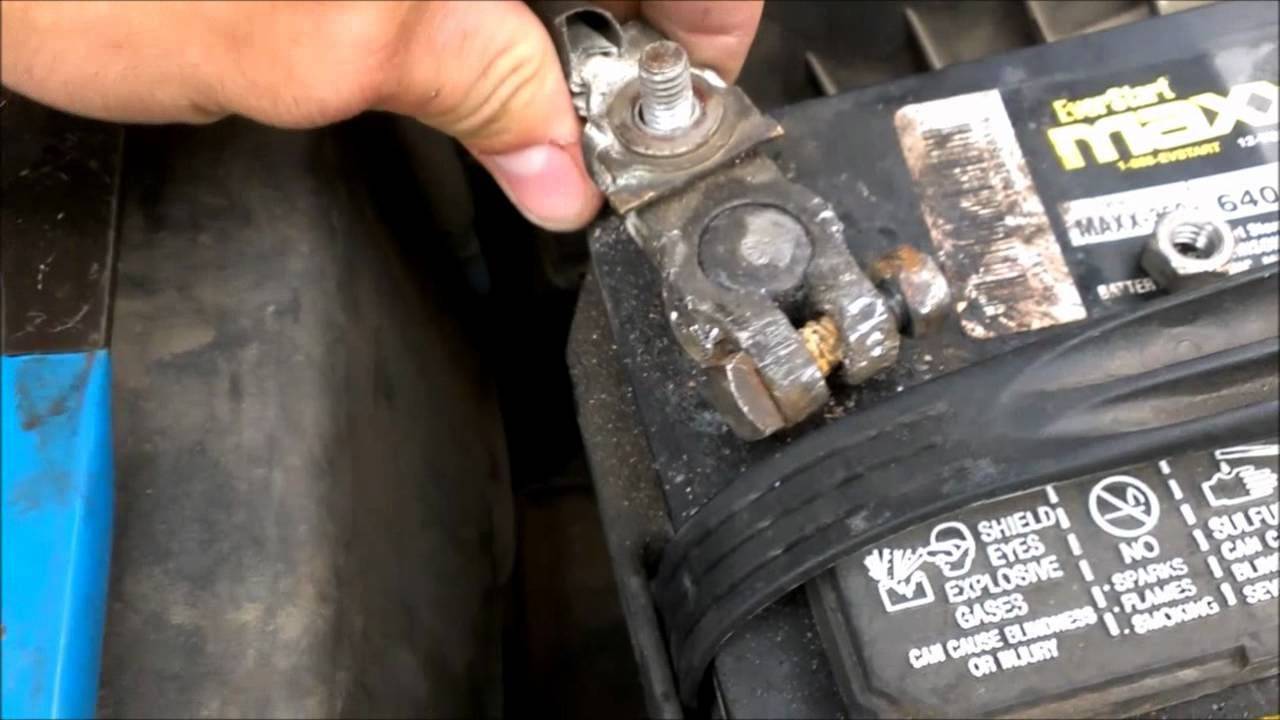
Step 2 – Unplug the battery
Using your wrench, loosen the nut on the negative battery terminal, then remove it. Be sure the terminal doesn't touch any metal so it doesn't create a spark. Loosen the nut on the positive battery terminal, then remove it as well. Wait five minutes.
Step 3 – Reinstall battery terminals
Install the battery terminals, starting with the positive first. Tighten the nut, then install the negative terminal and tighten its nut. Start your car, and the light should be gone.
Related Discussions
- Reset Check Engine Light - Yotatech.com
- How to Reset Check Engine Light - Yotatech.com
- Disable Check Engine Light - Yotatech.com