Toyota 4Runner, Tacoma, and Tundra: How to Replace Rear Brake Drums and Shoes
Replacing your rear brakes is a pretty easy job, and doing it yourself will save you a ton of money. This article will walk you through the process of swapping out your rear brake drums and shoes.
This article applies to Toyota 4Runner (1996-2002), Tacoma (1996-2015), and Tundra with brake drums (2000-present).
Brakes are a critical component of your truck's performance and safety, but like everything else, they eventually wear out and need service, repair, or outright replacement. While many simply leave this job to a professional repair shop or the dealership, changing out brakes is a very doable DIY job that any average weekend warrior can complete with no problem. Replacement parts are cheap, meaning that you can potentially save yourself hundreds of dollars in labor costs. So before you entrust a professional to replace your rear drums and shoes, check out how easy (and satisfying) it is to do the job yourself.

Materials Needed
- Jack
- Jack stands
- Two metric bolts
- Ratchet and common size sockets
- Brake cleaner spray
- Needle nose pliers or brake spring pliers
- Brake tool
- Drip pan
- Screwdriver
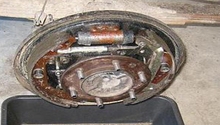
Step 1 – Remove rear drums
Jack up the rear of the truck (preferably at the differential) and suspend the rear axle or frame on jack stands. Remove the wheel and tire on the side you want to work on first. Locate the two holes on the drum (as shown in Figure 1) and screw in two metric bolts. Use your socket and ratchet to slowly tighten each bolt, alternating between them as you go. Once it's loose enough, you should be able to rock the drum back and forth to pull it off.
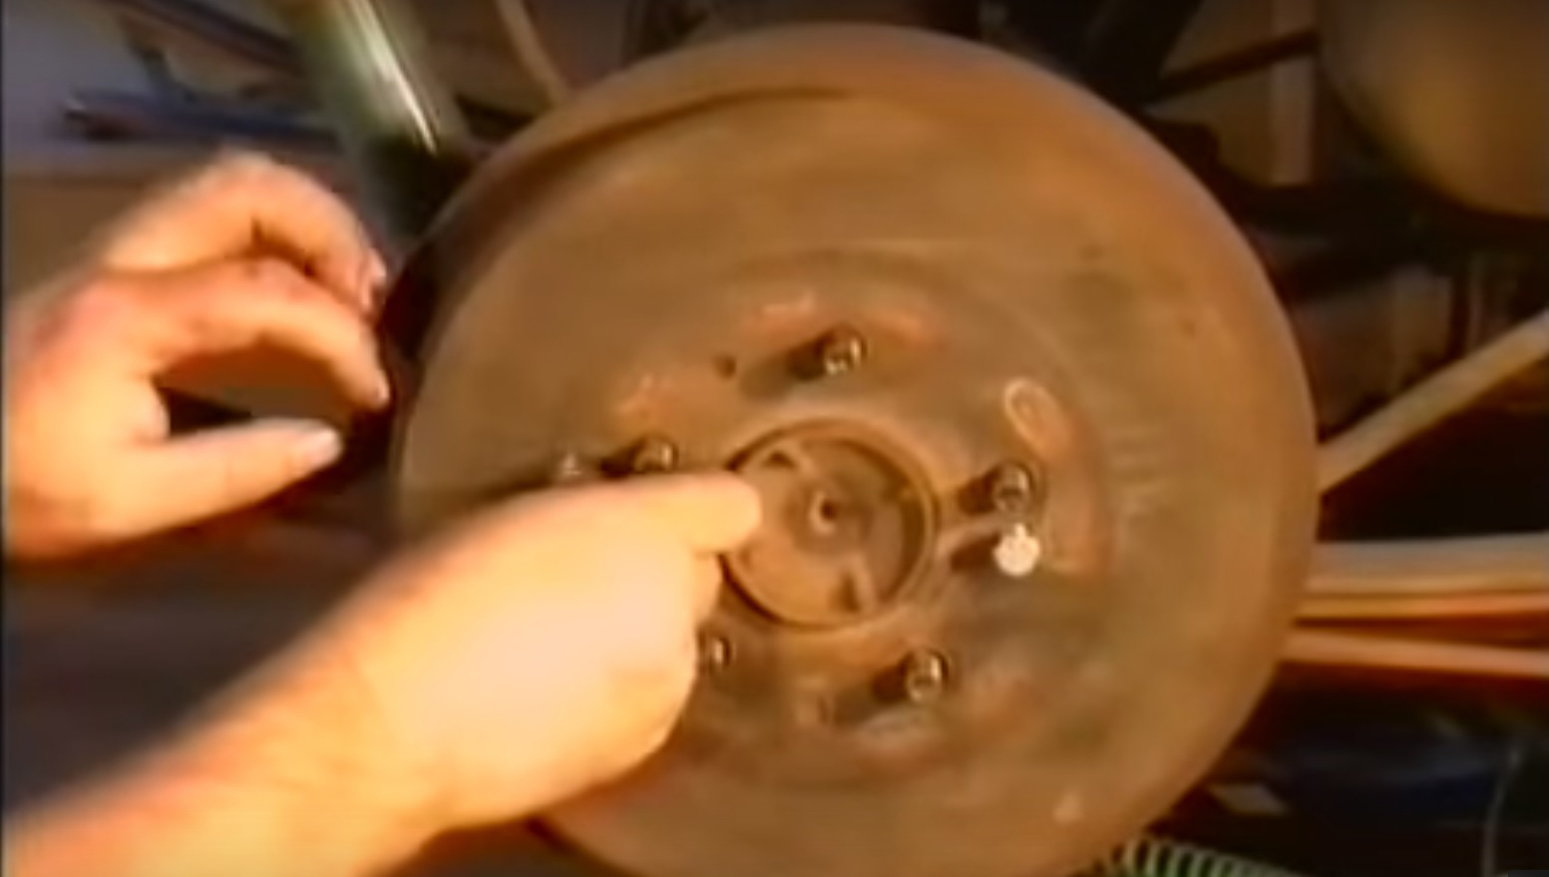
Figure 1. Insert a metric bolt into the two holes on the rear brake drum. 
Figure 2. Alternate between the two bolts, tightening them until the drum comes loose. 
Figure 3. Remove the rear drum.
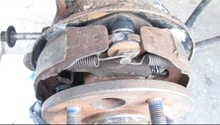
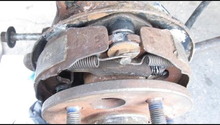
Step 2 – Remove brake shoes
Set a drip pan beneath the rear brake. Spray down the inside of the brakes with brake cleaner, then allow it to dry. Use your brake spring pliers to unhook the large spring from the adjusting mechanism near the top of the rear shoe. Use the brake socket tool to remove the washer and spring from the rear brake shoe. Pull the brake shoe out and unhook the spring connected to the bottom of the shoe. Use a screwdriver to remove the clip holding the adjusting arm to the bottom of the shoe and pull the shoe off. Remove the washer and spring from the front shoe and pull it out. Remove the spring and adjusting arm from the front shoe.

Figure 4. Spray down the brakes with brake fluid and allow to dry. 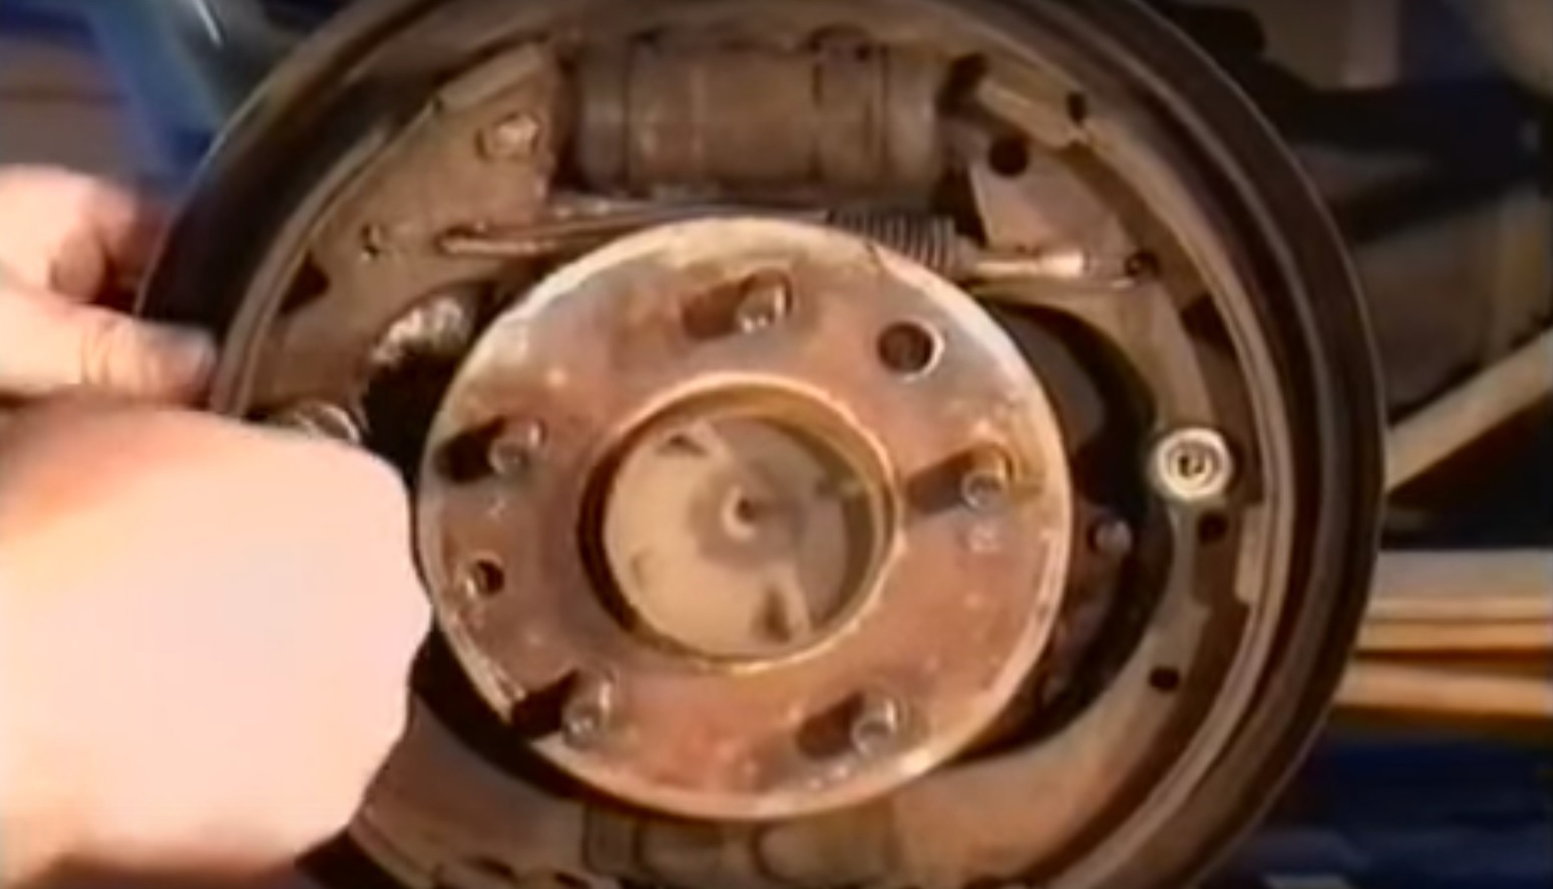
Figure 5. Remove the spring from the top of the rear brake shoe, then the washer and bolt from the center. 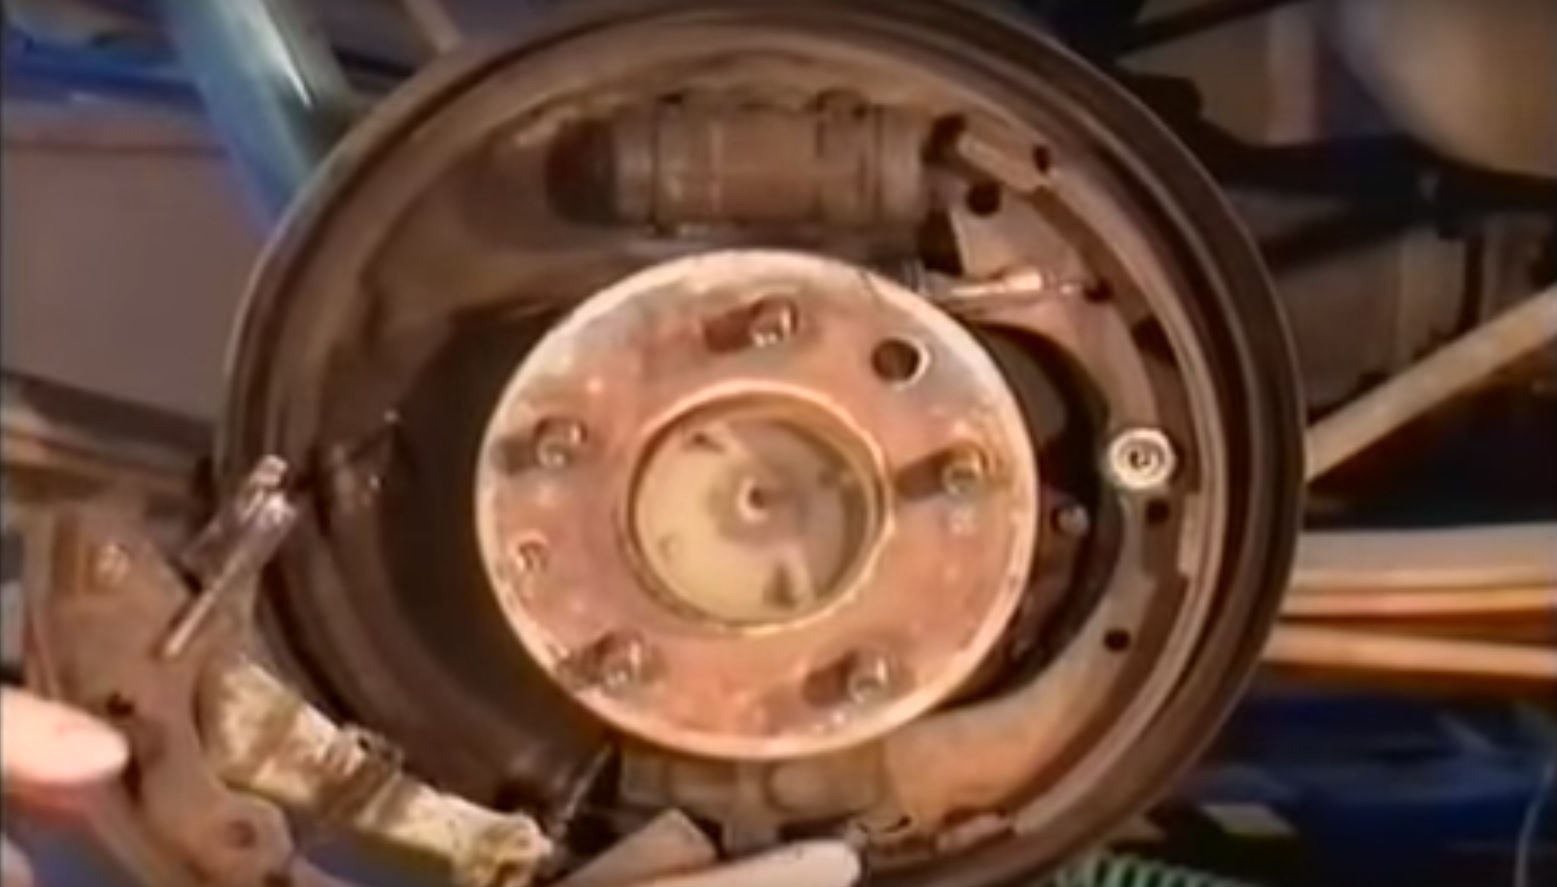
Figure 6. Pull the shoe out and unhook the spring from the bottom. 
Figure 7. Remove the clip holding the shoe to the emergency brake arm. 
Figure 8. Remove the washer and bolt from the front shoe, then remove the spring and adjusting mechanism from the top.
Step 3 – Install new brake shoes
Connect the spring and adjusting mechanism to the top of the new front brake shoe, then set it in place and install the washer and bolt. Turn the spring on the adjusting mechanism until it is as short as possible. When installing the washer, make sure the bottom washer is raised facing up. Then install the spring, and the top washer with the raised side facing up. Push the washer in with your brake tool and give it a quarter turn to tighten. Install the new pin in the new rear brake shoe. Fit the bottom of the rear shoe in to the emergency brake arm and reinstall the clip, squeezing it with a pair of pliers to push it in place. Install the small adjusting arm and clip. Set the upper adjusting arm back into the hole on the top of the rear shoe. Reinstall the spring that goes between the shoe and adjusting arm. Install the spring that holds the bottom of the brake shoes together. Reinstall the anchor screw in the rear drum, followed by the bottom washer (raised side facing up), the spring, and the top washer (raised side facing down). Turn the screw a 1/4 turn to tighten.

Figure 9. Install the new spring on the top of the shoe. 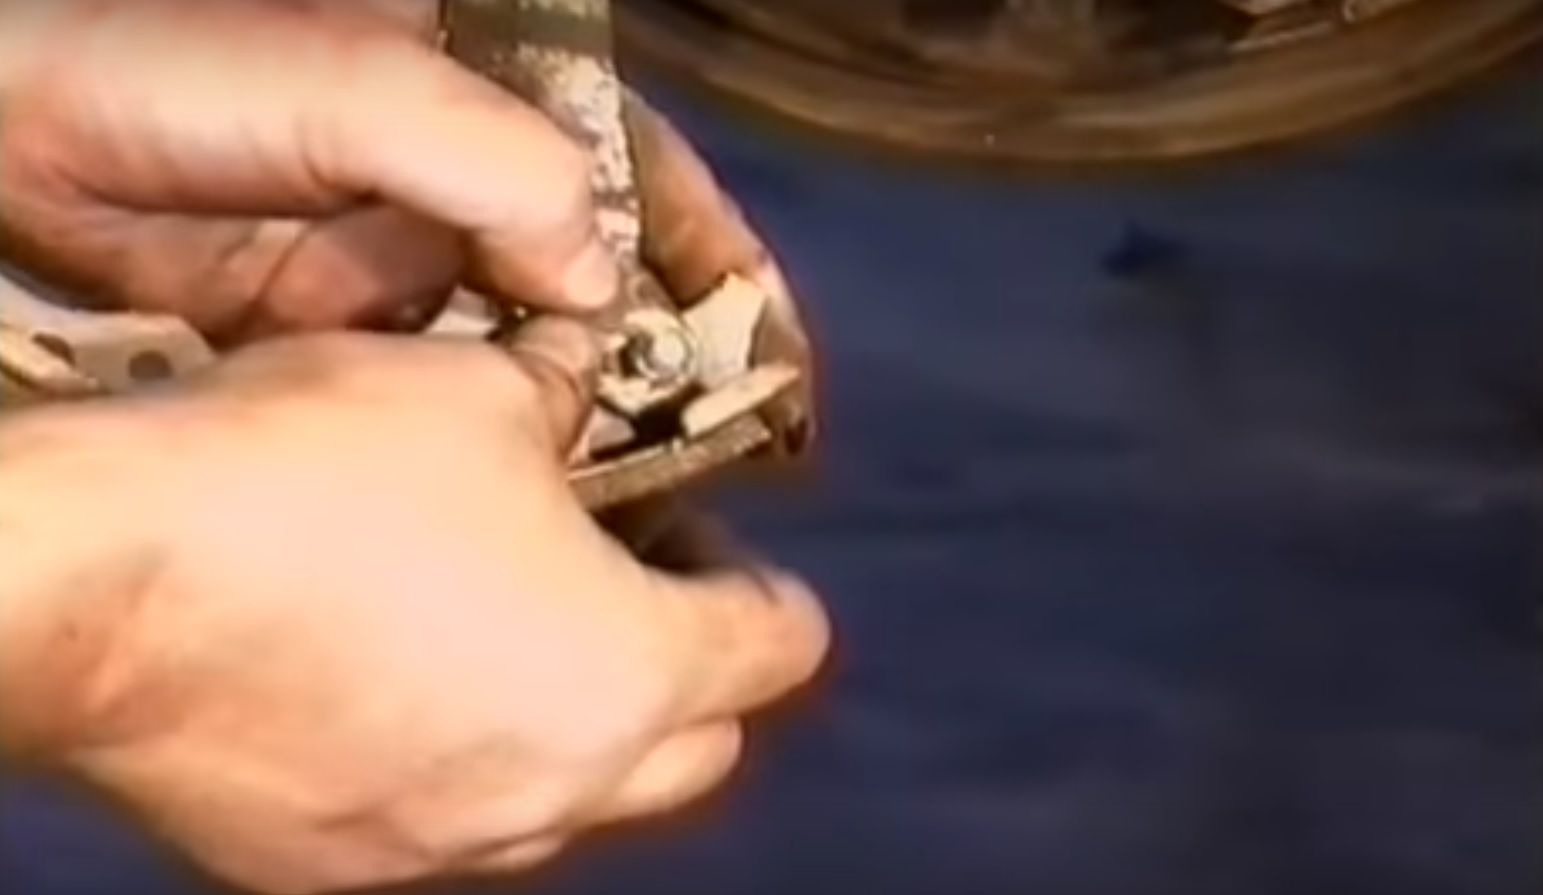
Figure 10. Reinstall the emergency brake arm on the bottom of the rear shoe. 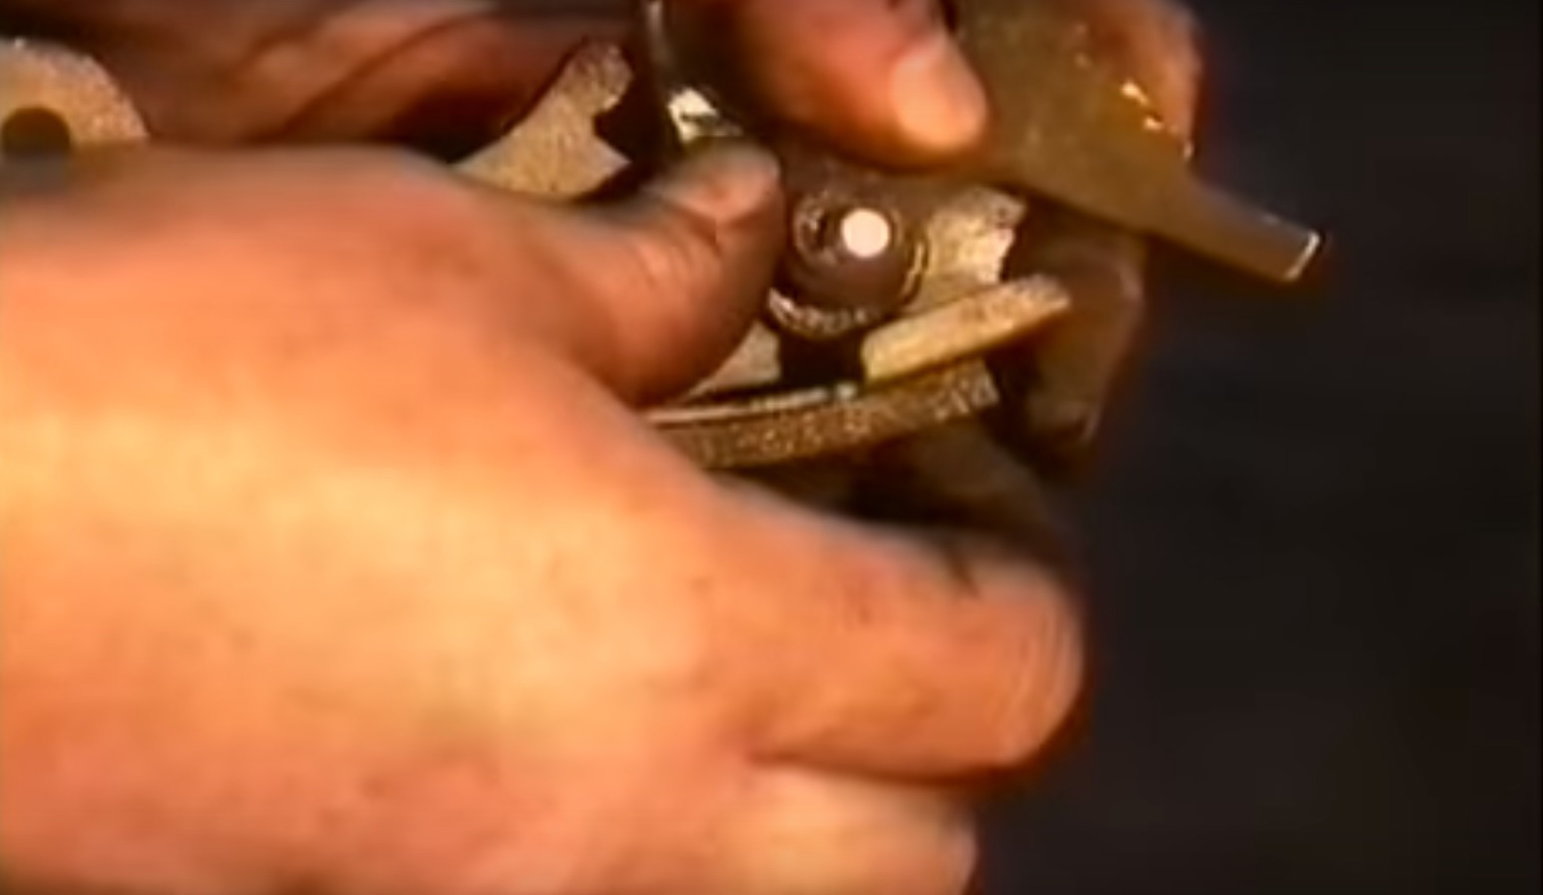
Figure 11. Install the small adjusting arm. 
Figure 12. Reinstall the springs. 
Figure 13. Install the spring that connects the two shoes.
Step 4 – Install rear drum and adjust brakes
Slide the rear drum back in place. Insert a brake tool or flat head screwdriver into the slot on the rear of the brakes and turn the star wheel downward. As you turn the wheel, spin the brake drum with your other hand and you'll hear a click. Keep turning the wheel until you feel a slight drag while you spin the brake drum. This will ensure a good fit between the shoes and the drum. Once finished, reinstall the wheel and tire, then lower the truck from the jack stands.

Featured Video: Toyota Truck Rear Brakes
Related Discussions
- Changing Drums and Shoes - YotaTech.com
- Adjusting Rear Drum Brakes the Easy Way - YotaTech.com