Toyota 4Runner, Tacoma, and Tundra: How to Protect Your Paint
From dust and debris in the air to rocks, branches and other objects, there are a number of reasons why a car's paint tends to dull, chip, and become blemished over time. Here are some tricks to help protect your Toyota's paint.
This article applies to the Toyota 4Runner, Tacoma, Tundra (1984-present).
Even the most well-maintained vehicle can suffer from paint damage over time. Some of the most common culprits include the sun, bird droppings, and sap from trees. This is true for vehicles with and without a clear coat finish. Fortunately, there are steps you can take to enhance your vehicle's paint and protect it from further damage.

Materials Needed
- Car shampoo
- Bucket
- Sponge
- Clear paint protection film (such as 3M Paint Defender Spray Film)
- Automotive tape
- Trigger spray can
- Protective wax
- Microfiber cloth
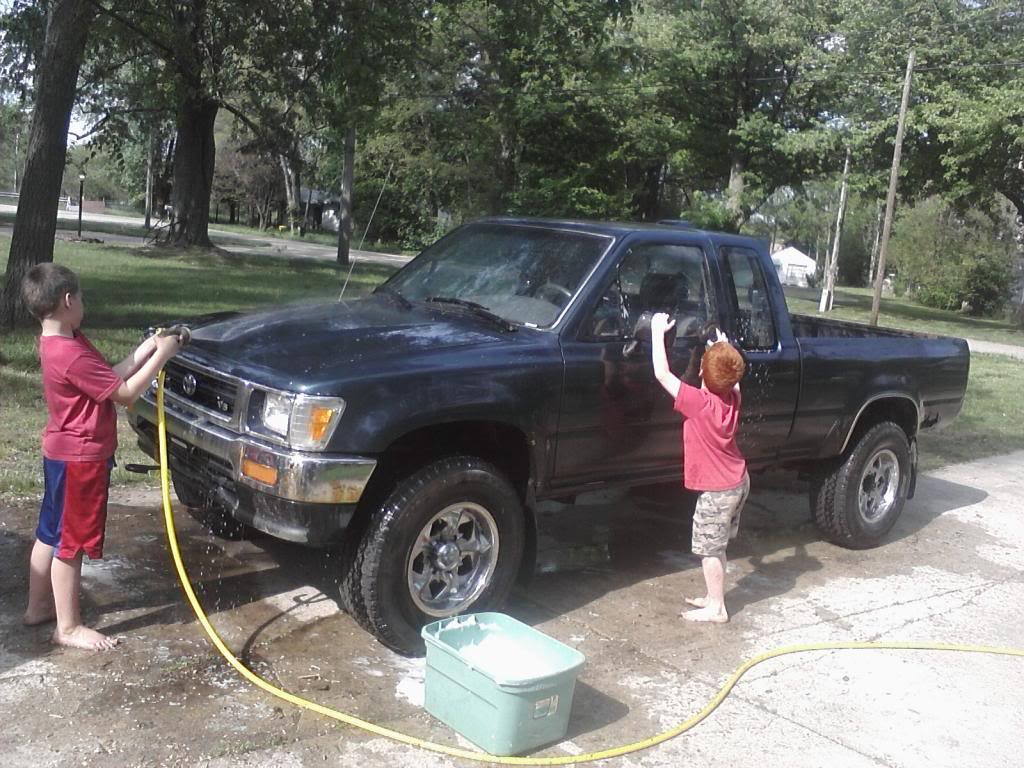
Step 1 – Clean your car
The first step towards protecting your paint is to thoroughly clean the car. You'll want to remove any built up dirt, grime, sand, and other debris. Ideally, you should use car shampoo, as car shampoo is specifically designed to remove debris that can get stuck into the various grooves and scratches of your vehicle's paint. Once you're done washing the car, thoroughly dry it off with a chamois or microfiber cloth. You'll want to ensure that the vehicle is dry before proceeding to the next step.
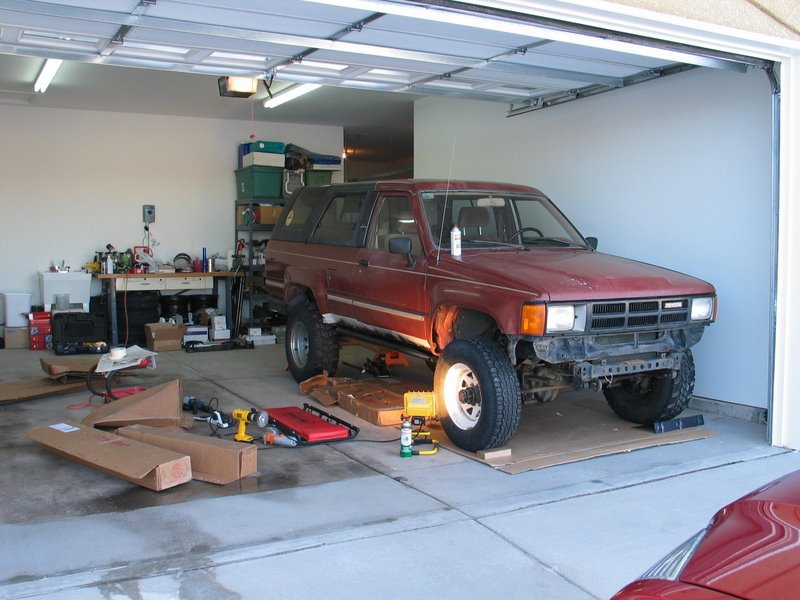
Step 2 – Prepare the surface
After cleaning your car and drying it, make sure that the surface is dry and cool before attempting to apply the paint protection film. Ideally, the application temperature should be between 65 and 90 degrees Fahrenheit. If possible, move your vehicle to a safe and protected location such as a garage for the film application process.
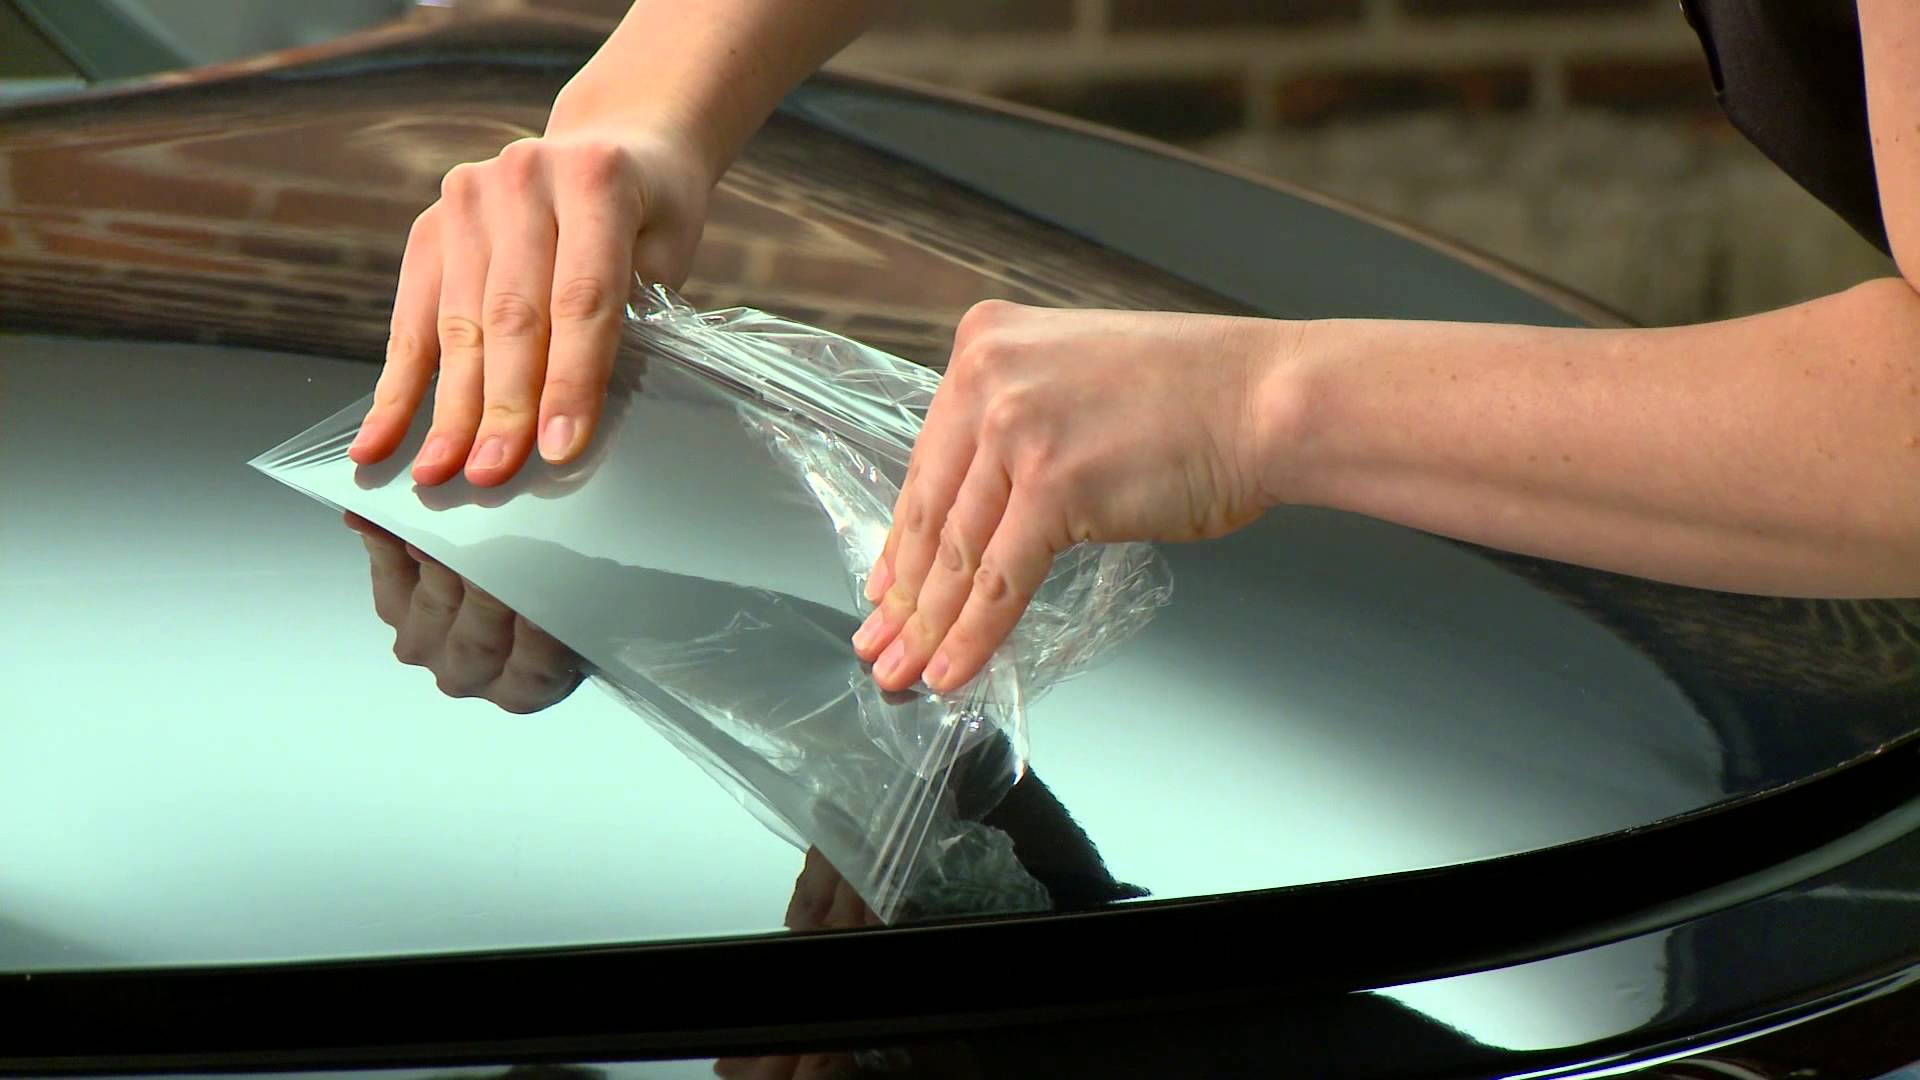
Step 3 – Apply the protective film
At the very least you'll want to protect the first 18 inches of your vehicle's hood. This area is often considered the most susceptible in terms of wear and tear along with damage from debris such as rocks. To apply the film, cut out or tear a T-shaped opening in the film sheeting. Tape the sheets into place approximately 18 inches from the front of the vehicle's hood. Follow with a second strip of tape to create a sharp coating line. Then, apply a layer of wax with the microfiber cloth. Use the spray can to apply up to three layers of the protective film.
For best results, the coating should be lumpy in appearance (similar to an orange peel). When done applying the film, remove the tape and other materials. Park the vehicle in the sun to cure.
Pro Tip
The tape should be removed while the coating is still wet.
Related Discussions and Site
- 3M Paint Defender? - Yotatech.com
- Anyone use 3M clear paint protection film? - Yotatech.com
- 3M Paint Defender Spray Film - Autozone.com