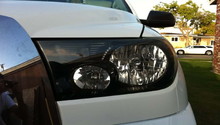
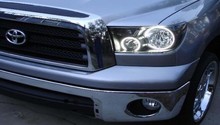
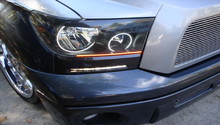
Toyota 4Runner, Tacoma, and Tundra: How to Blackout Headlights
Blacking out the headlights in your truck is a great, simple way to make your Toyota stand out on the road. Granted, it’s not the most “legal” modification one can do to their car, but a lot of owners report being pleased with this modification.
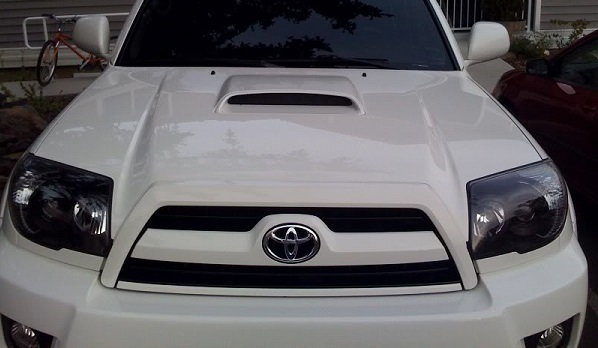
This article applies to the 4Runner, Tacoma and Tundra (1996-present).
Blacked out headlights is a trend that’s super popular with truck drivers of late; especially, Toyota truck owners. That’s because it’s a simple modification that costs next to nothing to do, and it’s easy enough to do at home. Now, before we list out the how-to steps for doing this modification, it should be noted it’s not exactly legal across all 50 states. So, if you do black out your headlights, expect to be noticed by both drivers on the road as well as officers. If you know for a fact that it’s not an issue in your area, then by all means, read on.

Materials Needed
- Phillips head screwdriver
- Flat-head screwdriver
- Plastic removal tool
- Primer spray paint
- Black spray paint
Step 1 – Remove housing unit around headlights
Carefully remove the plastic walls around the headlight using a plastic removal tool. Once they’re out of the way, you should have pretty clear access to the lamps themselves. Begin removing all clips and screws, and set aside.
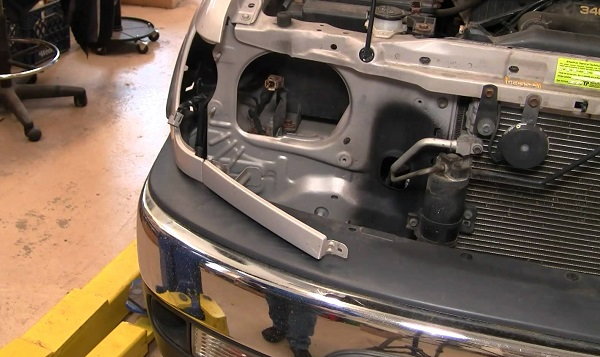
Step 2 – Remove headlight
Once all of the screws and clips are out, carefully slide the headlight out of the truck. Leave behind the bulbs/wires.
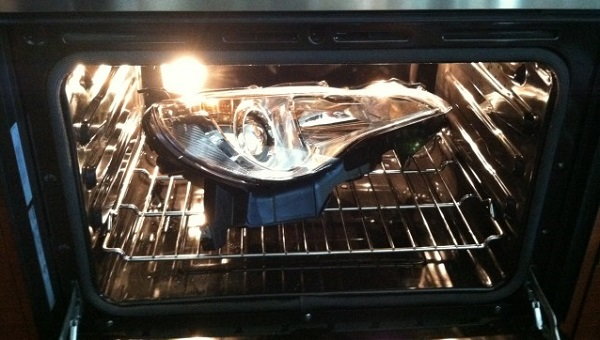
Step 3 – Bake the headlight in an oven
Set your oven to 215 degrees Fahrenheit. While it heats up, check the headlight assembly for screws holding the encasement together. Remove as necessary. Once the oven is heated, slide the headlight in and allow it to bake for 15 minutes. When complete, take it out. Using a flat-head screwdriver, begin prying the shield off the assembly. There will be a ton of soft glue, so take your time to wiggle the shield free.
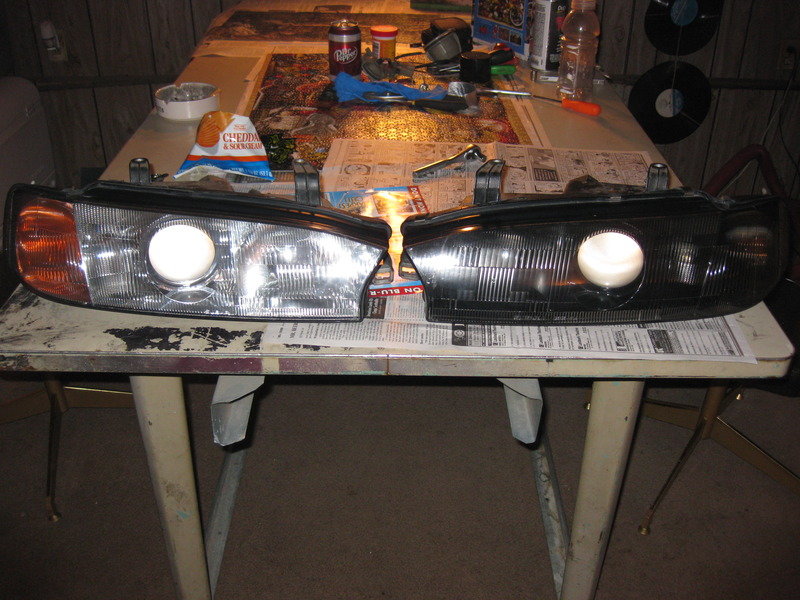
Step 4 – Remove the back bezel and any surrounding chrome
Place these components on the side and begin masking off the areas of the assembly that you don’t want to be blacked out.
Step 5 – Prime and paint
Sand the area you want to paint and then spray with primer. Don’t go too heavy – two to three coats should be enough. Let it dry for 45 minutes and wet sand if you want.
When dry, spray with black paint. A popular option is gloss black. Again, two to three coats of paint should do the job. When happy with the coverage, finish with a final, heavy coat. Allow for the paint to dry and cure overnight.
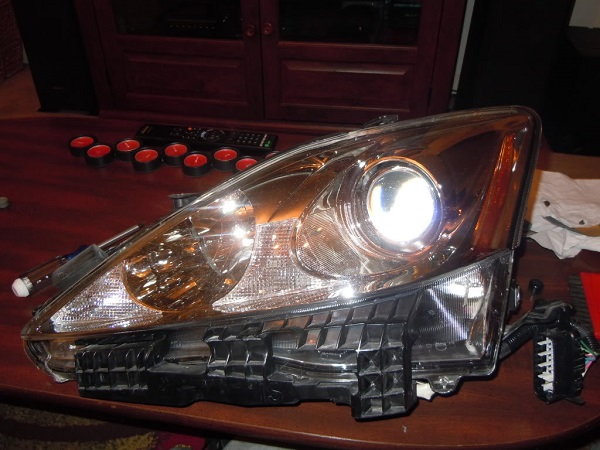
Step 6 – Check coverage and replace assembly
Assuming the paint has been applied evenly across the headlight’s surface, preheat the oven to 215 degrees Fahrenheit again. Replace the bezel and chrome, and lay the shield back atop the headlight. Make sure to alight all tabs as you do this. When everything’s on proper, press the assembly together as tight as you can.
Bake the headlight for 15 minutes to soften the glue. When you remove the assembly, again squeeze the two sides so that it reseals properly. Replace the assembly screws to ensure the unit is fully back together.
Go back to your car, reinsert the bulbs and wires, and slide the assembly back into its housing unit within the truck.
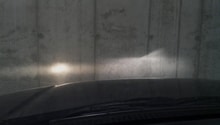
Turn the car on and check the quality of the headlights to ensure you are happy with the final look of this modified unit. If so, replace all clips and screws.
Related Discussions
- Blackout stuff - Yotatech.com
- Blackout headlights 3rd gen 4runner - Yotatech.com
- Smoked lights - Yotatech.com