Toyota 4Runner and Tacoma: How to Replace Brake Fluid
You should be replacing the brake fluid in your truck every other year, or even more frequently in damp climates, or if you do any wet off-roading. When is the last time you did yours?
This article applies to the Toyota 4Runner (1996-2002) and Toyota Tacoma (1995-2004).
Replacing the brake fluid is the best way to keep your brake system in good shape, and working to its full potential in the Toyota 4Runner or Tacoma. Brake fluid absorbs water, and over time this leads to a lower boiling point, as well as metal brake lines that rust from the inside. The average brake fluid replacement interval is 30,000 miles, or every other year. Replacing the fluid will require you to bleed the brakes after to make sure there is no air in the system. Read on to learn how to replace the brake fluid yourself.

Materials Needed
- Turkey baster
- Jack and jack stands
- Tire iron
- Wrench
- Brake fluid
- Hose
- Bottle
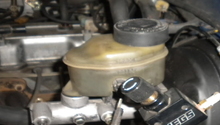
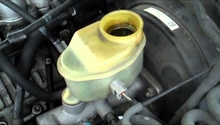
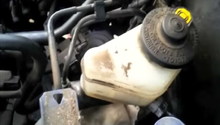
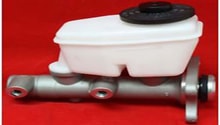
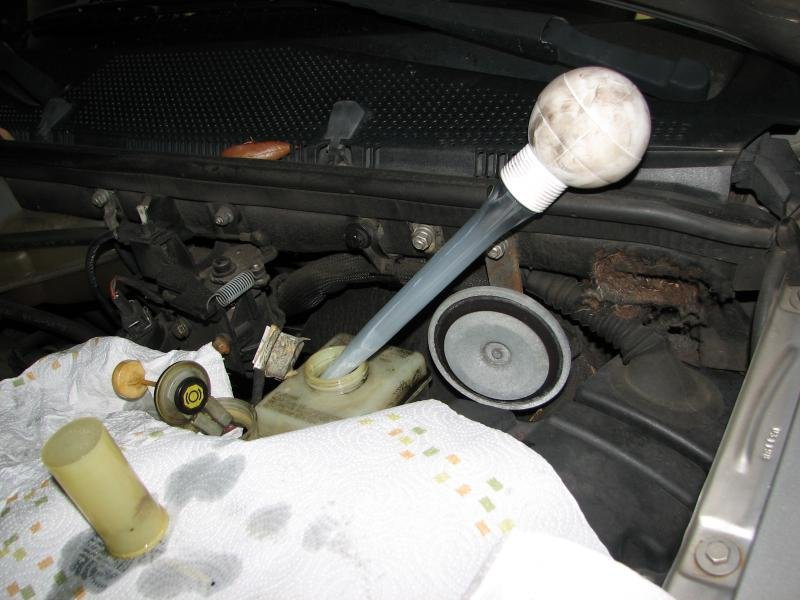
Step 1 – Remove fluid from master cylinder
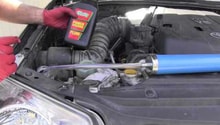
Use your turkey baster to remove as much old fluid from your master cylinder as possible. When it's empty, fill it with fresh fluid.
Step 2 – Jack up the truck
Loosen the lug nuts on the wheels. Jack up the truck, then secure it with jack stands. Remove the wheels to make it easier to reach the caliper's drain bolt from the back. You may be able to bleed the brakes with the wheels on and the truck on the ground, but this is easier.
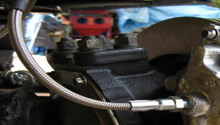
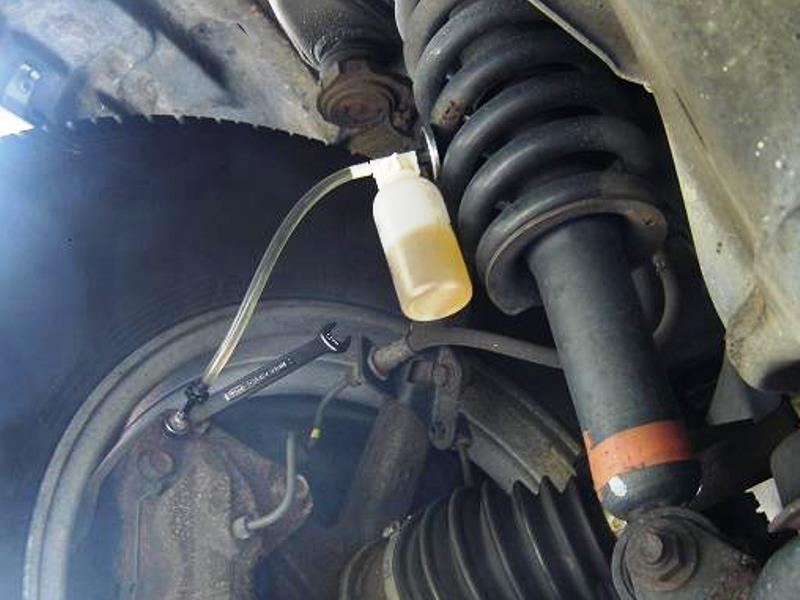
Step 3 – Bleed brakes
The bleeding sequence to the brake system is to start from the passenger's rear wheel, then the driver's rear wheel, then the passenger's front wheel, and finally end with the driver's wheel. Connect the clear hose to the drain bolt, then connect the other end of the hose to the bottle. Ask a helper to pump the brake pedal a few times, then keep it pressed. Loosen the drain bolt using your wrench and watch for the bubbles. Repeat the pumping and loosening again and again. As soon as you start seeing fresh, clean fluid and no bubbles, tighten the bolt. Repeat the same process for the rest of the wheels, but be sure to top off the master cylinder with new fluid in between each wheel. If the master cylinder's fluid runs dry, you will need to start all over.
Related Discussions
- Changing Brake Fluid - YotaTech.com
- How to Change Brake Fluid - YotaTech.com
- Brake Flush - YotaTech.com