Toyota 4Runner 1996-2002: Transmission Diagnostic Guide
Do you feel like you're having problems with your Toyota 4Runner's transmission? This guide will help you locate the issue.
This article applies to the Toyota 4Runner (1996-2002).
The transmission is one of the most expensive components on your Toyota 4Runner. There are some things that can go wrong with the tranny, so discovering the problems quickly can end up saving you a lot of money. However, if you feel you're having transmission problems and you don't do anything about it, you may end up having to shop for a new transmission, which is guaranteed to break the bank. Read on to learn how to diagnose the transmission on your Toyota 4Runner and what you can do to save it.

Materials Needed
- Flashlight
- Rag
- ATF
Step 1 – Check fluid
It may be low.
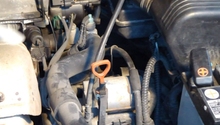
As a maintenance interval, you should check your transmission's fluid often. Early model 4Runner's have transmission fluid dipsticks that are accessible from the engine bay. Later model trucks do not, so consider this a good excuse to give the fluid a quick change. If the fluid is ignored for long enough, it will cause buildup in the transmission and the fluid's additives will break down, lessening its lubrication properties. This could cause transmission damage and result in slipping. What happens is that when you press the accelerator pedal, the RPM's will shoot up but the car will not accelerate. This is the a result of the torque converter not being able to transmit fluid/pressure through the transmission and cause effective gear changes or engagement. If you experience transmission slippage, be sure to look into it immediately because it will cause damage to your gears.
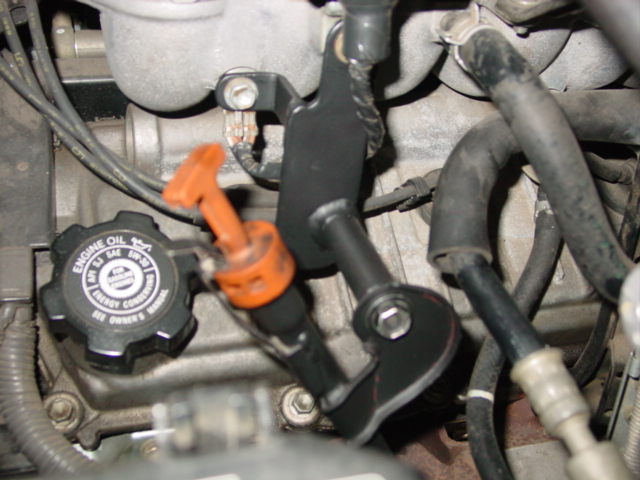
If the transmission fluid is at a proper level, proceed to Step 2.
Step 2 – Check wires going to transmission
They could be worn or cracked.
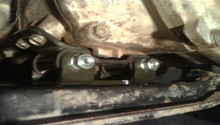
If the wires going to your transmission are worn or cracked, they could cause a number of problems, from slipping to transmission not engaging properly. Go under your 4Runner and inspect all the wires going to your tranny. Pull the wires off and check their connectors. If they are dirty or corroded, then clean them and make sure they are not disturbed by any dirt or grime. Any damaged wiring will obviously require proper repairs, so ready your extra wire, crimps and soldering iron, and get to work.
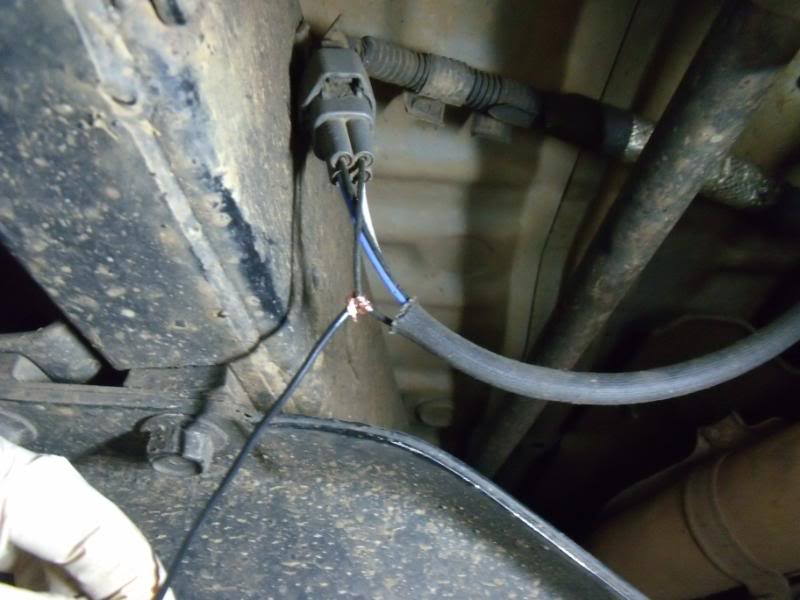
If the wires are in a good condition, proceed to Step 3.
Step 3 – Read computer codes
It will guide you to the faulty component.
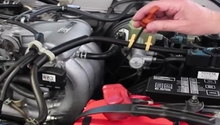
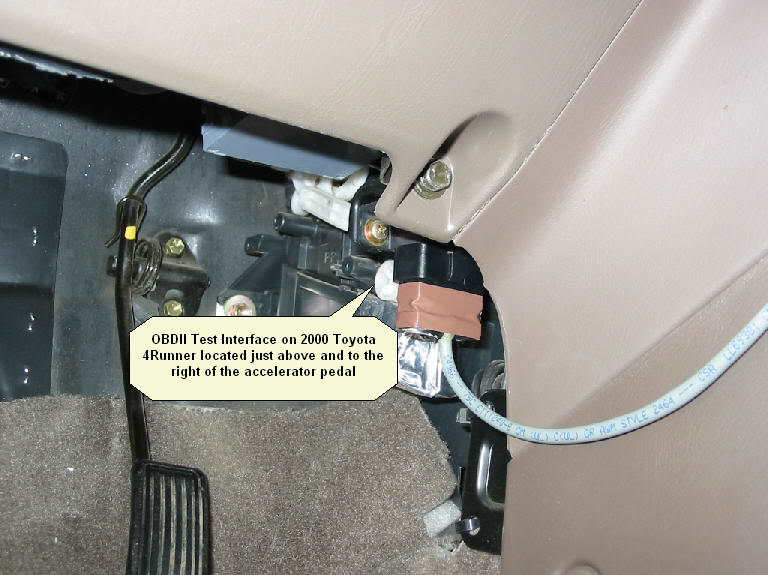
The best way to find out the source of the problem, before removing all of the sensors, is to use a scan tool to check your car's computer. There are a number of sensors, such as the temperature sensor, that could go wrong and cause your transmission to act up. Reading the diagnostic code on your vehicle will point you directly at the culprit. After checking the obvious, such as the fluid level as well as color and checking the wires, using a scan tool is your next step. Read the code and compare it to your owner's manual, then replace the faulty component causing the issue. The scan tool connects to the outlet under the dashboard. On older, pre-OBD trucks, you can jump two wires in the fuse panel to show diagnostic trouble codes in the gauge cluster.
Related Discussions
- Transmission Problem - YotaTech.com
- Transmission Issues - YotaTech.com
- Problems with the Tranny - YotaTech.com

