Toyota 4Runner 1996-2002: How to Replace Valve Cover Gaskets
Changing the valve cover gaskets on your V6 engine is a challenging job. You can do it, but you will NOT have any fun.
This article applies to the Toyota 4Runner V6 (1996-2002).
You want your engine to be sealed and not leak. Leaking oil is not only nasty but it can also damage your engine. Leaky valve cover gaskets are especially nasty since the oil can leak onto the exhaust manifolds, and cooking motor oil is just bad. They probably will be fine for one hundred thousand miles, so when they do need to be replaced, it will be hard to feel, like the truck let you down. Nonetheless, changing them is a very involved job since Toyota engineered the 3.4 engine to be compact and efficient. Most of the intake manifold must come off to get to them. Be prepared and save your patience because you can change them.

Materials Needed
- Factory Service Manual (FSM)
- 2/8" drive ratchet and extensions
- 10, 13, 14, 15mm sockets
- 12mm combination wrench
- Flat screwdriver
- Phillips-head screwdriver
- Small punch
- Vice grips
- Gasket sealer
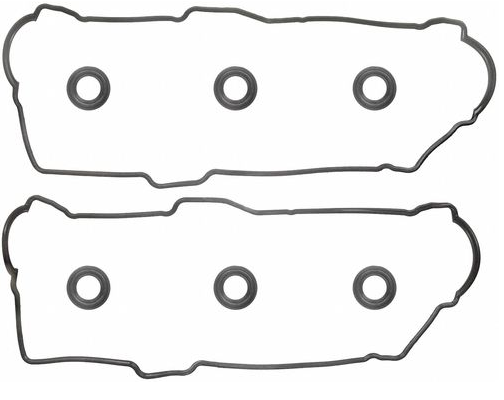
- Valve cover gasket set with spark plug tube seals
Check to be sure that the valve cover bolts are tight before you get started. You may be able to just tighten them for now. Also, disconnect the battery before you start.
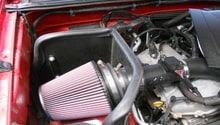
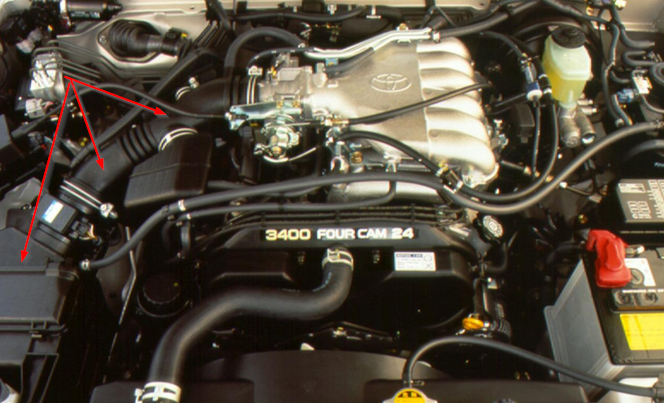
Step 1 – Remove air intake
The air intake assembly is first to go. Using your Phillips-head screwdriver and 10mm socket, loosen the clamps and bolts holding the intake together, then free the intake from the throttle body.
Pro Tip
Mark where all of the hoses connect. Always cover any opening into the engine, so nothing gets in it while working.
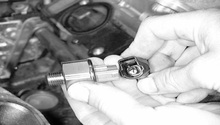
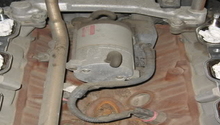
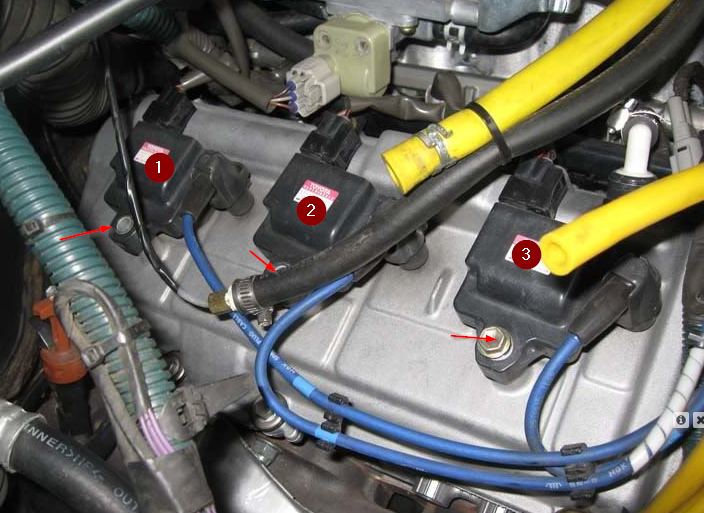
Step 2 – Remove coils
Remove the six coils from the valve covers. They are held on with a 10mm headed bolt. Figure 3 shows the passenger side, the driver side is more hidden. (This is not a stock engine but looks great.)
Pro Tip
The coils can be disconnected to get them out of the way. Be sure to mark the connectors.
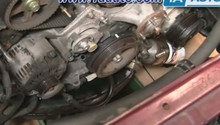
Step 3 – Remove throttle body and cables
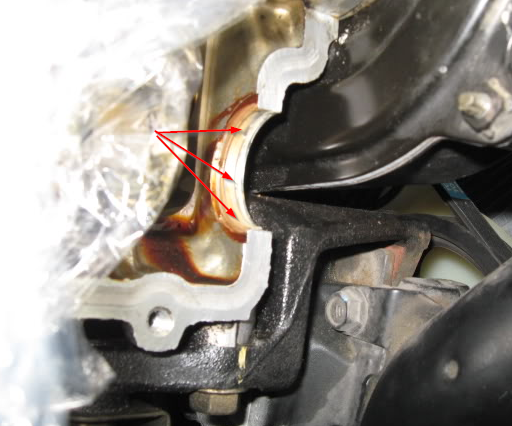
There are cables that hook to the throttle body that must be unhooked. Assorted hoses, too. When they are off, unbolt two bolts and two nuts with 12mm socket to remove throttle body and set aside.
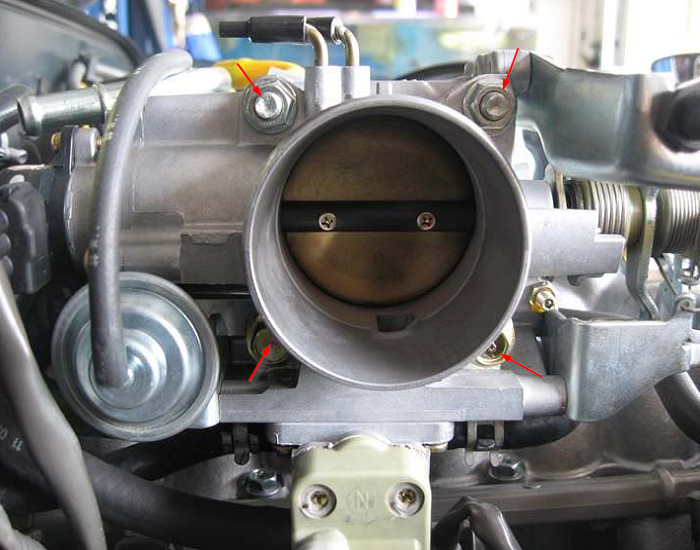
Figure 4. Cables at throttle body to unhook. 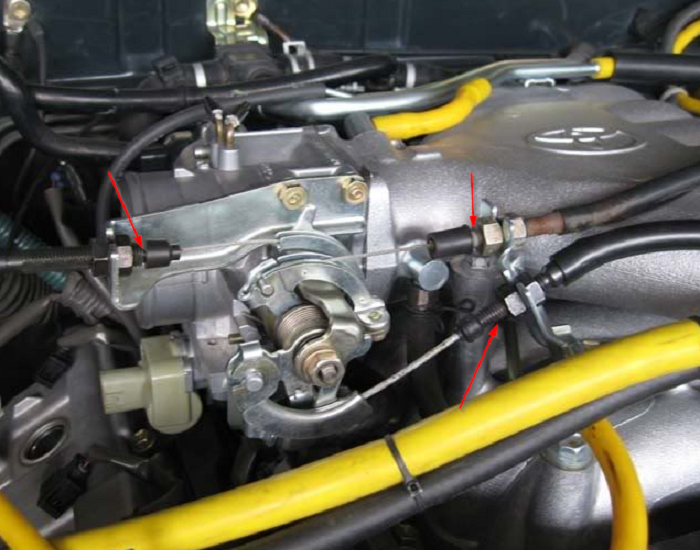
Figure 5. Throttle body (arrows show bolts/nuts).
Pro Tip
Some hoses at the throttle body may contain coolant. This is also a good time to clean the throttle body.
Step 4 – Remove upper and lower intake plenums
Remove the upper and lower intake plenum bolts and nuts with a 12mm socket or wrench. Tape up the openings in the intake manifold.
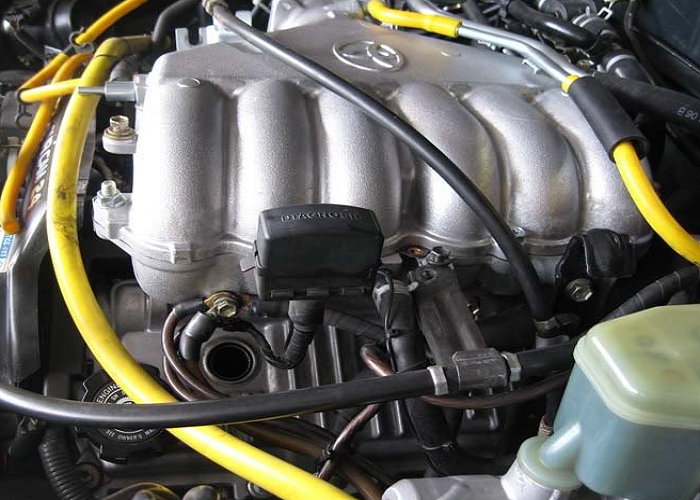
Figure 6. Upper plenum. 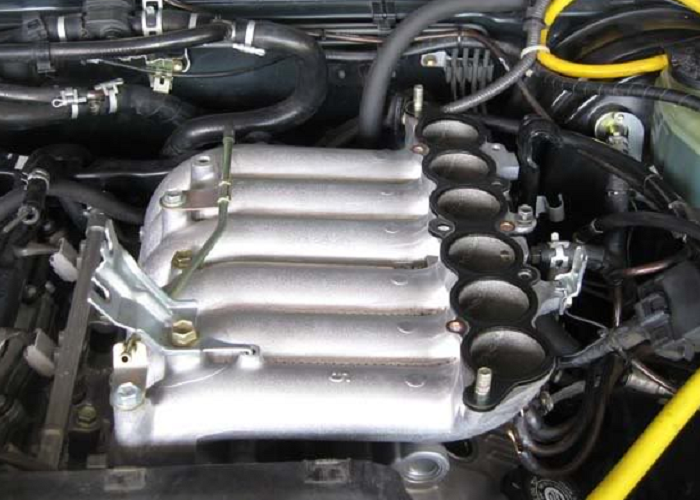
Figure 7. Lower plenum. 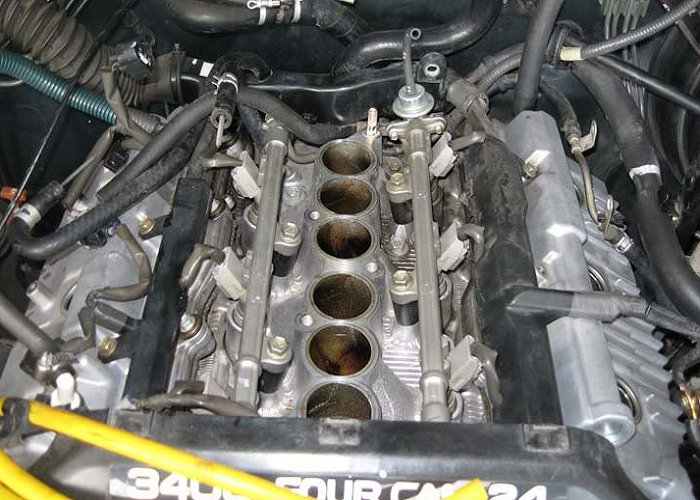
Figure 8. Intake with no plenums. 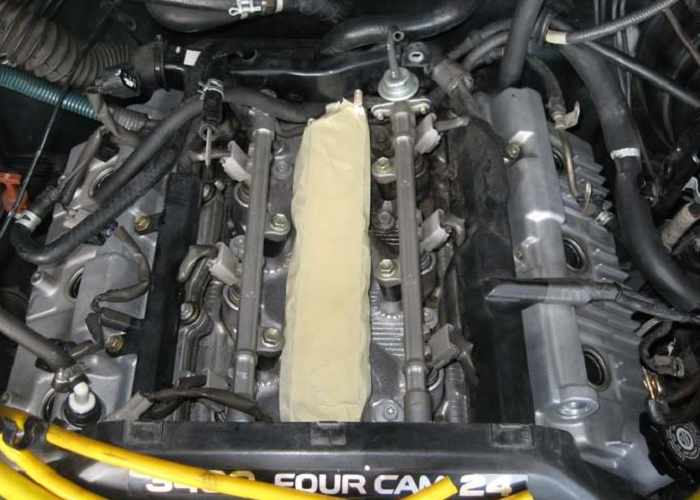
Figure 9. Intake opening taped up.
Pro Tip
Some people reuse the plenum gaskets, but to avoid headaches, I use new ones.
Step 5 – Remove valve covers
Remove the eight bolts from each valve cover with a 10mm socket. Gently pull them off. Do not let anything drop in the opening. Figure 10 shows the passenger side, the driver side is more covered up.
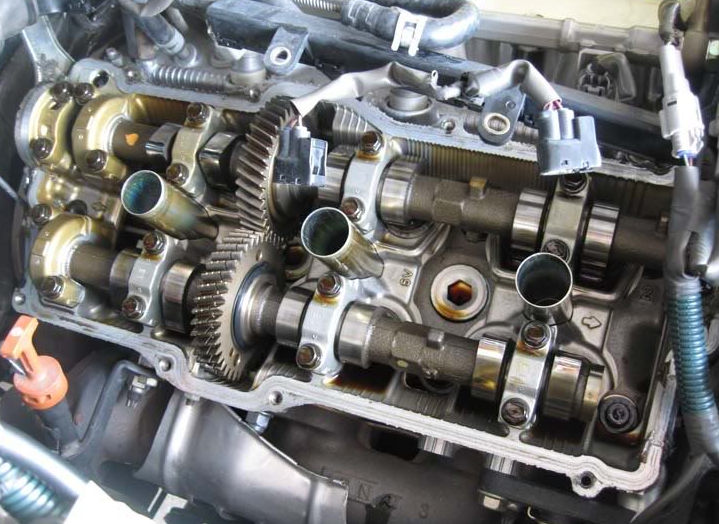
Figure 10. Passenger head.
Pro Tip
This is a really good time to replace your spark plugs, since you are right there.
Step 6 – Replace gaskets and tube seals
Figure 11 shows where the rubber seal for the valve cover and the spark plug tube seals go. Be sure you get the thin seal into the groove where it goes. The three tube seals are covered below.
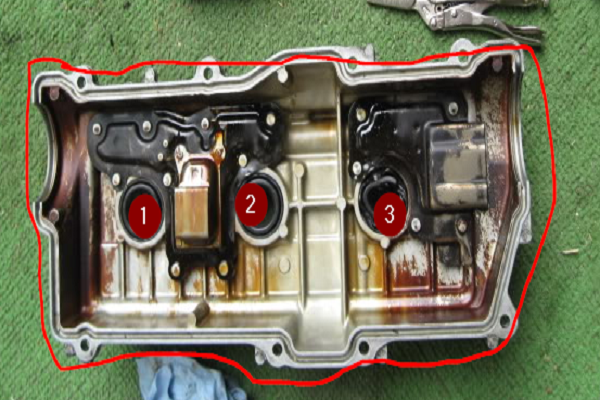
Figure 11. Gasket and seal placement. 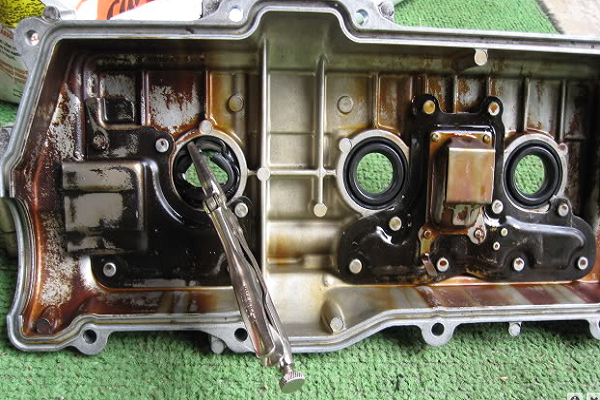
Figure 12. Removing tube seals.
The tube seals are in really well. Using a flat screwdriver or punch to drive the side of the seal in until you can grab it with the vice grips works well.
The only sealer you will need is where the thin seal in the groove meets the half round cam plugs. The factory used just a dab at the four transitions. The FSM shows exactly where. Sometimes the cam plugs can leak. If they need to be sealed, they must be removed and sealed to the head with gasket sealer.
Pro Tip
When replacing the valve cover, be sure that the seal stays in the grove and mounts flat to the head.
Step 7 – Install valve covers
Installation is the opposite of removing them.
- Reinstall the valve covers.
- Reinstall the spark plugs and coils.
- Reassemble the intake manifold.
- Reinstall the intake.
To make it easier to slip the spark plug tubes into the new seals, coat them with a light grease or silicon.

Featured Video: Toyota V6 Valve Cover Gasket Replacement
Related Discussions
- Leaky Valve Covers - YotaTech.com
- Replacing Valve Cover Gaskets - YotaTech.com
- Replacing the Valve Cover Gasket - YotaTech.com