Toyota 4Runner 1996-2002: How to Replace Power Steering Fluid
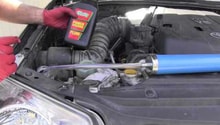
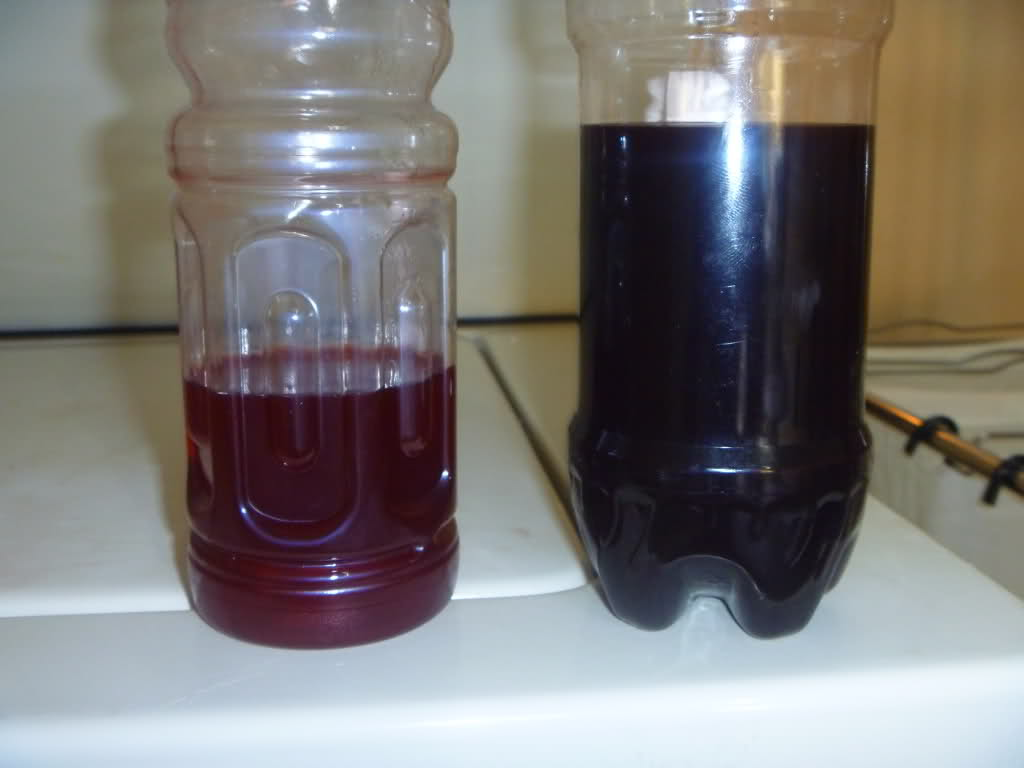
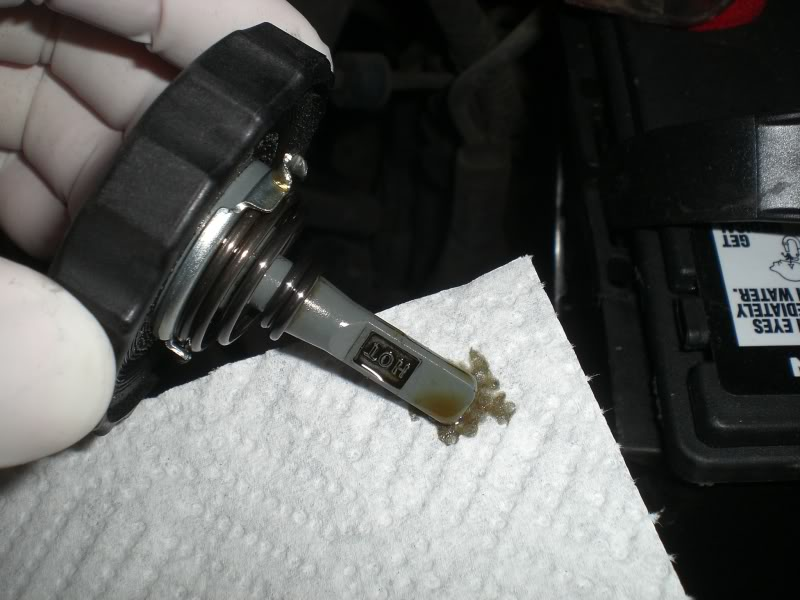
Power steering fluid tends to have a much longer service life than other fluids and oils used in a vehicle, but many agree that there is no such thing as over-maintaining a car. While darkened power steering fluid is not necessarily a concern, any visible contaminants or sludge formation in the reservoir is a sign that a fluid flush is required.
This article applies to the Toyota 4Runner (1996-2002).
Most vehicle manufactures do not typically have a scheduled maintenance interval for the power steering fluid. The power steering system does not tend to be as harsh of an environment as the engine, transmission, or even the differential; therefore, the fluid can last many thousands of miles. That being said, the power steering fluid will degrade and darken over time as most fluids do, so it is never a bad idea to perform a fluid flush, especially on a car with 100k+ miles.
A power steering fluid flush can be accomplished a variety of different ways. Some prefer to remove only the fluid from the reservoir and replace it a few times over the course of a couple of hundred miles, whereas others like to drain the whole system to ensure any contaminants are removed. If you are looking to freshen up your power steering fluid, this article will outline how to flush the power steering system on the third generation Toyota 4Runner.

Materials Needed
- Floor jack and jack stands
- 12mm socket and ratchet
- Screwdriver
- Pliers
- Catch pan
- Syringe or turkey baster
- Length of vinyl hose (optional)
- 2-3 quarts of power steering fluid (automatic transmission fluid)
- Helping friend (optional)
Step 1 – Lift vehicle
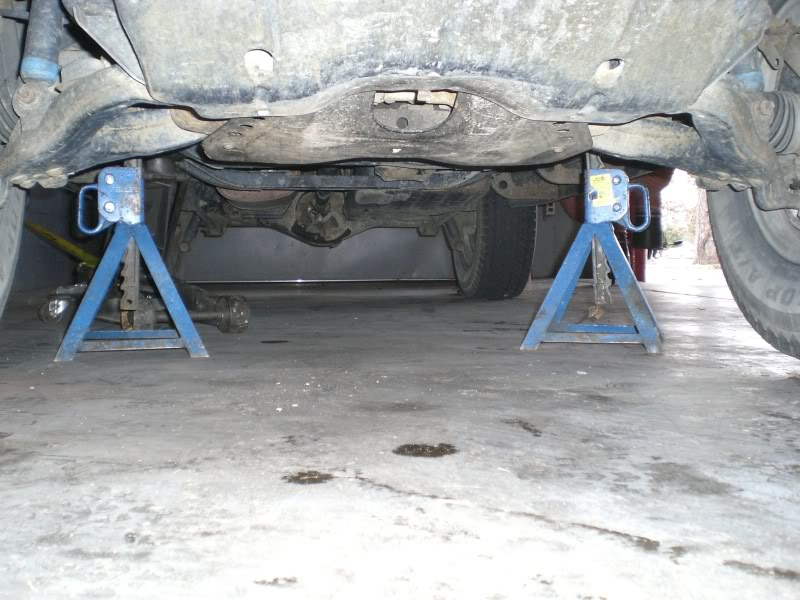
When performing a power steering fluid flush, it is good practice to have the front wheels lifted off of the ground to allow for the steering wheel to be easily moved back and forth to push out old fluid. Lift the front axle of the vehicle until the front wheels are just off of the ground. Support the car with jack stands before continuing. For additional information on lifting your 4Runner, see How to Jack Up Your Truck.
Step 2 – Remove skid plates (optional)
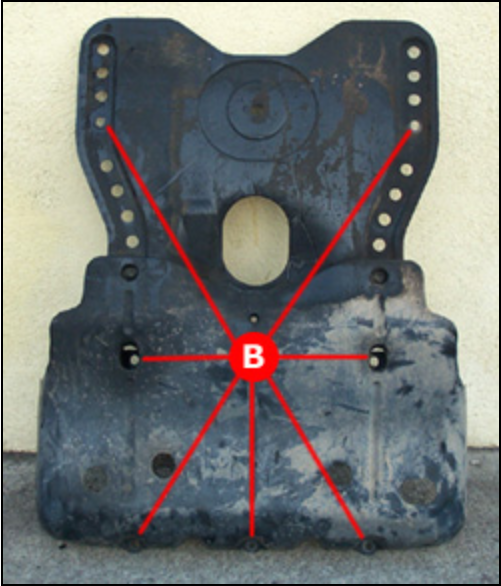
Draining the power steering system of old fluid can be a messy job, so some individuals prefer to remove the skid plates to avoid any spilled fluid from pooling under the engine. The skid plates are held in place by (8) bolts, which can be removed with a 12mm socket and ratchet. With the fasteners removed, pull the front of the skid plates upwards and towards the front of the vehicle to release the fastening clips and set the skid plates aside.
Step 3 – Drain power steering fluid reservoir
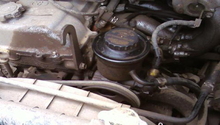
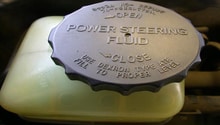
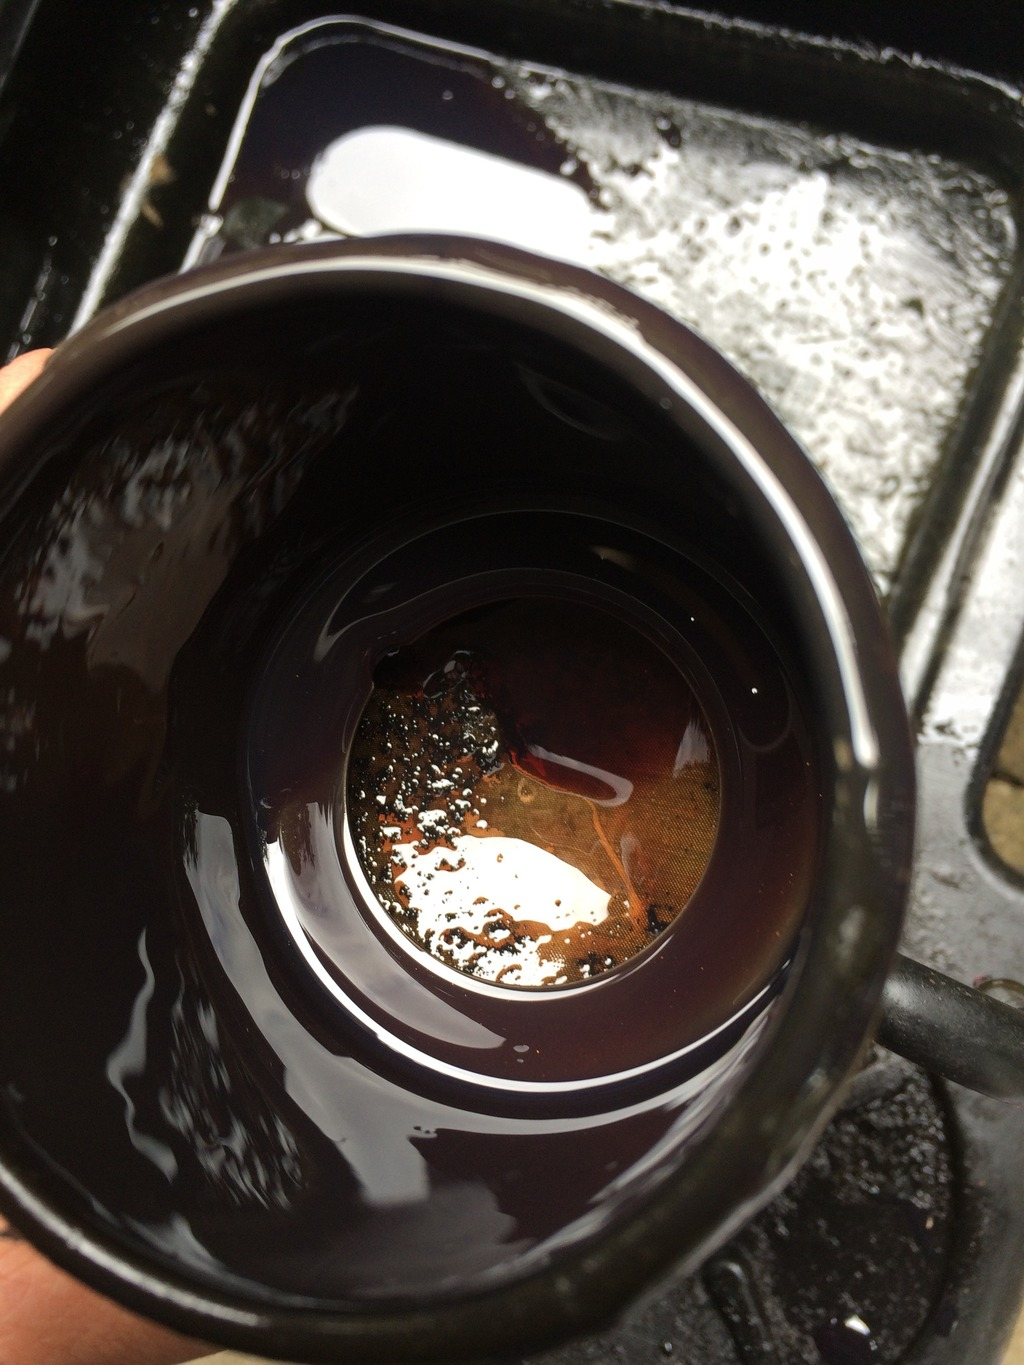
- Remove the cap from the power steering fluid reservoir and remove as much fluid as possible using a syringe or turkey baster. Be careful not to damage the fine mesh screen at the bottom of the reservoir.
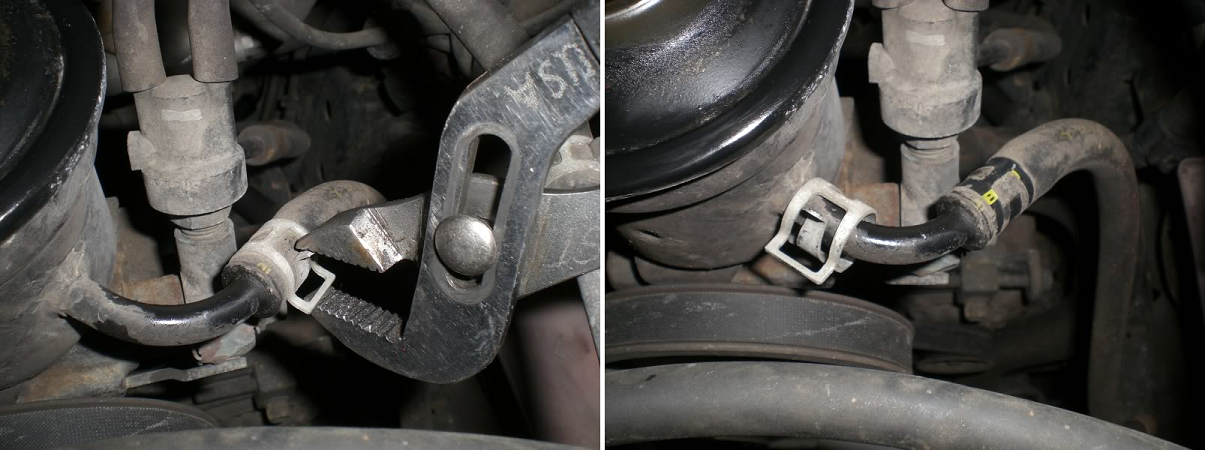
- Disconnect the power steering return hose from the reservoir. With the hose removed, cap off the return line nipple.
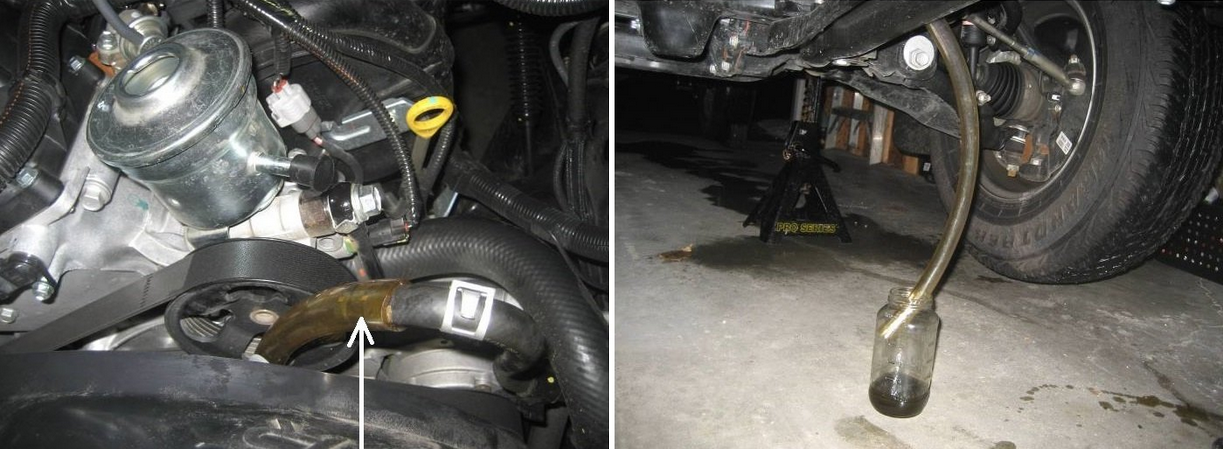
- Route the return hose into a suitable catch can. If necessary, couple the return hose to a length of vinyl hose and route it into a catch pan under the vehicle. Be sure the hose is positioned away from the drive belts to prevent it from getting sucked in while the engine is cranking/running.
Step 4 – Flush system
The next step involves flushing the old fluid out of the power steering system by working the steering wheel back and forth. This is best accomplished with a helper; however, it can be completed by yourself.
- Fill the reservoir with new power steering fluid.
- Have a friend start the vehicle and work the steering wheel slowly back and forth (lock-to-lock). Meanwhile, monitor the fluid flowing out of the return hose while continuing to top off the reservoir with new fluid.
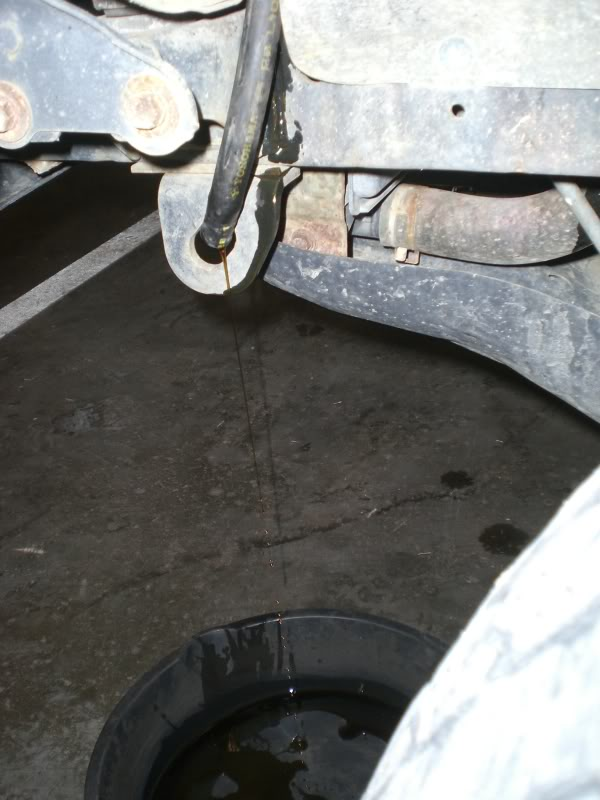
- When the fluid flowing from the return hose is clean, shut the vehicle off.
Pro Tip
If performing this job by yourself, remove the fuel pump relay to prevent the vehicle from starting before you begin cranking the engine for three to five-second intervals while working the wheels back and forth. Check the fluid level in the reservoir between cranking intervals to ensure it does not run dry. As stated above, continue to fill the reservoir and monitor the escaping fluid until the fluid is clean.
Step 5 – Re-assembly
- Attach the return hose to the reservoir nipple. Make sure the hose clamp is properly seated on the hose to prevent leaks.
- Install the skid plates.
- Lower the vehicle off of jack stands.
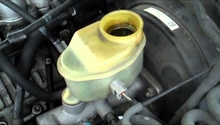
- Top off the power steering reservoir to achieve the correct fluid level.
Related Discussions
- Factory Power Steering Fluid? - YotaTech.com
- How Do I Change Power Steering Fluid? - YotaTech.com
- Changing Power Steering Fluid & Bleeding - YotaTech.com

