Toyota 4Runner 1996-2002: How to Replace Battery
If it's time to replace your battery, fortunately for you, it's a simple process that will take a matter of minutes and can be done anywhere.
This article applies to the Toyota 4Runner (1996-2002).
Sometimes batteries go bad suddenly, and at the worst time in the worst of places. If you are lucky, your battery will give you telltale signs, such as a slightly longer time than normal getting your 4Runner started. If you come to find that you need a jump start for no apparent reason, it's time to head directly to the auto parts store for a new battery. If you have your own tester or charger, you should periodically check your battery, especially after long periods of not driving your 4Runner. You definitely want to be proactive about replacing your battery before it leaves you on the side of the road needing a tow or a call for roadside assistance. Thankfully, changing a battery is nearly as easy as washing your 4Runner in a fraction of the time it takes to scrub your wheels. Don't pay a professional's labor charges; read this guide and get it done yourself.

Materials Needed
- Ratchet and 8, 10mm sockets or box wrench
- Safety goggles and gloves
Step 1 – Pop and prop the hood
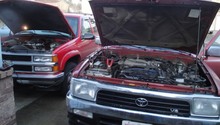
You need to get under the hood to get to the battery.
- Find the hood release lever on the front panel below the steering wheel.
- Pull the tab out until you feel and hear the hood latch pop.
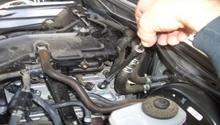
- Slip your hand in between the top of the grill and under the hood to find the hook latch-release lever.
- Push the safety catch release lever up to disengage the hook and raise the hood.
- Once the hood is in the air, your hood shocks should keep it there.
- If your model does not have the hood shocks, or they are bad, use a retaining rod to secure the hood in the raised position.
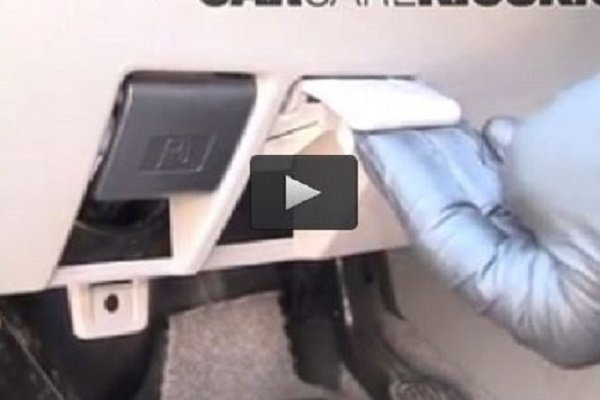
Figure 1. Pop the hood release latch inside the cabin below the steering wheel. 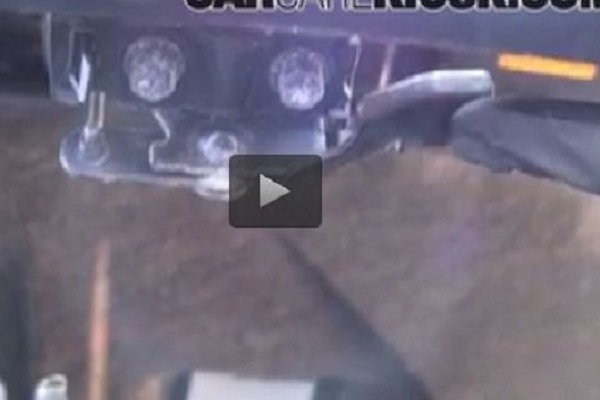
Figure 2. Press up on the safety catch lever to raise the hood up.
Pro Tip
You should always wear the proper safety equipment when working on your vehicle, especially when your battery is involved.
Step 2 – Disconnect your battery
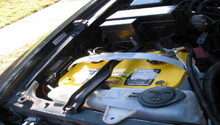
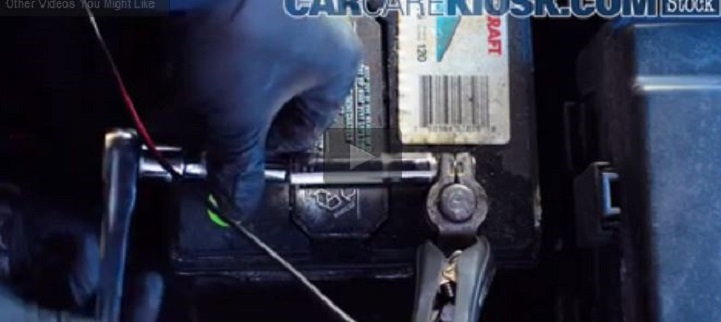
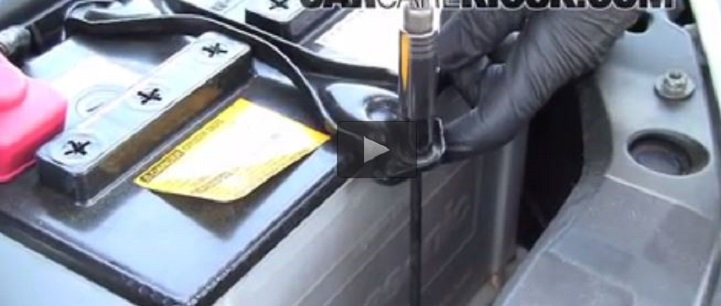
As your battery sits right behind your driver's side headlamp, it is oriented with the positive and negative terminals either on the left or right, depending upon your model year. You may or may not have protective rubber boot covers over the terminals. If so, the red boot covers the positive and black covers the negative. You may have only one red boot cover and nothing for the negative. Remove the covers to expose the 8mm or 10mm nut that holds the terminal cable to the battery post. Use a ratchet and socket or an open end wrench, or even a pair of needle nose pliers, will do. Loosen the nut enough so that you can pull the terminal ends up and off the battery posts. Remove the negative terminal first, and then do the positive last.
Step 3 – Remove battery bracket
Remove the bracket that secures the battery in place. There are two nuts on either end of the bracket. Remove the battery once the bracket is off. Set it aside.
Pro Tip
Be sure to keep your old battery and turn it in when you purchase the replacement in order to get your core deposit charge credited to the cost of the replacement.
Step 4 – Install new battery
Installing the new battery is just as easy, if not easier, than taking the old battery out. Make sure that you orient it in the same way as the old, so that you do not connect the positive terminal to the negative post or vice versa. This will have a very bad impact on your 4Runner. Once you are sure that the positive post is in position on the left, reconnect the terminals to the posts, then tighten down the screw and ensure that it is solidly in place. Replace the retaining bracket and secure the two bolts.

Featured Video: 4Runner Battery Location
Related Discussions
- Optima Battery in 3rd Generation 4Runner - YotaTech.com
- What Kind of Batteries in 3rd Gen - YotaTech.com
- New Battery for My '99 - YotaTech.com