Toyota 4Runner 1996-2002: How to Replace Alternator
If you are sure that you have a bad alternator, don't fret; replacing the alternator on your 4Runner is not as difficult as you might think.
This article applies to the Toyota 4Runner (1996-2002).
Don't get yourself stuck way out in the middle of nowhere with a bad alternator. In plenty of cases, the warning light did not come on when the alternator was going bad. Some telltale signs to look for are headlamps dimming at idle but coming back up when the engine is revved, or the heat is just not as hot or gets hotter when the engine is revved but gets cooler again at idle. If your battery is good, but you are experiencing those symptoms, you should get your alternator checked out. Just about any auto parts store will check it for you at no cost. Many 4Runner owners will purchase an aftermarket alternator that has a higher amp output than the OEM, as they have added lights, speakers or other accessories. Whichever you choose, you will be happy to know that on the 4Runner, changing out the alternator is one of the easiest DIY jobs that you can do. If you are leery about doing it yourself, find a reputable pro to do the work for you because you don't want to get stuck somewhere. If you want to tackle this job on your own, you'll love the savings that you'll get by doing it yourself.

Materials Needed
- Ratchet and socket set including 10, 12 and 14mm sockets
- Ratcheting wrench
- PB Blaster or other penetrating lubricant
- Replacement belt if needed
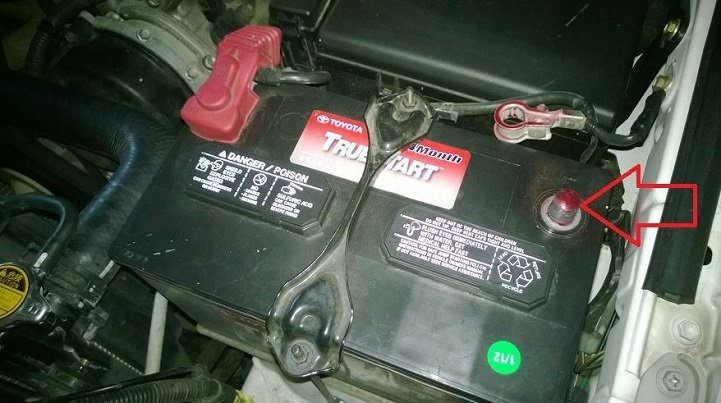
Step 1 – Disconnect battery
Pop the hood and disconnect the negative (black) battery terminal.
Step 2 – Remove alternator and belt
There is a wiring harness and a gray cap to pop off the alternator first before starting the removal process.
- Pop off the gray cap on the side of the alternator. From the bottom of the cap, just pry it up and set it aside.
- Use a ratchet and 14mm socket to loosen the top mounting bolt from the alternator. (You may need a breaker bar if it is too tight.)
- Use a 10mm wrench to remove the bolt that was hidden underneath the gray cap that you previously removed.
- Slide the cable off the post from the 10mm bolt you just removed.
- Press in on the tab of the wiring harness quick connect clip that is connected just behind the 10mm bolt. Pull the harness out. It's a tight squeeze back in there, but be careful to not break the connector.
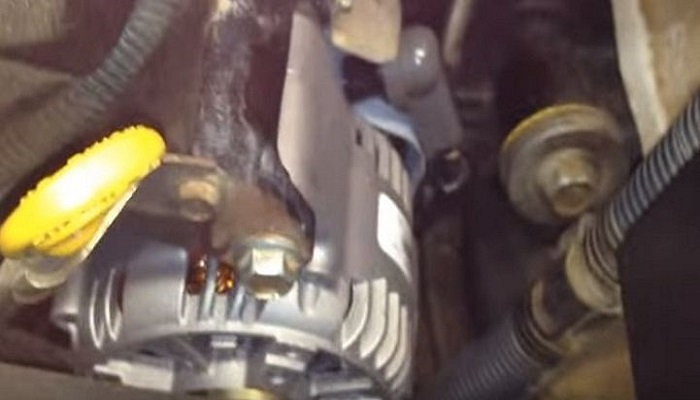
Figure 2. The top 14mm mounting bolt. 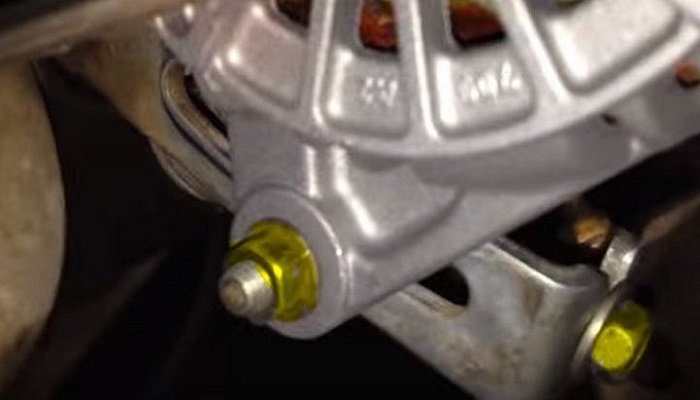
Figure 3. The lower right is the tensioner bolt; the lower front locks it in place. 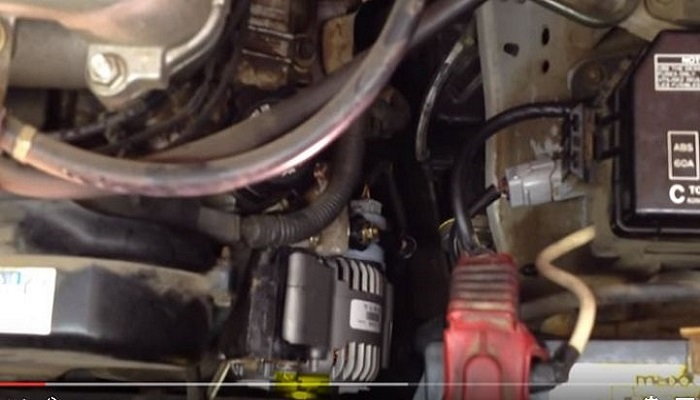
Figure 4. Loosen the 14mm mounting bolt at the top of the alternator.
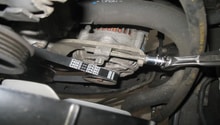
- Remove the bottom right tensioner bolt with a 12mm small ratchet or ratcheting wrench.
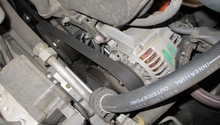
- When the tensioner bolt is removed, you can then push the alternator to the left, which will create slack in the belt for easy removal off the pulley.
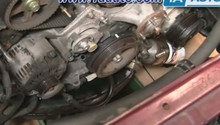
- When the belt is removed, you can the remove the top 14mm bolt that you loosened previously to remove the alternator from the engine bay. You may have to really work the alternator back and forth to get it out.
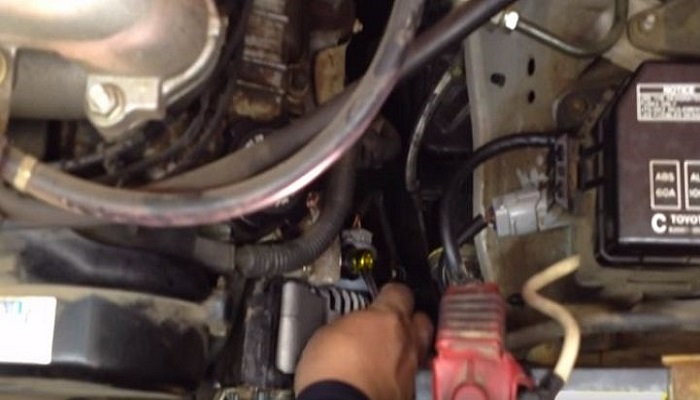
Figure 5. Remove the 10mm bolt that was under the cap you removed in the first step. 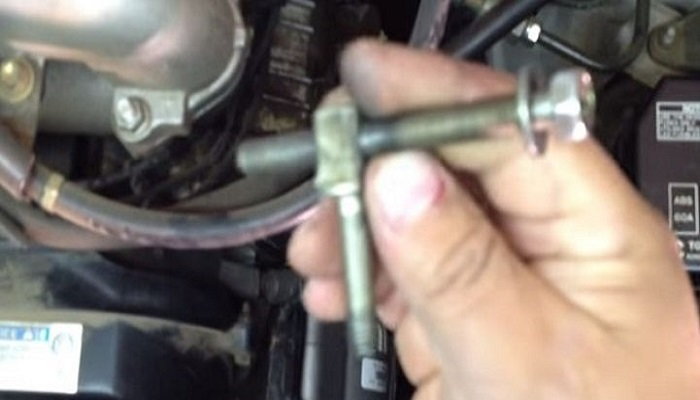
Figure 6. Remove the tensioning bolt from the bottom right side of the alternator. 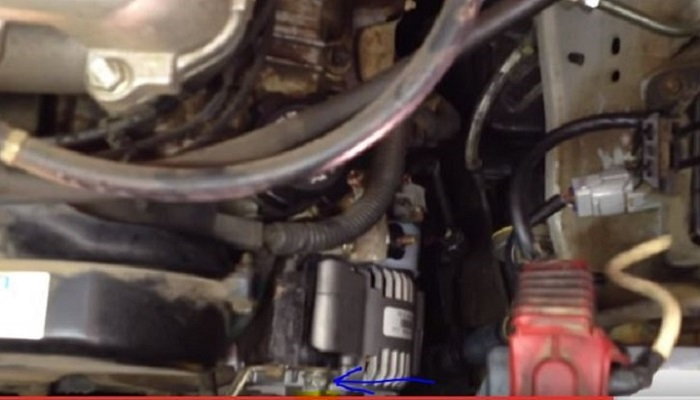
Figure 7. Push in on the side of the alternator to create slack and remove the belt.
Step 3 – Install new alternator
Make sure that the new alternator is a good match for plug and play installation. Compare it to the old one to make sure the size and fitment is correct. Place the new alternator into the mounting bracket and line the top bolt hole up on the alternator with the mounting bracket.
- Insert the top 14mm mounting bolt and just snug it in, but do not completely tighten it just yet.
- Push in the side of the alternator to allow the belt to loop back over the pulley (inspect your belt and replace with a new one if it is worn).
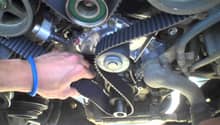
- Insert the tensioner bolt back in to position and tighten it just snug, so you still have a little play in positioning the alternator (this is the most difficult part of the job. It is a bit tricky getting the tensioner bolt back into its home).
- Once you have the bolts back in place, and the belt on the pulley, put tension on the belt to the original position and tighten the tensioner bolt down.
- Make sure the front tensioner bolt is tightened in place.
- Tighten the top 14mm bolt back down as well.
- Reconnect the wiring harness clip in the back.
- Replace the wire over the 10mm stud and replace the bolt, then tighten it down.
- Replace the gray cap over the 10mm bolt.
- Reconnect the negative battery terminal.
- Start your 4Runner and verify no CEL lights or warning lamps stay illuminated.
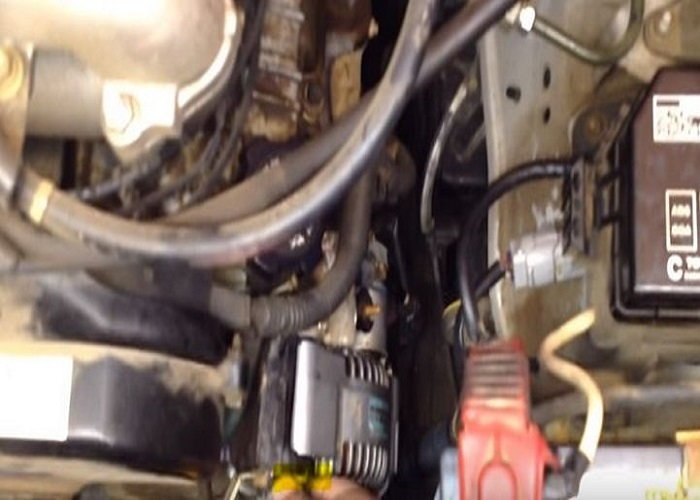
Figure 8. Hand snug the top 14mm mounting bolt first. 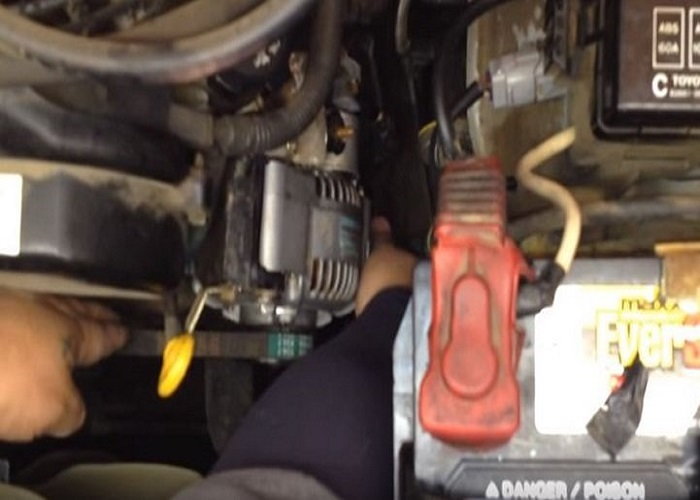
Figure 9. Replace belt and tensioner. 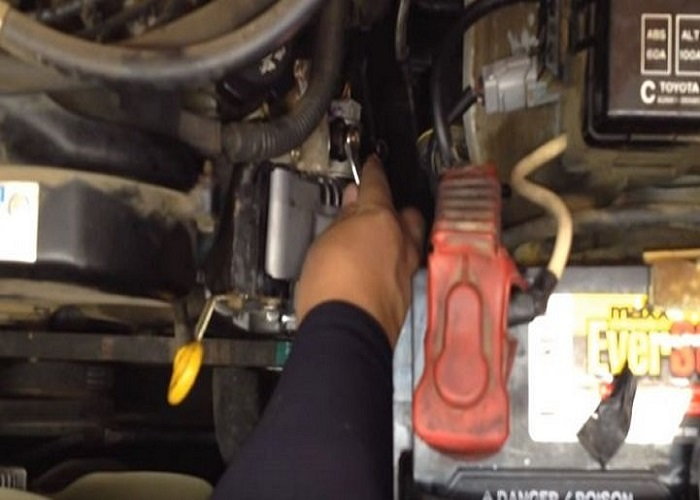
Figure 10. Replace the electrical connections and tighten the 10mm bolt back down.
Pro Tip
Your alternator belt will need to be replaced numerous times before your alternator will in most cases. If you haven't changed your belt in a while, it's a good idea to inspect it and change it now since you have to take it off to replace your alternator anyway.
Featured Video: Toyota 4Runner Alternator Replacement
Related Discussions
- New Alternator for 3rd Gen - YotaTech.com
- 3rd Gen Alternator, Did Your Light Come On When it Died? - YotaTech.com
- High Output Alternators 3rd Gen T4R - YotaTech.com
- High Amp Alternators for 3rd Generation? - YotaTech.com