Toyota 4Runner 1996-2002: How to Replace Air Filter
The air filter is designed to filter the air going into your Toyota 4Runner's engine. Learn how to replace it here to ensure your car is running smoothly.
This article applies to the Toyota 4Runner (1996-2002).
The air filter is exactly what it sounds like: a filter designed to filter the air going into your Toyota 4Runner's engine. The air filter is constantly working, as it filters dust, dirt, and even leaves from time to time. The air filter should be replaced every 5,000 or so miles. The process of replacing it is rather simple, and the cost of the air filter is very low, but the benefits your car's engine gets from replacing it is far more than the labor and the cost. If your air filter is extremely clogged, you will feel an immediate difference in your 4Runner's performance, as the air will flow easier going into the engine. Read on to learn how to replace the air filter in the 3rd Gen 4Runner.
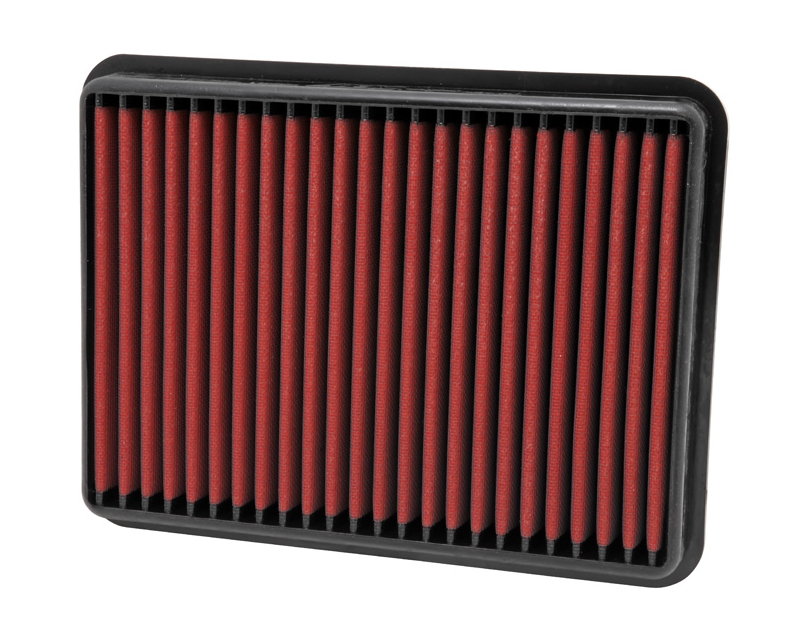

Material Needed
- Replacement air filter
Step 1 – Remove old filter
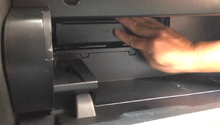
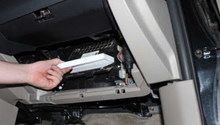
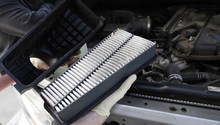
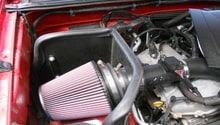
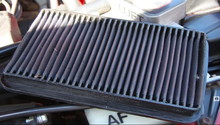
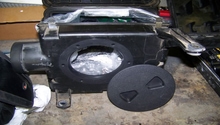
Locate the air box in the engine. It should be on the front, passenger side, by the right headlight. Pull the two tabs back to open the air box cover. Once the cover is pulled back, you'll see the air filter inside. Pull the old air filter straight up.
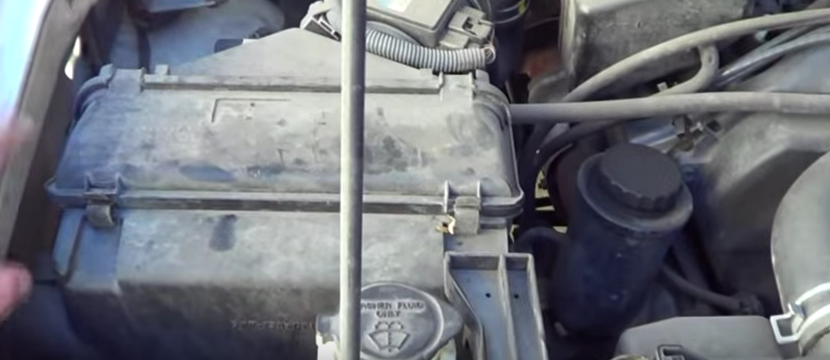
Figure 2. Pull tabs to release cover. 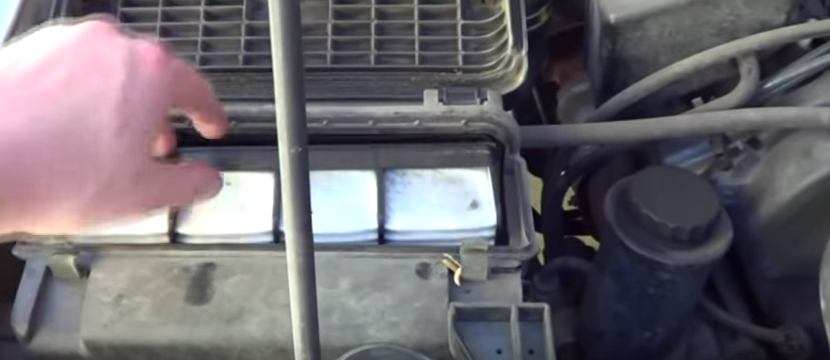
Figure 3. Pull air filter straight up.
Step 2 – Check inside air box
Before installing the new filter, be sure to check inside the air box. It is common to find leaves trapped inside the air box, which can restrict the airflow going into the engine, thus affecting its performance.
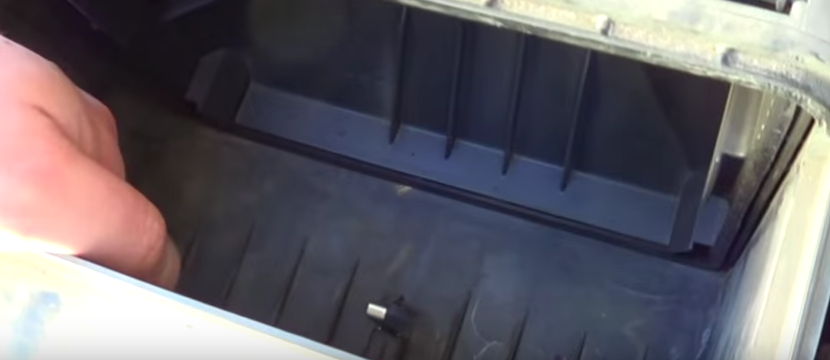
Step 3 – Install new filter
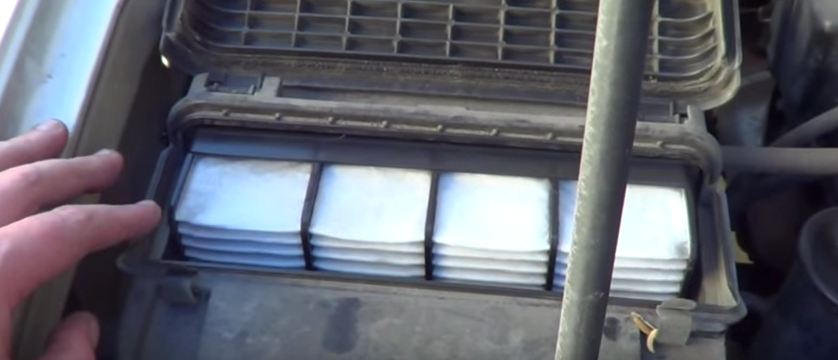
Install the new air filter inside the air box the same way the old one was installed. Be sure it's seated comfortably. The grooves should face the front of the car. Close the cover and lock the tabs.
Related Discussions
- Air Filter Replacement - Yotatech.com
- Engine Air Filter - Yotatech.com

