Toyota 4Runner 1996-2002: How to Replace 4WD Transfer Case Actuator Motor
Is your 4Runner stuck in four wheel drive? If it's your actuator motor that has given up on you, this article will show you how to replace it and get your 4WD system functioning properly again.
This article applies to the Toyota 4Runner (1996-2002).
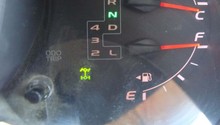
It's a cold winter's day, and you have an icy and snowy commute ahead of you. Or, maybe you're heading out for a weekend of fun in the mud. But when you try to engage/disengage your four wheel drive system, it simply refuses to cooperate. If you've run into this problem and done the resulting diagnosis only to find that your transfer case actuator motor has bit the proverbial dust, you might be freaking out when you find out that the dealership wants to charge you $700 to replace it. Fear not, because we're going to show you how to replace the motor yourself, and save hundreds of dollars in the process. Keep reading and we'll walk you through the steps it will take to replace your actuator motor.

Materials Needed
- Ratchet and assorted common size sockets
- Flat head screwdriver
- Penetrating oil
- Hammer
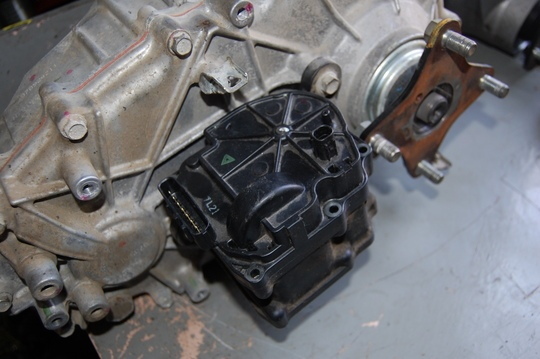
Step 1 – Remove wiring and cover from actuator
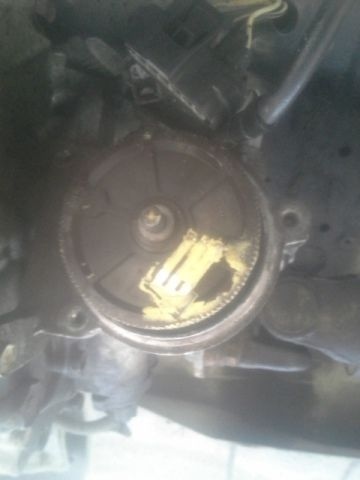
First, remove the wiring harness connected to the transfer case actuator motor, then remove the vent hose. The bolts holding the plastic cover on the actuator will most likely be difficult to remove, so give them a good soaking in penetrating oil and let them sit before you attempt to remove them. If they are still stubborn, give them a few good whacks with a hammer to loosen them up. Remove the bolts and the plastic cover.
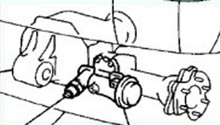
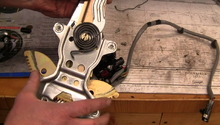
Step 2 – Remove the actuator
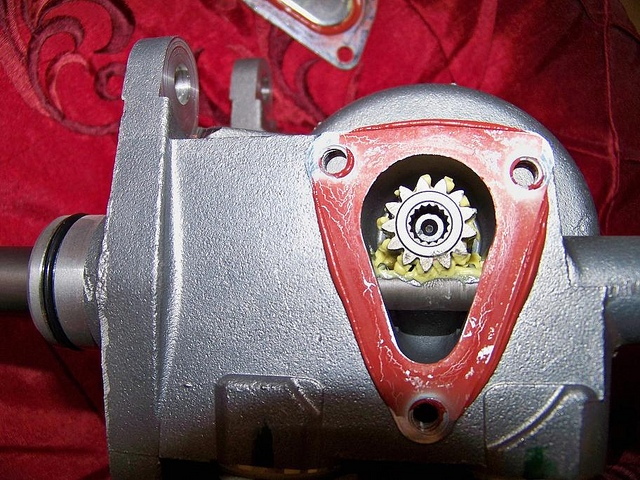
With the plastic cover removed, you will see a small gear inside the actuator. Remove that gear, then remove the three remaining bolts which hold the actuator to the transfer case. The shaft will remain in place. Pull off the other half of the actuator. Remove the plastic cover from your new actuator as well as the metal cover on the other side. Remove the small gear from the new actuator.
Step 3 – Install new actuator
Check to make sure that the transfer case is in 2WD by ensuring the shaft is pushed all the way in before you try to install the new actuator. Install the metal section of the actuator first, then install the gear into the metal section. Make sure that the rotational section is aligned as close to the two wheel drive position as possible, which is around the "3:00" position. Reinstall the plastic cover, wiring harness and vent hose. Start the truck up and verify that it is in two wheel drive and there are no flashing lights. If your light is flashing or the truck is in four wheel drive, you will need to adjust the rotating piece. Once this is complete, install the small gear.
Related Discussions
- Four Wheel Drive Won't Disengage - YotaTech.com
- Do I Need to Replace My Actuator? - YotaTech.com