Toyota 4Runner 1996-2002: How to Remove Windshield Trim
Windshield trim replacement can be done at home if you have the patience and the right tools.
This article applies to the Toyota 4Runner (1996-2002).
You probably don't give much thought to that chrome trim around your windshield. Unless, of course, you absolutely hate the way it looks, then it's all you can think about. Maybe you don't care so much about looks, but about the puddle on your dashboard that drips down to the carpet when it rains. Either way, if there comes a time when you want or need to replace it, doing it yourself can save you a lot of money.

Materials Needed
- Pry tool
- Gasket scraper
- Sealant or gasket
- Adhesive (Toyota Part #08833-00030)
- Replacement trim
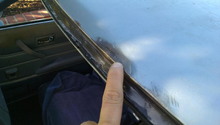
Step 1 – Remove the windshield trim
Use a pry tool to remove the trim from around the windshield.
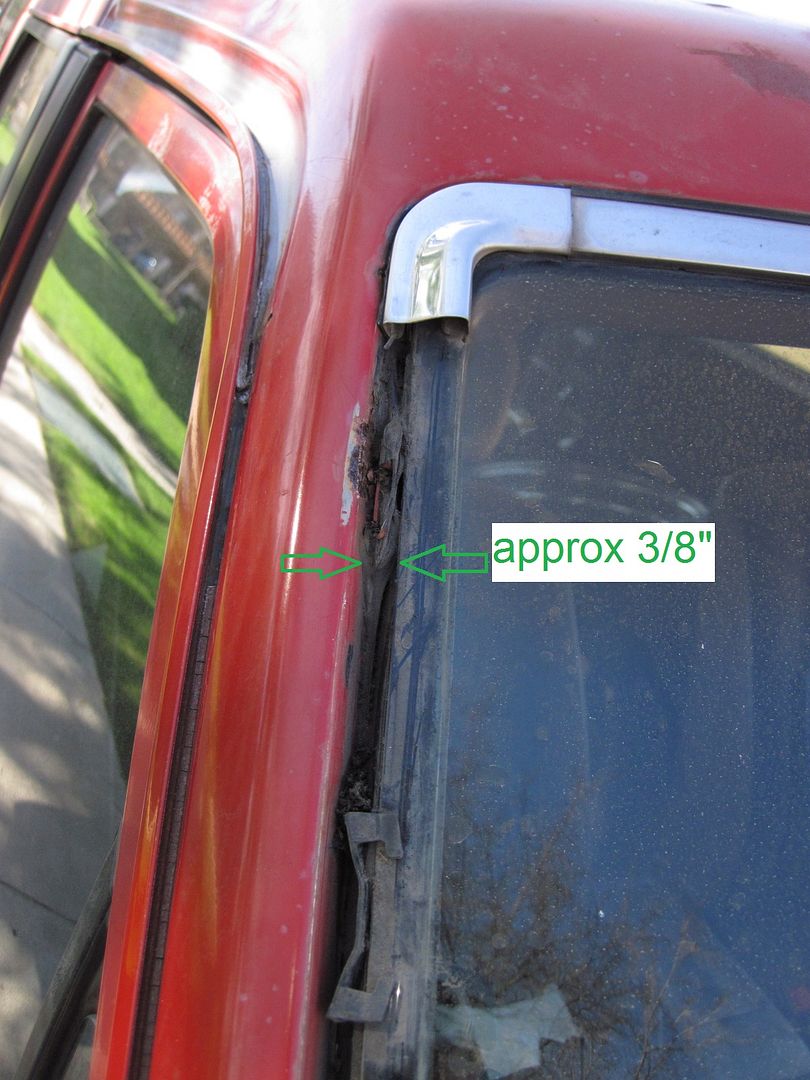
Step 2 – Clean and inspect the channel
Check around the entire perimeter of the windshield for places that might be leaking. Use a gasket scraper, if necessary, to remove any chunks of the seal that might be causing problems.
Step 3 – Fill the channel with sealant
Using a tube of sealant, fill in all of the gaps around the glass.
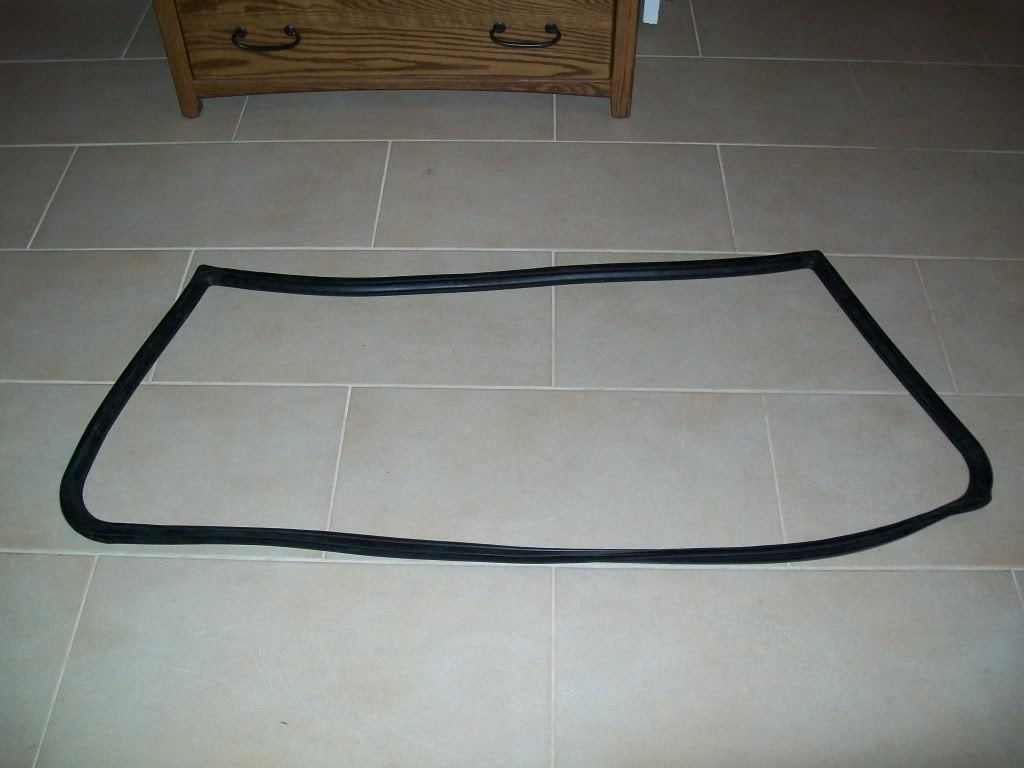
Step 4 – Install the new trim
Press the new rubber trim into the windshield channel, making sure it is flush all the way around. If you are installing an additional decorative trim, follow the directions that came with it to apply the adhesive and install the trim.
Step 5 – Allow the seal to cure
Consult the tube of sealant and/or adhesive that you used for the proper amount of curing/drying time before you put the vehicle back into operation.
Featured Video: Replacing Windshield Trim
Related Discussions
- Eliminating Metal Trim - YotaTech.com
- Replacing a Windshield Trim - YouTube.com