Toyota 4Runner 1996-2002: How to Install TRD Transmission Cooler
A transmission cooler is the best way to ensure your Toyota 4Runner's transmission operates at an optimal temperature. Read on to learn how to install it.
This article applies to the Toyota 4Runner (1996-2002).
The more stress and weight you put on your Toyota 4Runner, the harder the transmission works. Sometimes the transmission fluid isn't enough to keep the transmission cool and protected. The harder you work your 4Runner, the more fluid gets burnt, which causes the transmission to work at a higher temperature, thus causing damage to the gears. Transmission coolers are popular for drivers that like towing, drivers that go off-roading, or just any driver that want to take extra precautionary actions to keep their expensive transmission cool. Read on to learn how to install a transmission cooler in your Toyota 4Runner.
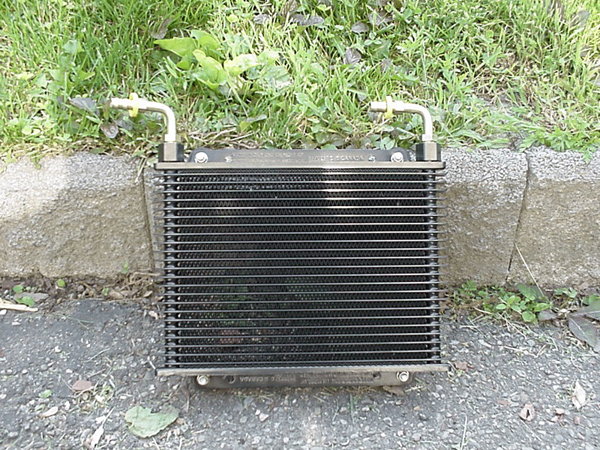

Materials Needed
- Socket set
- Transmission cooler
Step 1 – Install cooler's brackets
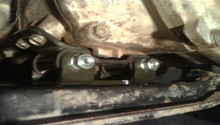
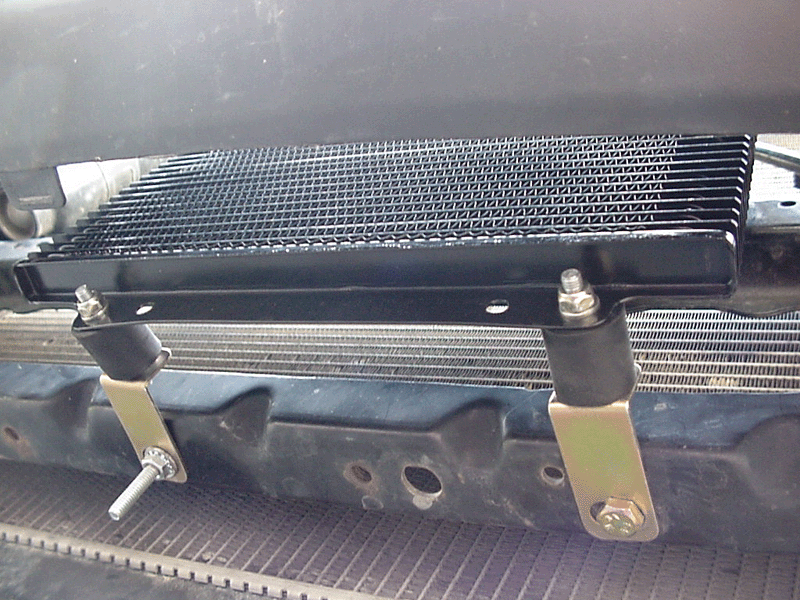
Install the two top brackets and the two lower brackets onto the car. The top brackets use 7mm bolts, while the lower brackets use 10mm bolts.
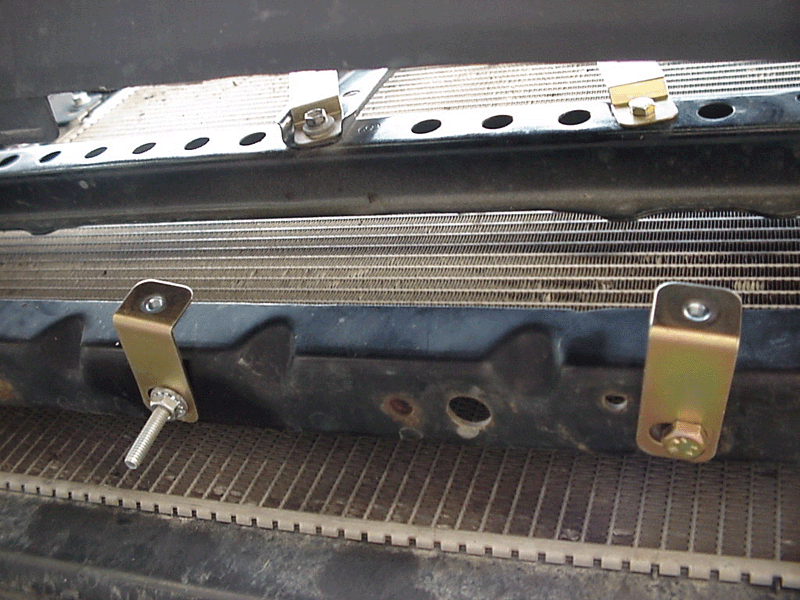
Figure 2. Upper brackets. 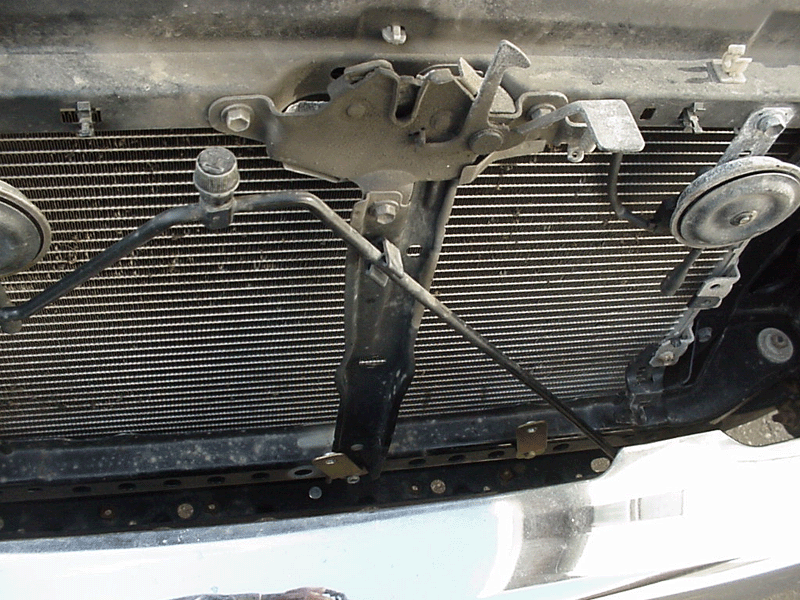
Figure 3. Lower brackets.
Step 2 – Mount cooler
With the brackets in place, only hand-tightened, mount the cooler on the mounts. A helping hand can make this job much easier. Tighten the cooler and the brackets down.
Step 3 – Connect line
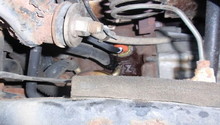
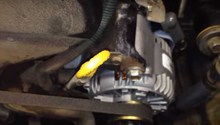
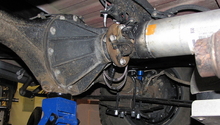
Disconnect the return line from the transmission to the radiator. You will need to connect the hose, included with your cooler, from your transmission return line to your transmission cooler, and from your transmission cooler to your radiator. Be sure to check the route of the lines, and don't let them touch anything that could get hot. Most of the time your kit will come with a heat shield for your lines, so be sure to use it.
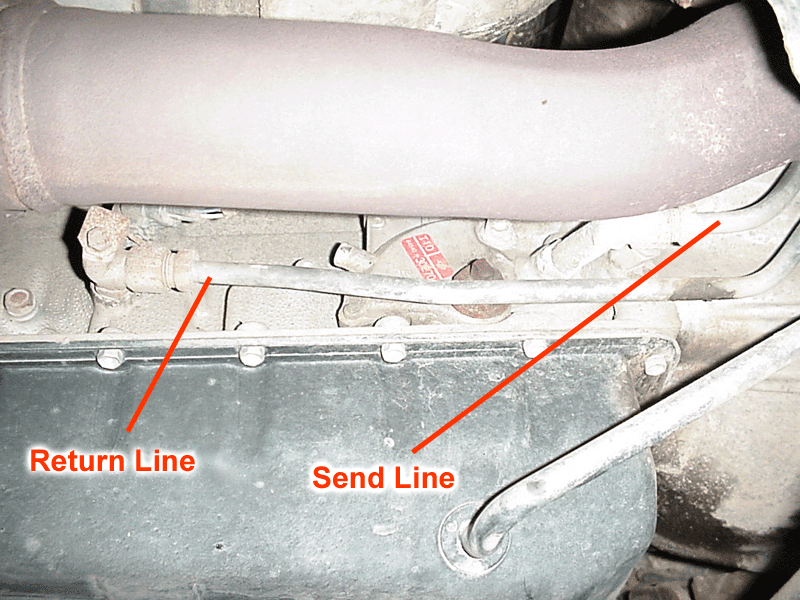
Figure 5. Disconnect return line. 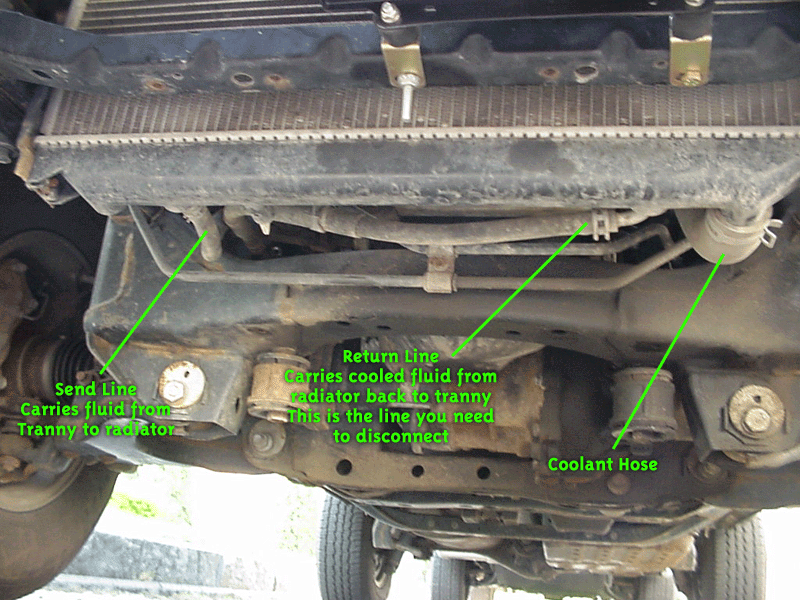
Figure 6. Disconnect return line. 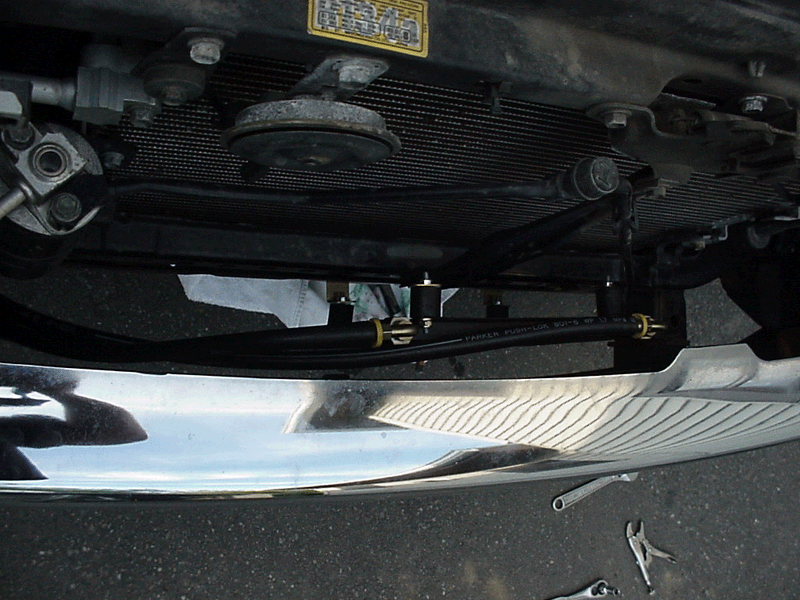
Figure 7. Disconnect return line.
Related Discussions
- TRD Transmission Cooler - YotaTech.com
- External Cooler Questions - YotaTech.com

