Toyota 4Runner 1996-2002: How to Install Car Stereo
How to replace your stereo in a few simple steps.
This article applies to the Toyota 4Runner (1996-2002).
For many people, the most important part of their vehicle is the stereo system. So it stands to reason that somewhere down the line, you may want to upgrade your stock stereo with something a little more exciting. Maybe yours is equipped with a tape deck, and you haven't seen a cassette in 15 years. Or you want to be able to hook up your MP3 player and listen to your awesome playlists. Whatever the reason, swapping out your audio unit is a much less daunting task than you might think.

Materials Needed
- Phillips and flat-head screwdrivers
- Plastic trim panel removal tool
- Wire cutters (if necessary)
- Wire connectors/electrical tape (if necessary)
- Stereo install kit
Step 1 – Remove the shift lever trim bezel
Disconnect the negative cable from the battery, and set it aside so it cannot come in contact with anything. To remove the center dash panel, the shift lever trim bezel must be removed. If your vehicle is 4WD, remove the 4WD shift knob (the boot is removed with the trim panel). Use a trim panel tool to pry up the edges of the panel and remove it.

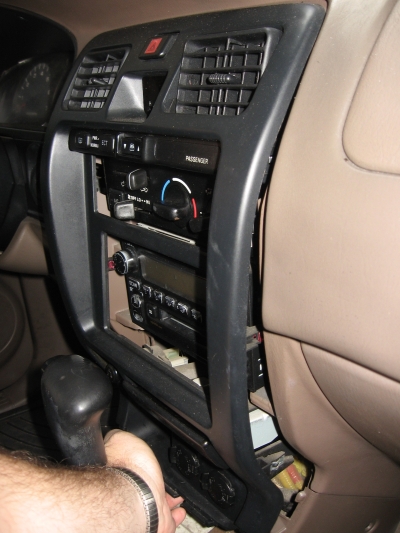
Step 2 – Remove the center dash panel
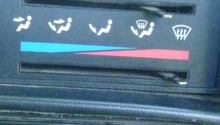
Earlier 3rd generation models require the removal of the climate control panel before you can remove the dash panel. Remove any control knobs, pry off the face plate and remove the screws below.
On all models, use the trim panel tool to release the clips around the perimeter of the dash panel. Be careful not to break the clips. Pull the panel from the dash – if you have enough working room, you can simply lay it out of the way; if not, disconnect all of the wiring connectors from the back of the panel and set the panel aside.
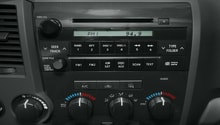
Step 3 – Remove the audio unit mounting fasteners
Using a screwdriver, remove the fasteners at each corner of the stereo unit.
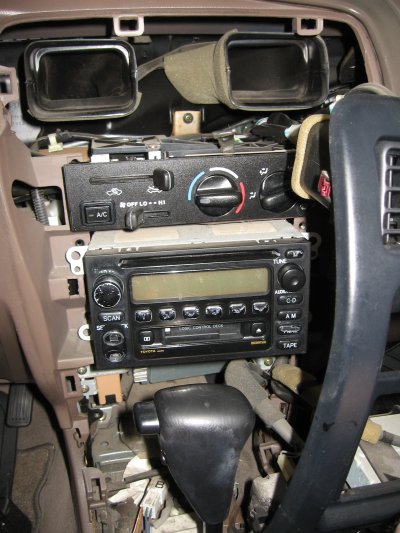
Pro Tip
Mounting fasteners may vary by model – some may have bolts instead of screws.
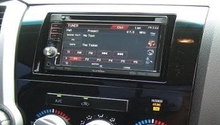
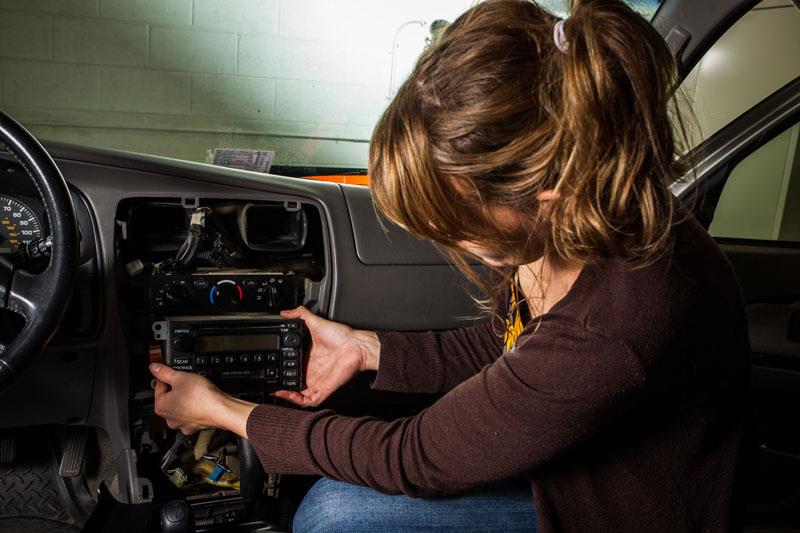
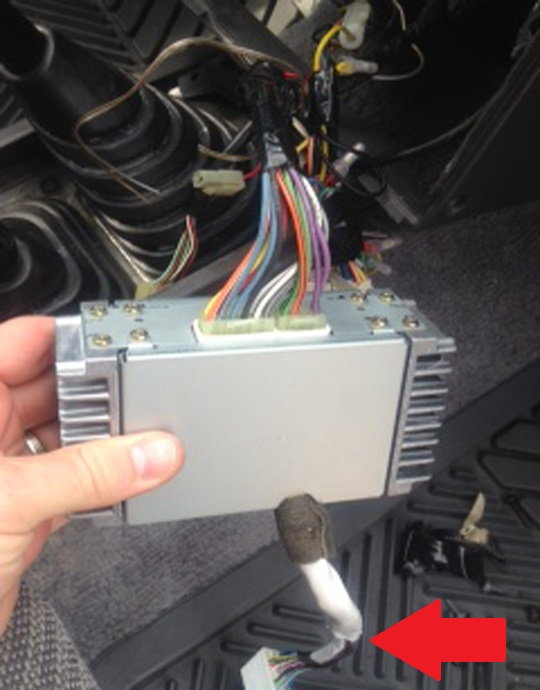
Step 4 – Remove the audio unit
Pull the stereo from the console. Disconnect the electrical connectors from the back of the unit and remove the stereo.
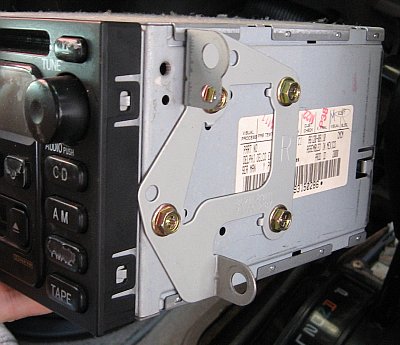
Step 5 – Prep the new stereo
Depending on the replacement stereo unit you have purchased, it may require wiring adapters. If that's the case, the stereo install kit should have everything you need to prep the wiring to be compatible with your 4Runner's existing wiring. Follow the instructions included with your kit.
Remove the mounting brackets from each side of the old stereo and attach them to the new unit. There are additional holes in the bracket to fit just about any stereo, but you may have to drill new holes or use new brackets to ensure a proper fit (they may have been included in your kit).
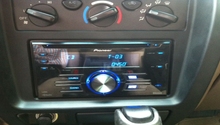
Step 6 – Install the new stereo
Connect the wiring at the back of the unit. Reconnect the negative battery cable and test the stereo to make sure it's functioning properly. If everything checks out, install the unit into the console, and reinstall the mounting screws.
Step 7 – Reinstall the trim panels
Press the center dash panel back into place, making sure all of the clips are engaged. Reinstall the shift bezel (and 4WD shift knob, if applicable).
Related Discussions, Sites and Video
- Stereo & Speaker Installation - Yotatech.com
- Aftermarket Stereo Installation - Yotatech.com
- Stereo Replacement 2000 4Runner - 4runnerforum.com
- 3rd Gen Stereo Installation - Toyota-4runner.org
- Stereo & Amplifier Removal on 2002 4Runner - YouTube.com