Toyota 4Runner 1984-1995: Why is My Sunroof Stuck Open?
A stuck sunroof can make a trip uncomfortable in wet or wintry conditions. This article will show you what you can do get your sunroof working again.
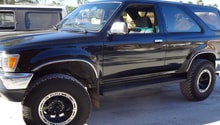
This article applies to the Toyota 4Runner (1984-1995).
What's the point in even having a sunroof if it doesn't open or close? While a malfunctioning sunroof can be tricky to deal with, it's not necessary to take it to the dealership right away. There are a few things you can check for yourself. First of all, if your sunroof is stuck open and you need it closed quickly, go to Step 1. If your sunroof isn't working and you can't hear the motor running, go to Step 2. If you can hear the motor clicking when you push the switch for your sunroof, go to Step 3.

Materials Needed
- Flat head screwdriver
- Phillips screwdriver
- Ratchet with socket set
- Multimeter
- Small battery with jumper wires
- High temperature urea grease
Step 1 – Adjust the sunroof manually
If you're in an emergency and just need to get your sunroof closed, then you should know that you can always manually shut it. There is a small trim piece attached to the headliner near where the motor of the sunroof sits. If you pry open the trim piece, you'll see a screw. Turning the screw will allow to manually close or open the sunroof as needed.
Step 2 – Check the fuse and relays
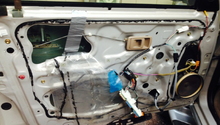
If your sunroof's motor isn't working at all, it's probably because it's not receiving power. Your sunroof is a part of a much larger circuit that includes the power windows. So if your sunroof and your power windows aren't working, you should check the fuse for the power windows. You will find this fuse in the fuse block behind the driver's side kick panel. Check the fuse for continuity with a multimeter. If it fails to carry a current, then it needs to be replaced.
In addition to the fuse, there are a few relays that are also a part of the circuit. There is one specifically for the sunroof that you should inspect first. The other two relays are the door control relay and the integration relay.

Step 3 – Try cleaning and greasing the sunroof assembly
The sunroof like any other powered window is operated by a motor and is moved on rails by cables. It is not uncommon for the original grease to dry out and cause interference with the rails and cables. Unfortunately, cleaning off the sunroof assembly and re-greasing it is a lot of work that requires removing the headliner.
To remove the headliner, pry off any trim pieces surrounding the headliner as well as the dome light and map lights, then pull the headliner down. Once the headliner is removed, you'll need to disconnect the drain hoses from each corner of the sunroof assembly and remove the screws as well as bolts along the edge of the sunroof assembly.
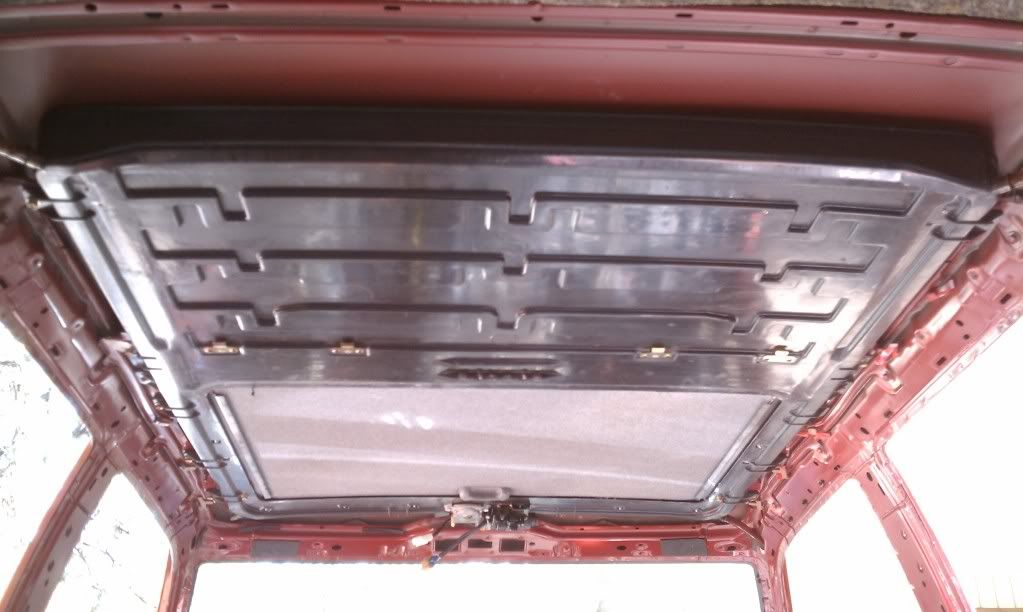
Once the sunroof assembly is removed, you will be able to inspect it for any damage to the rails or cables. Sometimes the damage is rust and if it's eaten too much out of your assembly, you'll need to replace it; but if the damage is minimal, you can clean it with just about any home rust removing solution. You will also need to clean off any of the old grease that's dried up. After it's cleaned up, apply some high temperature grease to the moving parts so that everything is thoroughly lubricated. Move the window manually in the assembly in order to ensure that the grease gets moved around and evenly spread out.
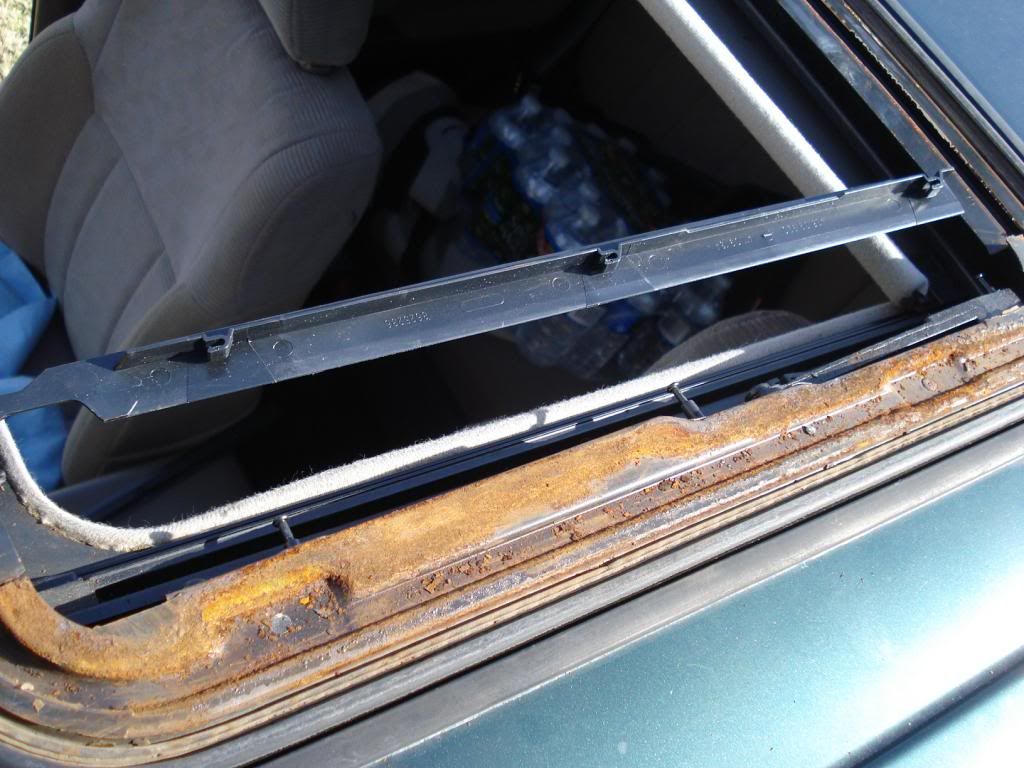
Once that is finished, you are ready to reinstall your sunroof. Place it to the roof of your 4Runner, then insert the bolts and screws along the edges. Reconnect the drain hoses, then reinstall the headliner and trim.
Pro Tip
While some parts of the sunroof assembly can be replaced individually, others will have to come from a completely new assembly.
Related Discussions
- Sunroof Won't Open - YotaTech.com
- Sunroof Stuck Open - YotaTech.com
- Need to Get Stuck Sunroof Shut Before Winter - YotaTech.com
- '91 4Runner, Electric Roof Won't Open - YotaTech.com