Toyota 4Runner 1984-1995: Why is My Power Window Not Working?
A broken power window is an annoying problem, but you don't have to spend tons of money just to fix it. This article will show you how to find and fix all your power window problems.
This article applies to the Toyota 4Runner (1984-1995).
Power windows are one of the greatest features on modern vehicles, until the day comes that they stop working. Power windows are pretty complicated, so it can be tricky to narrow down what exactly went wrong with them. But that's what this article is here to help you with. Start by asking yourself, "is the problem with all of the power windows or just one of them?" Make sure to check different switches in case the master switch has gone bad. If none of your power windows are working, start with Step 1. If not, ask yourself if the problem is mechanical or electrical? If you hear clicking noises when you try to move the power window, then the motor is working but something is preventing it from moving; so if you have a mechanical problem, go to Step 4. If you hear no noises at all, then you probably have an electrical problem; go to Step 3.

Materials Needed
- Multimeter
- Phillips screwdriver
- Flat head screwdriver
- Ratchet with socket set
- Contact cleaner
- Jumper wires and portable battery
- White lithium grease
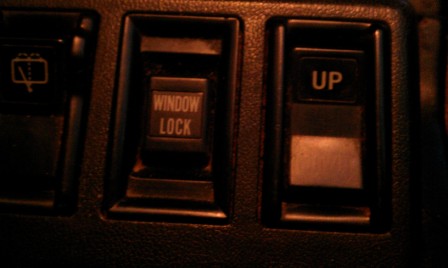
Step 1 – Make sure the window lock is off
While this may seem obvious, it's also easy to overlook. Check the window lock button on your main power window switch to make sure it has not been activated.
If all your windows still don't work or the window lock was already off, proceed to Step 2.
Step 2 – Check the fuse and relay
All of your power windows operate through one large fuse block called the integration relay. It is located on the back of the fuse box behind the driver's side kick panel. The relay is connected to a fuse. Although, you might want to check the fuse first. Set your multimeter to ohms and touch the probes to the opposing prongs on the fuse. If the meter doesn't change, then the fuse needs to be replaced. If the meter shows less than one ohm, then the fuse is still good.
Below the fuse box you should see the integration relay. Remove this and examine the six pairs of wires connecting to it to make sure they are in good condition. Then check the circuits on the relay to make sure they are still functioning.
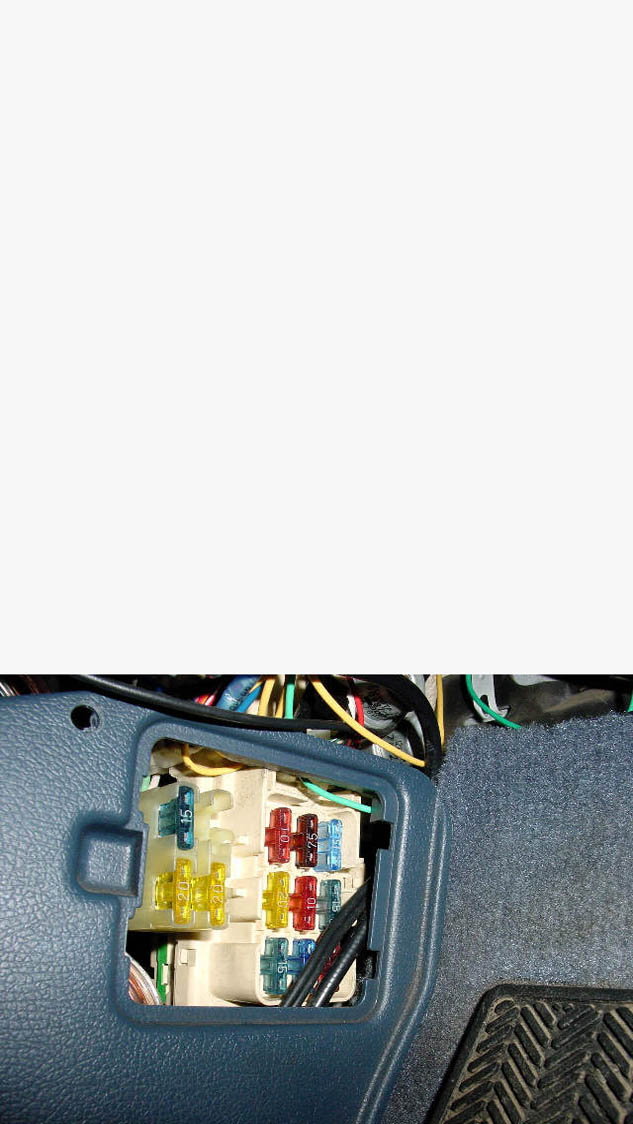
Figure 2. Check the power window fuse located in the fuse box behind the driver's side kick panel. 
Figure 3. Check the pins on the integration relay.
If the fuses and relays are all fine and proper, continue to Step 3.
Step 3 – Check the switches
Sometimes the contacts on switches can become dirty or corroded. Remove the problem switch and examine the contacts on the back. If the contacts are dirty, spray them with contact cleaner and then wipe off the fluid with a cloth. Then, check it again using your multimeter. If the switch is still not receiving power, the problem is somewhere further down the circuit. If there is power, but the switch is still not working, try replacing it with a different switch. If the other switch works, then the switch itself is the problem.

If the contacts, leads, and switches are all okay, then go on to Step 4.
Step 4 – Check the motor
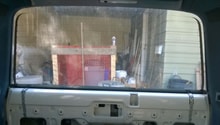
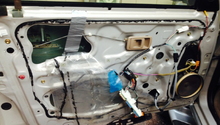
This will require removing the door panel. It's not that difficult, just be thorough and remove every loose panel as well as screw before you start prying it off; also, be careful not to snag any of the wires inside. When the door panel is removed, you should be able to see the electrical connector for the motor. Examine the connector and make sure that the contacts are in good condition.
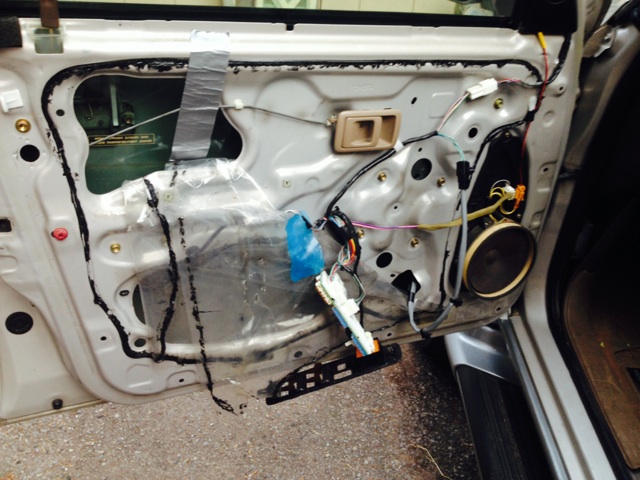
If they appear to be in good condition, test the power wire to make sure that it's receiving power. If not, proceed to Step 6. If yes, then try taking a pair of jumper wires and jumping the circuit. The motor should at least try to move the window. If you hear a clicking sound, it could mean that one of the gears in the motor may have become broken or misaligned. In this case you'll probably need to replace the entire motor.

If the motor does appear to still be working, proceed to Step 5.
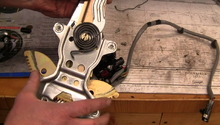
Step 5 – Check the regulator
If the motor is still working, it's possible that the regulator is stuck. An application of grease to the rails and other moving parts on the regulator will help it get moving again. Just remember to clean off all the old grease before applying new grease.

With the regulator all checked out, move onto Step 6.
Step 6 – Check the wires and other connections
If there's no other potential mechanical problems, then it's probably just a loose ground connection somewhere. Use your multimeter to chase down the possible source of the problem. Follow your power window wires to every terminal and connection and repeatedly test them until you can find the problem. In some cases, such as a corroded wire, it will mean replacing a wire, or at a corroded terminal it will mean cleaning off the corrosion. Just keep at it until you can find the cause.

Related Discussions
- 2nd gen 4Runner Power Window Problems - YotaTech.com
- 4Runner Power Windows Won't Work - YotaTech.com
- Power Window Electrical Question - YotaTech.com
- All Power Windows Not Working - YotaTech.com