Toyota 4Runner 1984-1995: Why is My Interior Rattling?
Before you crank up that stereo to drown out annoying interior rattles, check out our guide to eliminating those noises once and for all.
This article applies to the Toyota 4Runner (1984-1995).
Over time and with hard-driven miles, interior parts are just simply going to start becoming loose. And when this happens, loud and irritating squeaks, rattles, and other various noises are going to follow. Interior noise is perhaps one of the biggest annoyances of driving an older vehicle, and they seem to affect just about every brand and model out there (some being worse than others). Sure, you can just crank up the stereo or simply try and ignore the symphony of sound coming from your interior panels, or you can take steps to eliminate them once and for all. Keep reading and we'll help you locate and silence those endless noises.

Materials Needed
- Exacto knife or sharp blade
- Sound-deadening material (such as Reflectix or Mastic)
- Wooden roller (optional)
- Foam tape
- Flathead screwdriver
Step 1 – Locate the source of the noise
Interior noise can be caused by a variety of issues.
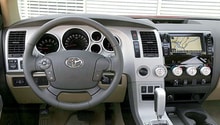
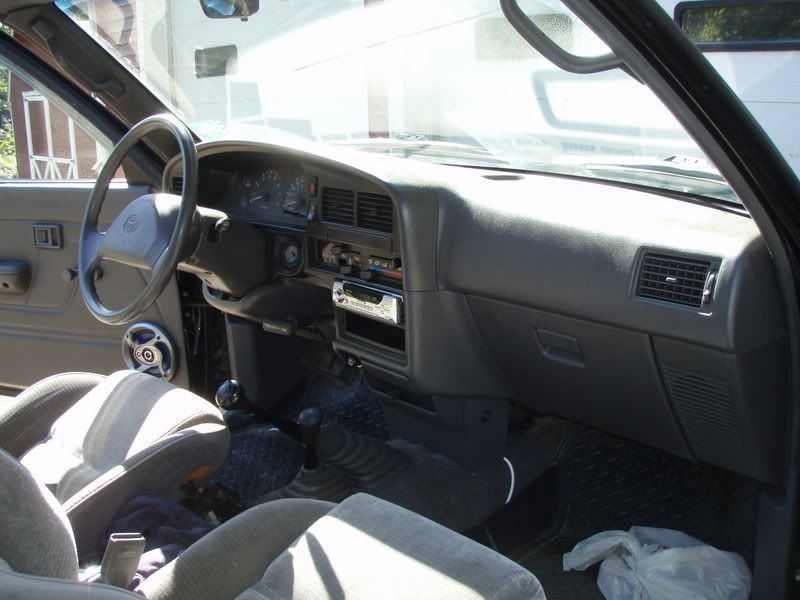
Is your noise simply a rattle in the dash, or is it excessive wind or road noise? Dash rattles can often be tracked down and fixed via a piece or two of thick foam tape. Interior pieces also can come loose after many miles and might simply need to be tightened back down. Be sure and check not only dash trim, but door panels and around the center console area as well. These are all common sources of interior noise. Wind noise can come from worn or damaged seals around the windows and doors, so check to make sure they are in good condition and replace if needed. Many 4Runner owners have had luck reducing wind noise by installing vent visors over their windows as well, so that can be a worthwhile expense if your wind noise is unbearably loud.
If you have excessive road noise in the cab, move on to step 2.
Step 2 – Apply sound-deadening material
A good application of sound-deadening material can work wonders for interior noise levels.
There's simply no substitute for sound-deadening material when it comes to making a difference in interior noise levels. But you don't need to run out and spend a fortune on something like Dynamat, because many more inexpensive products exist in the marketplace. Two of the more popular brands among 4Runner owners are Mastic and Reflectix. Both can be obtained for around $5-$15 a sheet, so you can apply it wherever you like for little cost. Most people apply these products to the floor, behind the door panels, along the floor, and even against the firewall for the best results.
When applying sound-deadening material, you will want to pull up the carpet or remove interior panels so that it can be placed on bare metal. Some products are self-adhesive, while others require that you use spray adhesive to apply them. If you don't want to go all out with these types of materials, a simple and cheap fix is to add some thick carpet padding underneath your interior carpet. Either way you go, these changes can make a huge difference in your interior noise levels.
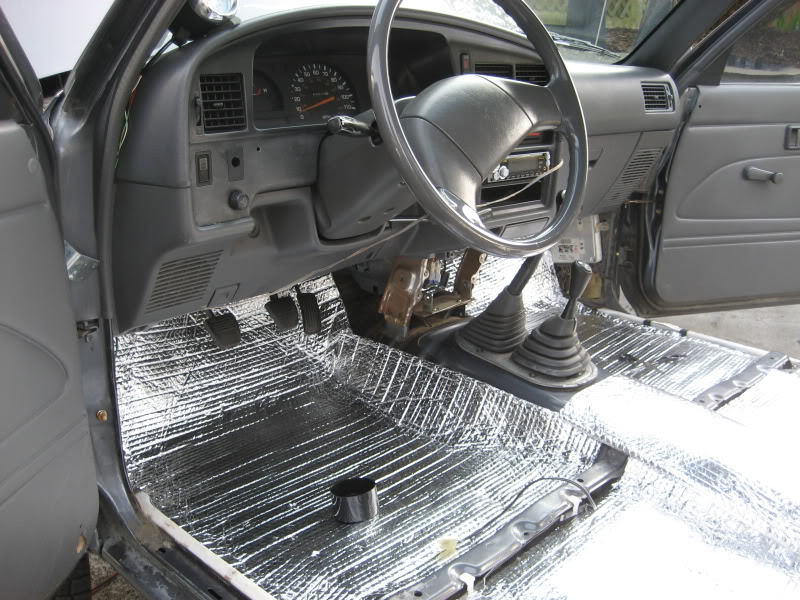
Figure 2. Sound deadening material applied to the floors. 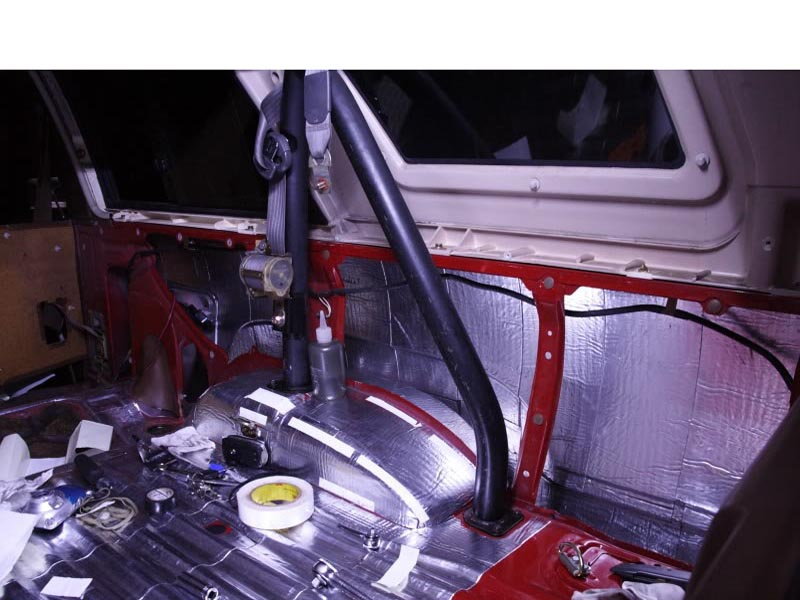
Figure 3. Applying sound deadening material to the rear floor and side panel areas.
Related Discussions
- Cheap cab noise reduction - YotaTech.com
- Sound proofing interior work - YotaTechcom
- Dampening wind noise - YotaTech.com