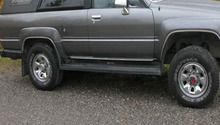
Toyota 4Runner 1984-1995: Suspension Diagnostic Guide
Your 4Runner's suspension is rugged, but it has its limits. Fortunately, when something is on its way out, or an issue is afoot, there are plenty of tells to lead you to the culprit.
This article applies to the Toyota 4Runner (1984-1995).
Is your 4Runner beating you up with a rough ride or driving you crazy with various creaks, squeaks, and grinding noises? This suspension diagnostic will help you track down the root cause of the problem and get your ride traveling smoothly (as well as quietly) down the road once again.

Materials Needed
- Jack
- Jack stands
- Flashlight
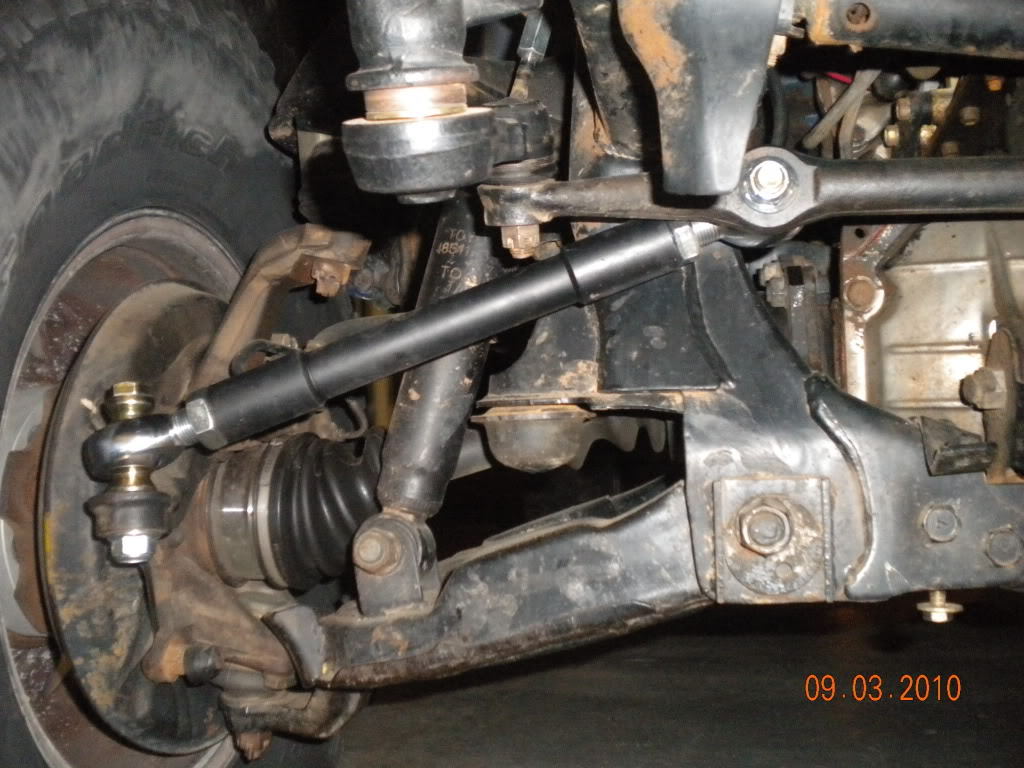
Step 1 – Check your shocks
Bad shocks are the most common cause of diminished ride quality.
Worn shocks are a common issue that plagues many cars, but ignoring the problem for too long can cause damage to other suspension components. To check your shocks, push down on each corner of the car above all four wheels and then let it go. Observe how the car comes back up. It should rise up relatively slowly. If it is excessively bouncy or does not return to the neutral position, your shocks are worn and need to be replaced. Also, check for fluid leaks coming from your shocks. If you have any sort of leak, they should be replaced as well. Alternatively, shocks can make clunking noises when they are worn, as shock fluid leaks out the ability of the shock to control its compression stroke and the shocks will bottom out harshly.

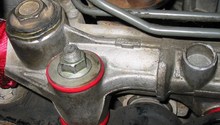
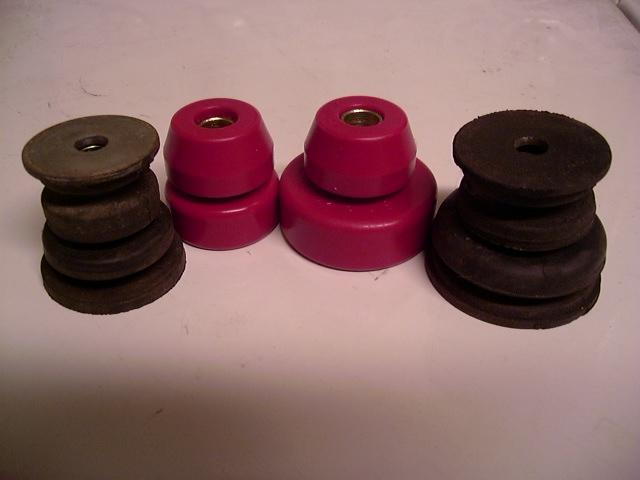
Step 2 – Check your bushings
Bushings crack over time and eventually just fall apart.
There are numerous bushings throughout your suspension, ranging in size and material. They serve to prevent damage and wear on the suspension parts that are attached to, by absorbing the forces produced by driving over various terrain and providing a cushion of sorts. All this punishment leads to eventual failure. Symptoms of bad bushings include a clunk, squeak, or squealing noise, heavy clunks from the steering wheel when turning, or a pull to either side while driving in a straight line. You may also notice uneven wear on the tires.
To check your bushings, crawl under the car and look for cracks, deformities, or any bushings that look crushed in appearance. Any bushings that show any sort of damage should be replaced.
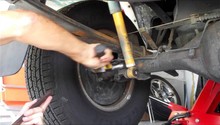
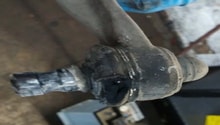
Step 3 – Check your tie rods
Bad tie rods can cause a lot of issues and can even be dangerous.
Tie rods "tie" the wheels on one side of the car to the other, ensuring that the wheels turn together when you turn the steering wheel. Some symptoms of bad tie rods include a shaky or vibrating steering wheel, a vibrating car, uneven tire wear, and tires that "toe out" or point away from each other. A complete failure of a tie rod can mean complete loss of steering, which is obviously a dangerous proposition.
To check your tie rods, jack up the front of the vehicle and place it on jack stands so that the steering components and wheels can move freely, ensuring that the tie rods are hanging at their normal height. Push in and out on the front tires, and from side to side. If there is excessive slack, your tie rods need to be replaced.
Related Discussions
- Need Advice for Suspension Problems - YotaTech.com
- 4Runner Suspension FAQ - YotaTech.com
- 4Runner Suspension Questions - YotaTech.com