Toyota 4Runner 1984-1995: How to Replace Oxygen (O2) Sensor
An O2 sensor measures the oxygen in your exhaust and helps keep your motor running efficient. This article will show you how to replace it when it stops working.
This article applies to the Toyota 4Runner (1984-1995).
The O2 sensor, as the name implies, measures the oxygen content in your exhaust. It's vitally important for emissions testing and for electronic fuel injection systems, as it helps measure the air to fuel mixture in the engine. Even if you have a 22R engine with the carburetor, there is a chance you have an O2 sensor if that particular motor was built to meet California emissions standards.
Typically when an O2 sensor goes bad, it will trigger the check engine light. Another way to tell if you have a bad O2 sensor is if your engine has been running rich with gas. Sometimes this will lead to gas getting into the exhaust to where you can actually smell it coming through the exhaust. There is usually more than one sensor, one before and one after the catalytic converter. If you're not sure which O2 sensor is not working you can jump the T and E1 pins on the connector next to your fuse box and count the flashes on the check engine light. The flashes will tell you which sensor is out.

Materials Needed
- Replacement O2 sensor and gasket
- Ratchet with 12mm deep well socket and extension
- O2 sensor socket
- Penetrating oil
- Anti-seize
- Wire cutter
- Soldering iron and solder
- Electrical tape
Step 1 – Remove the O2 sensor
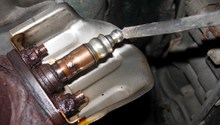
This process is the same for either O2 Sensor. The sensor before the catalytic converter is the one most likely to fail. You'll need to get under your 4Runner and find the catalytic converter. If you follow it up towards the engine, you'll see a sensor sticking out of it with a plug running to it. This is your O2 sensor. The second O2 sensor will be in the opposite direction.
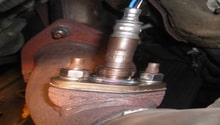
Go ahead disconnect the electrical plug hanging from the sensor. The sensor itself is held to the exhaust by a couple of bolts. If this is the first time the sensor has been removed, those bolts might be hard to loosen, so spray them with penetrating oil before you remove them. After you remove the two bolts, you just need to unscrew the sensor from the exhaust and set it aside.
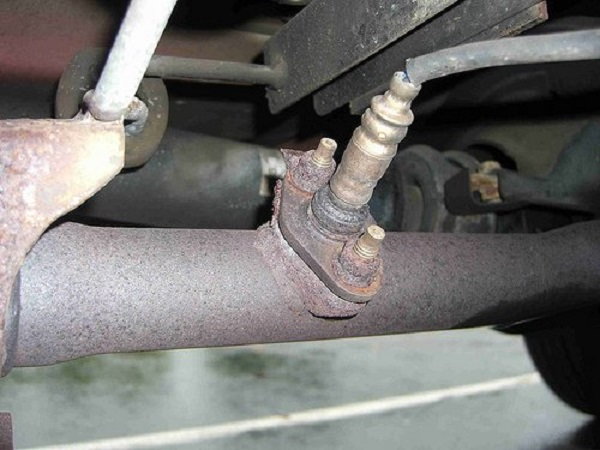
Figure 1. First O2 sensor. 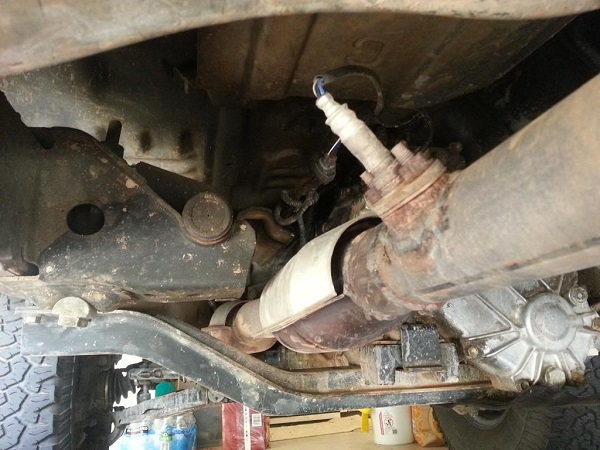
Figure 2. Second O2 sensor and plug.
Pro Tip
If you have a 1st Gen 4Runner with an O2 sensor, it will be located on the exhaust manifold instead of near the catalytic converter. This can be accessed from above.
Step 2 – Install the new O2 sensor
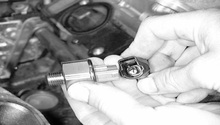
Installing the new O2 sensor is mostly the reverse of the previous step, except for a few key differences. If you have one of those universal sensors that doesn't come with the electrical plug, you'll have to cut the plug from the old sensor and transfer it to the new one. Make sure to solder the wires of the old plug to the new sensor and wrap them in electrical tape.
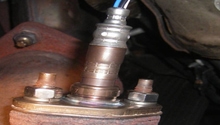
Another key difference is, you'll need to install a new gasket. Start threading the new O2 sensor and bolts to the gasket before installing it to the exhaust. Put a little anti-seize on the O2 sensor and the bolts so they'll be easier to remove in the future. Then tighten down the bolts and the sensor to the exhaust port. After that, simply reconnect the electrical plug and then you're done.
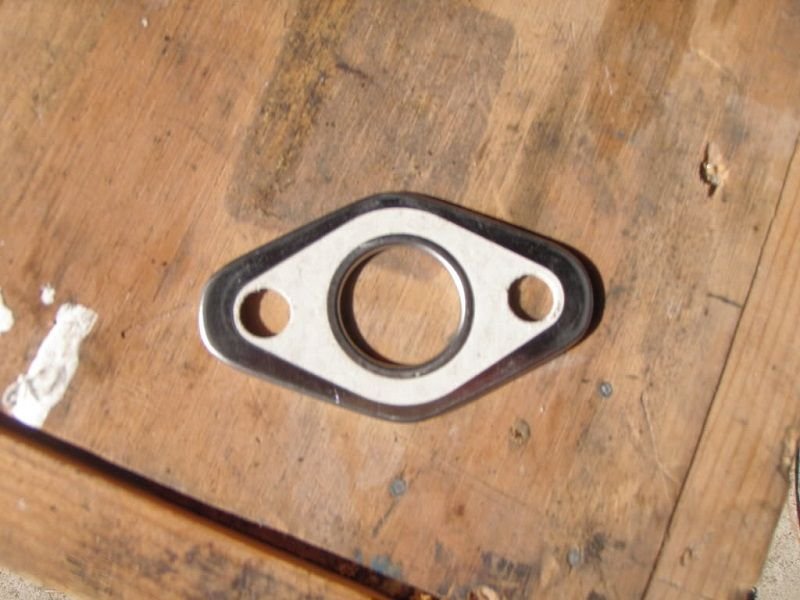
Figure 3. O2 sensor gasket. 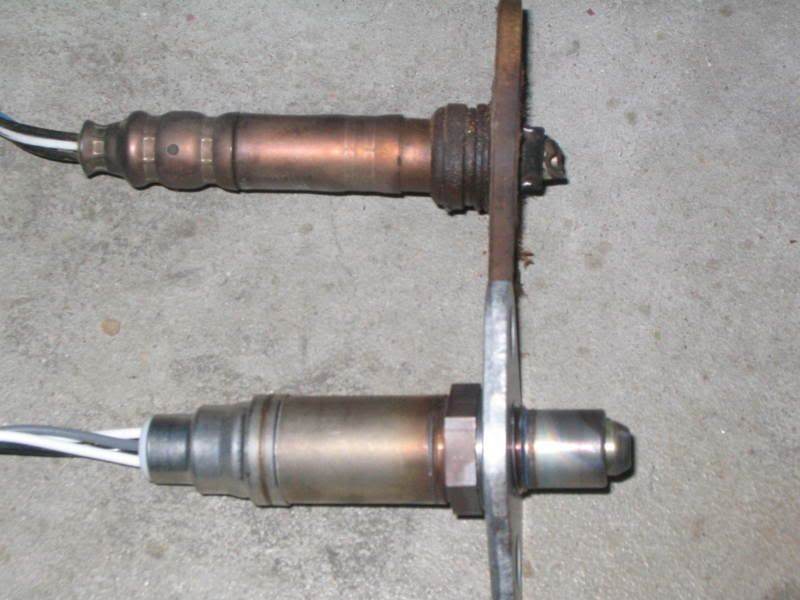
Figure 4. Old O2 sensor and new O2 sensor.
Pro Tip
Make sure your O2 sensor wires are not touching the exhaust because the exhaust can get very hot and could potentially melt the wires.
Featured Video: Toyota Pickup 22RE O2 Sensor Replacement
Related Discussions
- O2 Sensor on 22R - YotaTech.com
- Need O2 Sensor Help on 22R - YotaTech.com
- 22R with O2 Sensor? - YotaTech.com
- 22RE Oxygen Sensors - YotaTech.com

