Toyota 4Runner 1984-1995: How to Replace Locking Hubs
Are one or more of your locking hubs no longer locking up? This article will show you how to replace them and get your four wheel drive system operating flawlessly once again.
This article applies to the Toyota 4Runner (1984-1995).
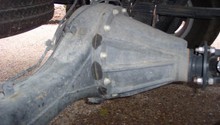
Locking hubs allow the front wheels to be connected and disconnected from the front half shafts (axles). When the hub locks fail, the vehicle will either be stuck in or out of 4WD permanently. Regular off-roading and aggressive driving can shorten the lifespans of the hubs, with the usual culprit being rust or crud buildup. If your hubs have failed and require replacement, then read on for the tech tips to get you through the process.

Materials Needed
- Jack
- Jack stands
- Hammer
- Flat head screwdriver
- Ratchet and 12mm socket
- Torque wrench
- 4mm Allen wrench
Step 1 – Remove wheel
Begin by jacking the front of the truck up and placing it on jack stands. Remove the wheel on the first side you intend to work on.
Step 2 – Remove the old hub
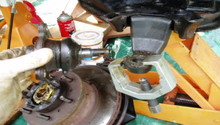
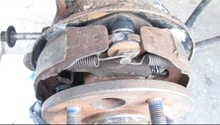
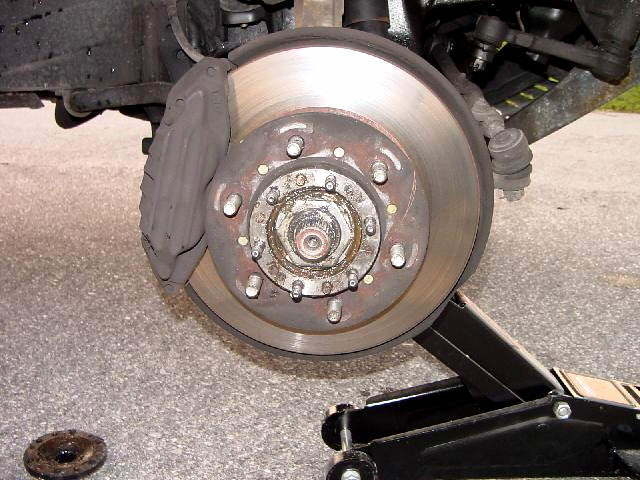
Remove the center cap by placing a flat head screwdriver behind it and gently tapping with a hammer until it comes loose. Once loose, use the screwdriver to pry it off. Remove the six 12mm nuts as well as washers using a ratchet and 12mm socket. Remove the cone washers by tapping the outer rim of the hub above each washer (see Figure 2). This could take some time depending on how stubborn they are, but once the first one is loose, the rest will come out fairly easily. Keep going until you remove all six. Remove the c-clip or 12mm bolt that holds the hub in place (depending on your model), then remove the hub.
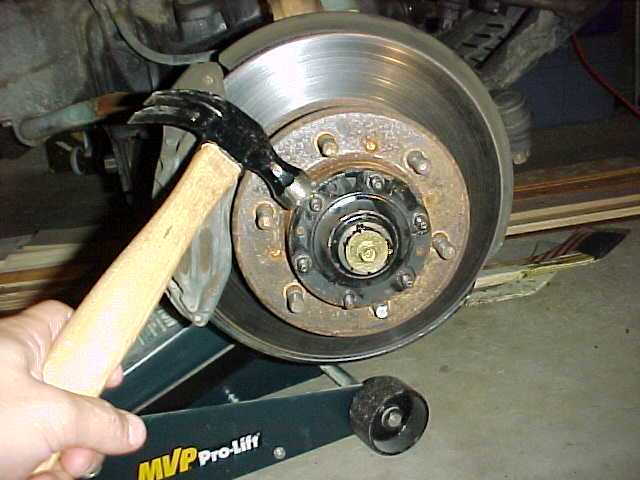
Figure 2. Remove the six cone washers using a hammer. 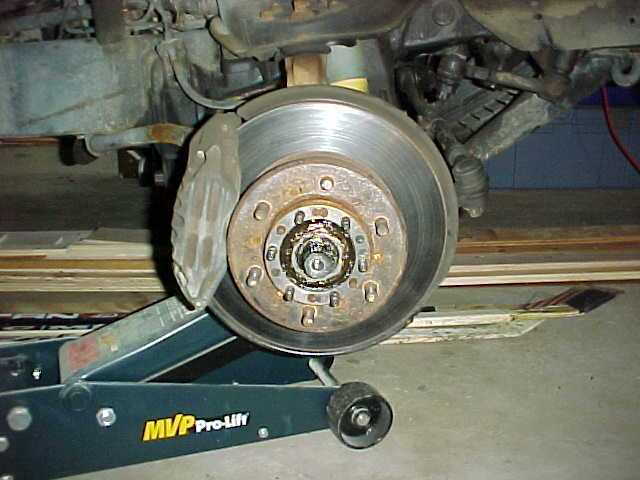
Figure 3. Remove the hub.
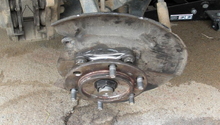
Step 3 – Install new hub
Install the new gasket that came with your hub, then slide the bottom of the hub in place. Next, install the cone washers, washers, and nuts. Torque the nuts to 25 ft/lbs (or spec). Reinstall the 12mm bolt or c-clip. Install the top of the new hub with the included gasket, and torque the included bolts to 9 ft/lb (or spec). Reinstall the wheel and lower the truck off the jack stands. Repeat steps on the other side.
To test the new hubs and ensure they are engaging properly, lock both sides and raise the front left corner of the vehicle off the ground, then spin the lifted tire. The driveline should turn. Disengage the lifted wheel and spin. If the driveline is not turning and there is no ratcheting sound, the hub is working properly.

Figure 4. Install the lower hub. 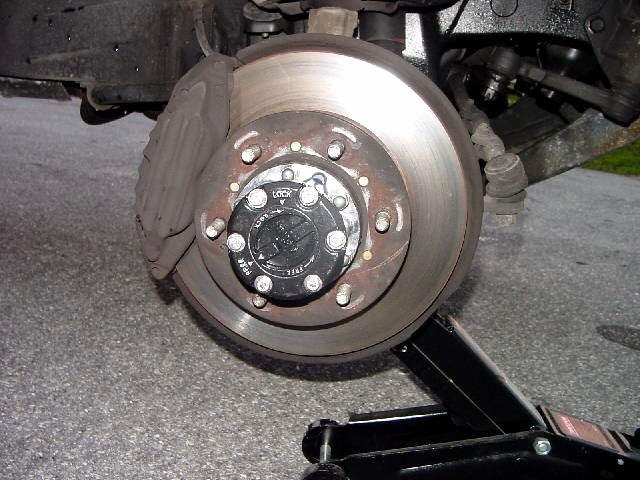
Figure 5. Install the upper hub. 
Figure 6. Reinstall the wheel and test.
Related Discussions
- WARN Manual Hub Conversion - YotaTech.com
- Aisin Locking Hubs Tear Down Build Up - YotaTech.com
- Aisin Manual Hubs - YotaTech.com