Toyota 4Runner 1984-1995: How to Replace Leaf Springs
Is the rear of your 4Runner sagging? Do you want to give it a little lift in the back? This article will show you how to replace those tired old leaf springs and give the rear of your ride a little boost.
This article applies to the Toyota 4Runner (1984-1995).
The Toyota 4Runner utilizes a leaf spring rear suspension. This means that each side of the rear suspension is carried by a stack of leaf springs. As the leafs are subjected to constant duress and use, it is not uncommon for them to wear out or sustain damage, resulting in the truck visually sitting lower in the rear. As the suspension sags further, it reduces the car's ability to handle bumps and undulations in the road, and can result in some odd handling and performance characteristics. If you suspect a worn out leaf could be causing you issues, it's best to replace them before damage occurs. The leafs can snap or fail, causing an accident as the suspension effectively collapses. Let's nip this one in the bud and replace those leaf springs.

Materials Needed
- Floor jack
- Jack stands
- 12mm socket and ratchet
- Wheel chocks
- Spring compressor tool (optional)
Step 1 – Prepare the car
Begin by placing a wheel chock in front of each front tire, then jack up the rear of the car with a floor jack. Place a jack stand on the frame on each side, just forward of the front rear leaf hanger. Remove the rear wheels and set them aside.
Step 2 – Remove the old leaf springs
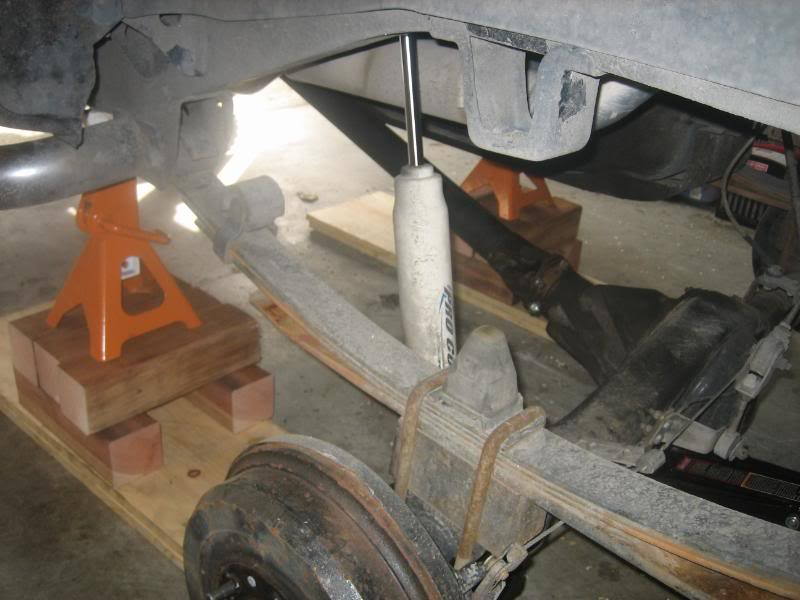
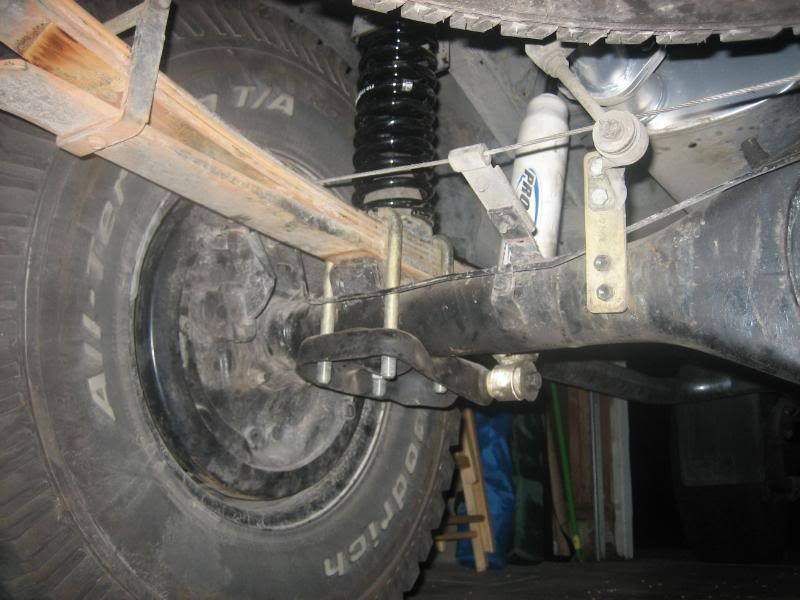
Place the floor jack underneath the differential and jack it up to support it, keeping it from falling once you unbolt the leaf springs. Remove the spring assembly, taking extra precaution in case the spring is still under load. If you're unsure, you can use a spring compressor tool, which is available for less than $20 at most automotive stores, to compress the spring and keep it from launching out once you remove it. If your shocks are worn or you intend to upgrade them, now would be a great time to do so. If you choose to replace your shocks, simply unbolt the top and bottom bolts to remove them. Loosen and remove the U-bolts and the bump stop. Remove the old leaf spring by unbolting it from the front and the rear.

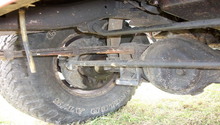
Figure 2. Remove the leaf spring. 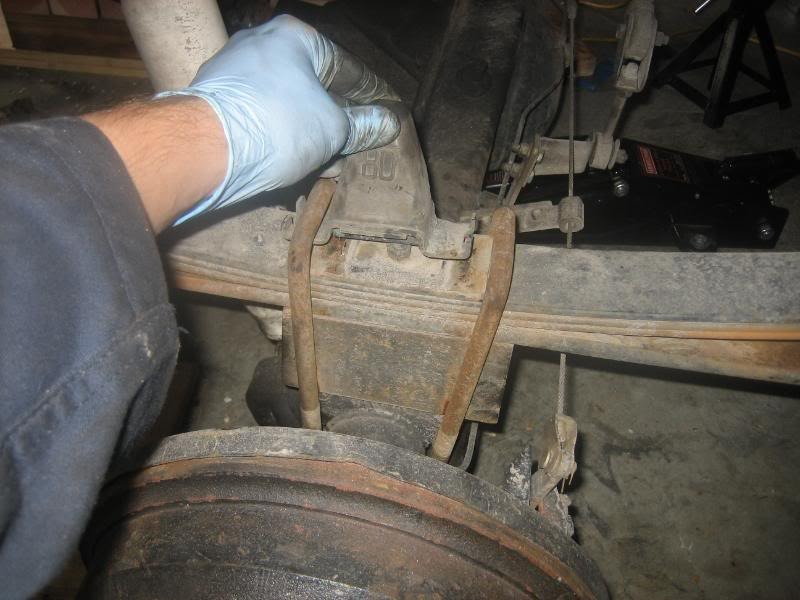
Figure 3. Remove the bump stop. 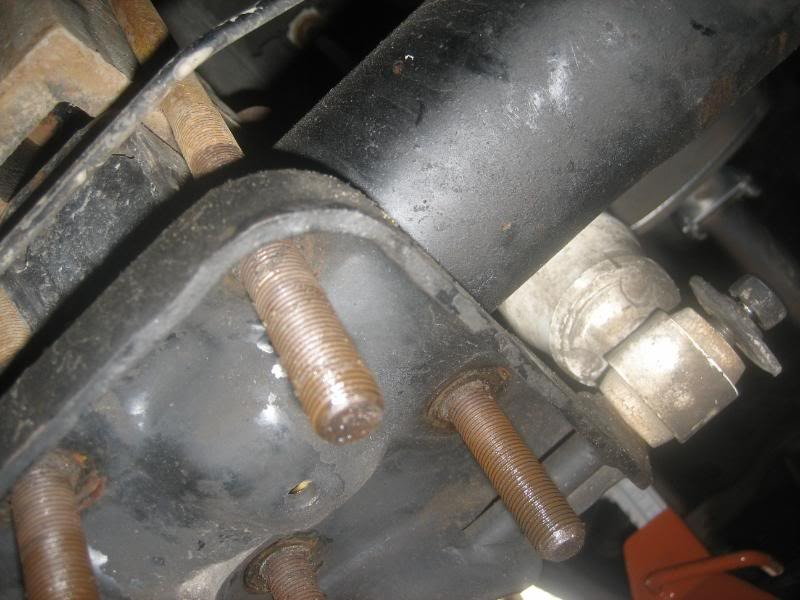
Figure 4. Remove the U-bolts. 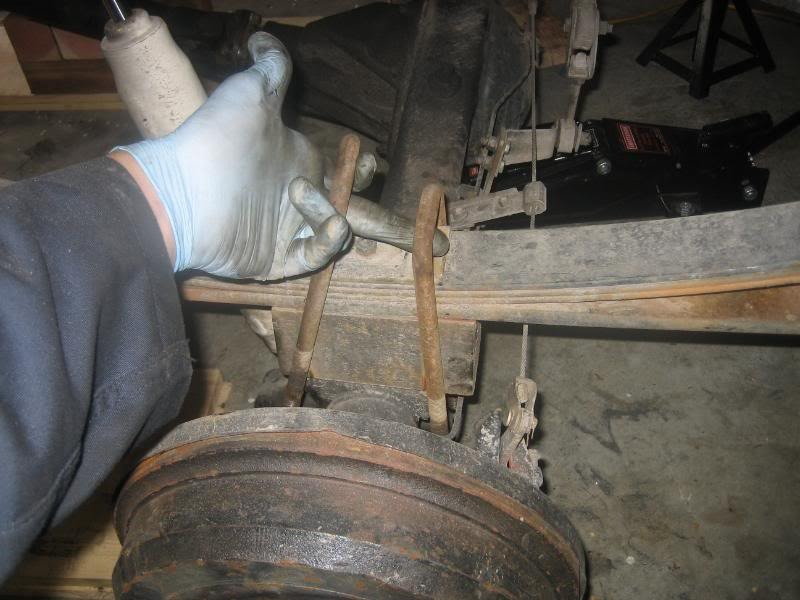
Figure 5. Remove the U-bolts.
Step 3 – Install the new leaf spring
Slide the new leaf spring in place and install the two bolts. Reinstall the spring, and then the bump stop. Replace the U-bolts and tighten to spec. Repeat these steps on the other side to replace the other leaf spring. Lower the floor jack from the differential, then reinstall the wheels. Lower the car off the jack stands and check to make sure everything is tight before taking it for a test drive.
Related Discussions
- Rear Leaf Spring Replacement - YotaTech.com
- Stock Height Replacement Leaf Springs - YotaTech.com
- New Stock Leaf Springs - YotaTech.com