Toyota 4Runner 1984-1995: How to Replace Distributor
An engine that doesn't run as it should is annoying. Fortunately, it is sometimes relatively cheap and easy to make the engine run smooth again. Continue reading to find out how.
This article applies to the Toyota 4Runner (1984-1995).
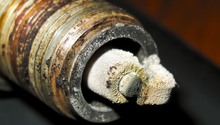
Are you experiencing sputtering and shaking from your engine, or perhaps rough idling? There are a number of things that can produce these symptoms, such as bad spark plugs, bad spark plug wires, or the distributor cap and rotor. If you are experiencing any problems and your spark plugs are fresh, the next thing to replace would be the distributor cap and rotor.
Even if you are not experiencing any problems, it could be a good idea to consider replacing the distributor cap and rotor after about 50,000 miles or 5 years. With fresh parts, you minimize the possibility of future issues.
Fortunately, it is pretty easy and inexpensive to replace the distributor cap and rotor, so there is no reason to postpone the operation.

Material Needed
- Phillips screwdriver
Step 1 – Remove the distributor cap
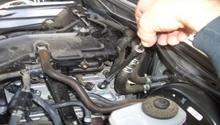
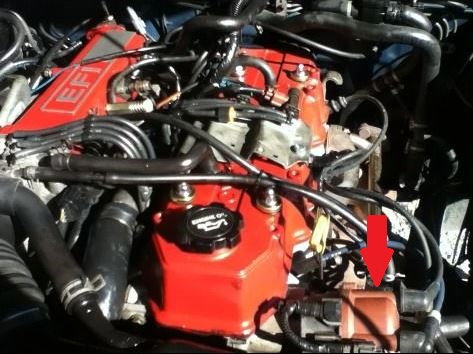
Pop up the hood and locate the distributor. When you are standing in front of the car and looking at the engine, the distributor is located on the right-hand side of the engine.
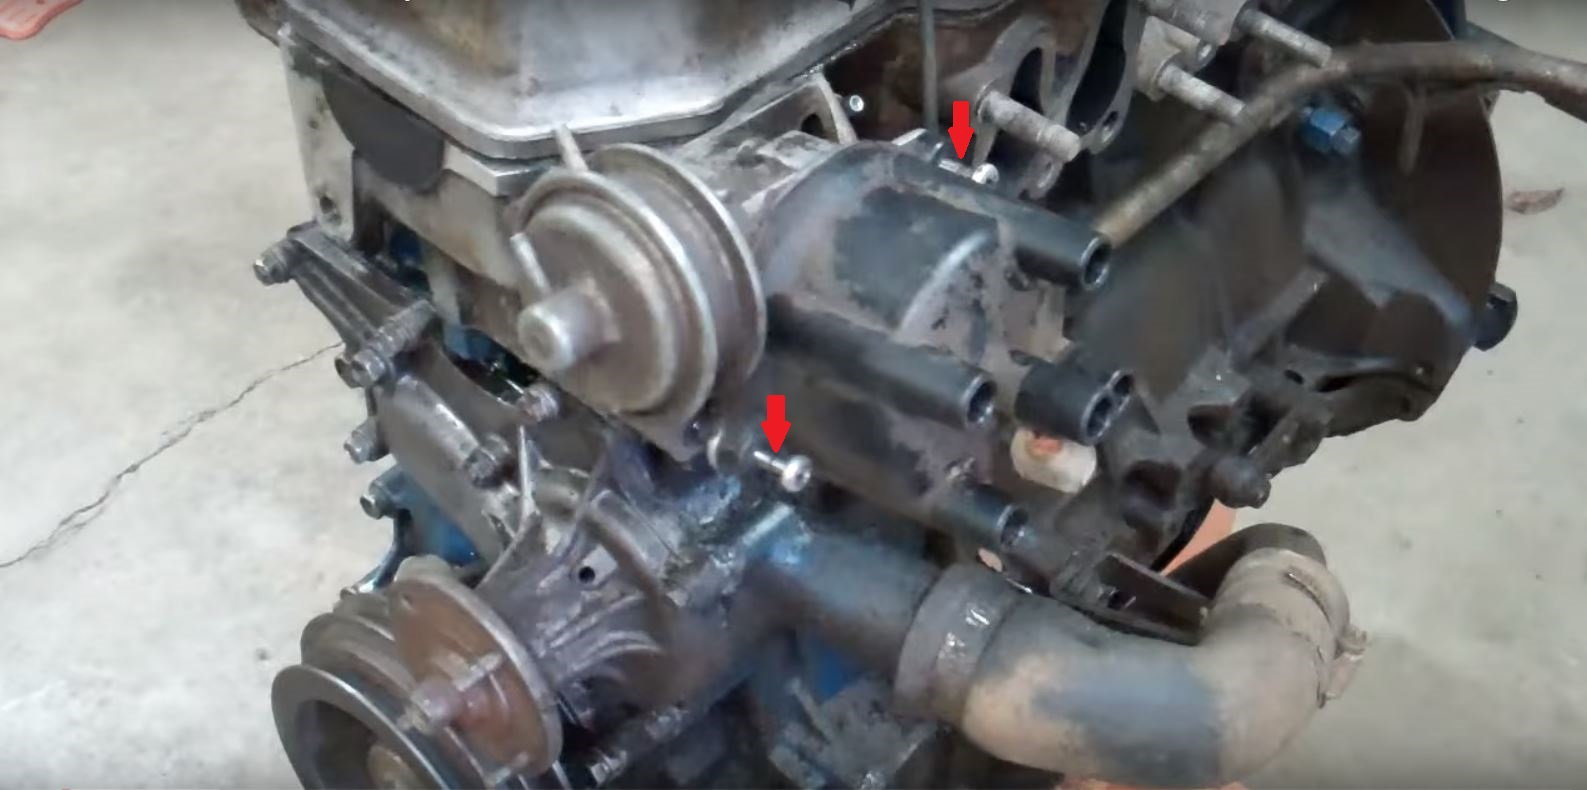
Take a Phillips screwdriver and remove the two screws holding the distributor cap in place. Then gently take the distributor cap off without removing the spark plug wires going to the distributor cap.
Step 2 – Replace the rotor
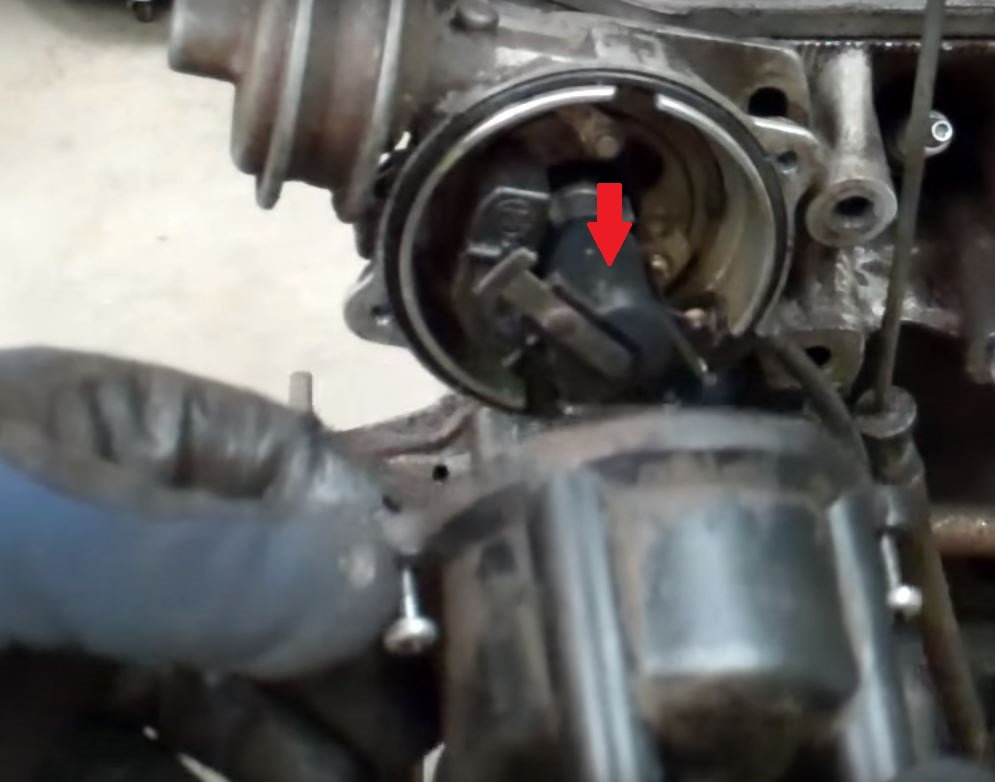
Once the distributor cap is off, the rotor is visible. Pull the rotor straight out and install a new rotor.
Step 3 – Replace the distributor cap
Take the new distributor cap and test fit it on the distributor to make sure it is rotated correctly and can be installed properly. Then screw it in place.
Once the cap is in place, the spark plug cables connected to the old cap have to be transferred to the new cap. Hold the old distributor cap next to the new one in the same position. Then take one spark plug wire at a time and move it from the old cap to the new cap.
Pro Tip
It is very important to get the spark plug wires in the exact same placement on the new cap as they are on the old cap. If the wires are not in the same position, the spark plug firing order will get changed, resulting in a very poorly running engine. The reason for moving only one spark plug wire at the time is to ensure that the spark plug wires don't get mixed up.
Step 4 – Enjoy
Start the engine and make sure it runs smoothly.
Featured Video: How to Install Distributor
Related Discussions
- Distributor Cap Issue - YotaTech.com
- Second Generation 4Runner - YotaTech.com