Toyota 4Runner 1984-1995: How to Replace Air Filter
Your engine needs air to run and the air filter cleans it, so yes you do need an air filter.
This article applies to the Toyota 4Runner (1984-1995).
Your engine has to have air, fuel and spark to run. The air needs to be clean to keep the cylinders from wearing. There are many choices for new filters that range from the parts store's paper filter for $15, to an OEM Toyota for $30, to a reusable aftermarket such as K&N for $50. No matter which you choose, just be sure to keep a clean filter on your engine for maximum performance and mileage. It is nearly criminal to pay someone to replace the filter, as it is simple to do yourself. Stay tuned and find out how easy it is.

Materials Needed
- Gloves
- Rag
- 3/8" ratchet with extension
- 10mm socket
- Screwdriver
- Air filter of choice
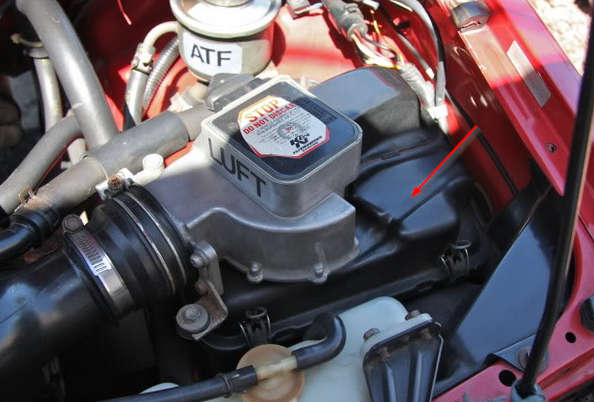
Step 1 – Locate air filter
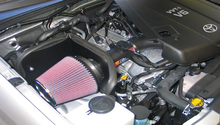
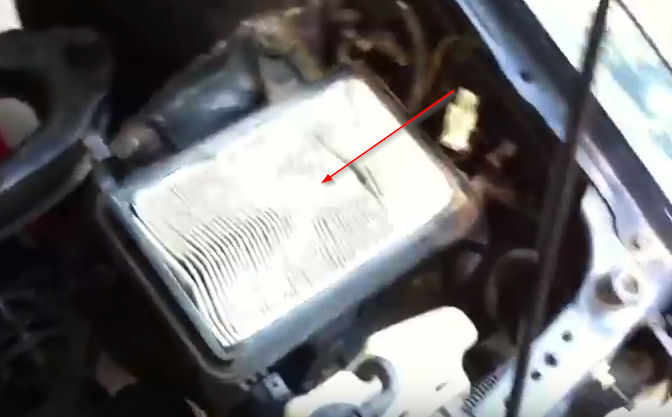
Raise the hood on your truck and use the prop rod to hold up. The air filter is located in the air cleaner assembly shown in Figure 1. The air filter assembly is in the front driver's corner.
Pro Tip
Clean any dirt from the outside of the air box to keep it clean inside.
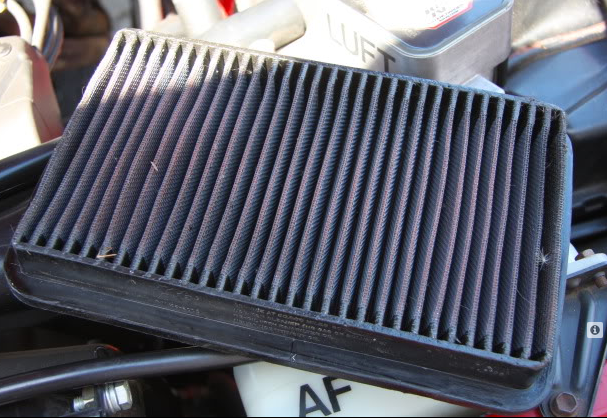
Step 2 – Choose new air filter
As was stated above, there are many choices for new air filters. A standard replacement from your auto supply is around $15. A Toyota OEM filter is closer to $30 and is a very good quality filter.
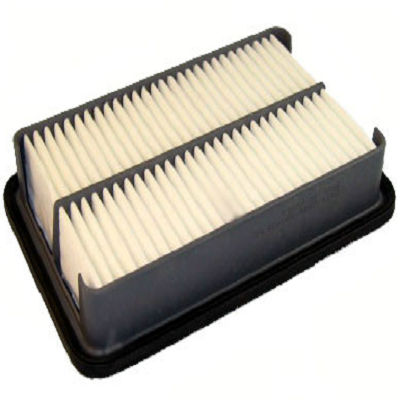
Figure 2. Standard replacement air filter. 
Figure 3. Toyota OEM air filter.
The most expensive choice is a K&N style filter at $50. It is washable so it can be reused and is said to have better filtration, as well as give an incremental boost in horsepower and torque.
Pro Tip
If using a K&N style filter, pay close attention to the instructions on how to clean and re-oil it. There is a bit more maintenance involved with an "oiled" filter versus an OE-style paper filter.
Step 3 – Remove old filter and replace
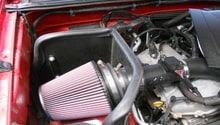
The air filter is inside of the air filter assembly. The Mass Air Flow (MAF) sensor is on top of the assembly.
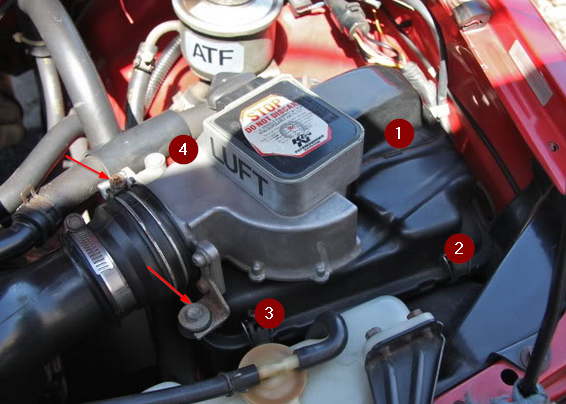
The arrow at the bottom of Figure 5 points to a bolt that has to be removed. Use a 10mm socket on it. The top arrow points to a clamp that needs to be loosened up. There are four spring clips that hold the top of the assembly to the bottom (numbers 1 -4). Release them so the top can be pulled up. You only need to pull it up enough to get the old filter out. If you need more room, you can take the hose clamp off of the smaller hose to the back and remove it.
Pull the old filter out and replace it with the new one. Reassemble the air filter assembly in reverse that it was removed. Clip it together, and fasten it down with your 10mm socket. Shut the hood and start the engine up. You're done.
Pro Tip
Take care when handling the MAF as it is fragile, yet made to last.
Related Discussions
- K&N Filter for 22RE Engine - YotaTech.com
- Airbox Mod Write-up - YotaTech.com
- Buying K&N Air Cleaner for 22R - YotaTech.com
- Oil in 22R Airbox - YotaTech.com