Toyota 4Runner 1984-1995: How to Install a Stereo
Installing an aftermarket stereo is something anybody can do. You just need the right parts.
This article applies to the Toyota 4Runner (1984-1995).
Installing an aftermarket stereo might seem daunting at first, but it's actually pretty simple and something that's been standardized for most vehicles for years now, including the early 4Runners. Installing a stereo is practically plug and play so long as you have the appropriate wiring harness. Follow the instructions below for guidance on installing an aftermarket stereo.

Materials Needed
- Aftermarket stereo
- Stereo wiring harness
- Phillips screwdriver
- Flat head screwdriver
- Ratchet with 10mm socket
Step 1 – Remove the lower dash panel
The trickiest thing to figure out is how to get access to the stereo. You'll need to start by removing the lower dash panel below your steering wheel. There will be two screws as well as a bolt to the left of the steering wheel and two screws on the right that all need to be removed. After that, remove the hood release latch by pulling up on it and loosening the screws securing it to the lower dash panel. Once they are separated, you should be able to pry the lower dash panel away from the rest of the dash assembly.
Step 2 – Remove the glove box
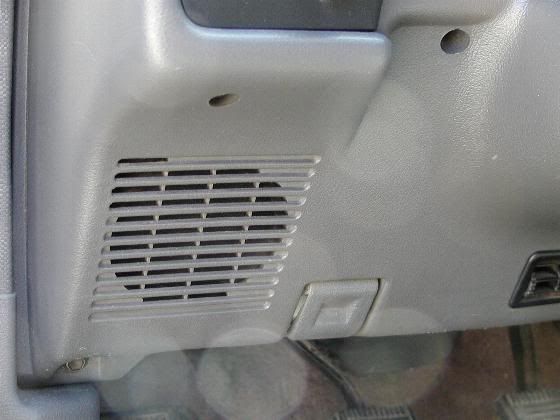
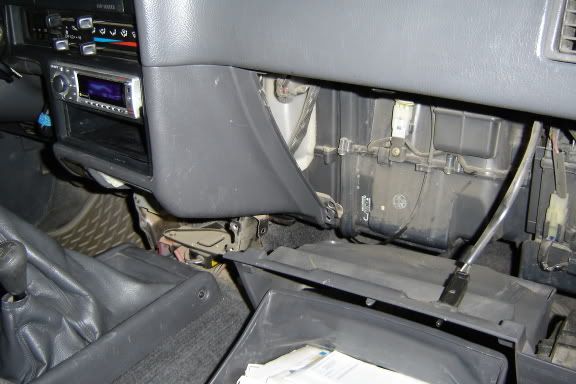
Starting at the bottom there will be a bolt on the far left and a screw at the far right side of the glove box. Open the glove box, and then remove the three screws along the top. Carefully pry the glove box loose from the rest of the dash assembly. Unplug the speaker connector, then set the glove box aside. This will reveal one more screw at the top left corner securing the center console paneling, which needs to be removed.
Step 3 – Remove the center console panel
Move to the bottom pocket panel of the center console. On either side there will be a round cap. Use your flat head screwdriver to pry out these caps and it will show a small push tab. Remove the push tabs by simply pulling them out. Then remove the pocket panel.
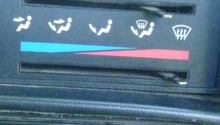
Now move to the HVAC controls. Pull off the rubber boots on the slider controls of your HVAC. Carefully insert your flat head screwdriver into the slider slot of the HVAC controller and pry the HVAC controller cover away from the center console until it snaps off. On the right side of the console, behind where the HVAC controller cover was, there is another screw that needs to be removed.

Next, pry off the panel around the key ignition. Now you're finally ready to remove the center console paneling. Start on one side and start prying it away from the rest of the dash assembly. Then slide it away and set it aside.
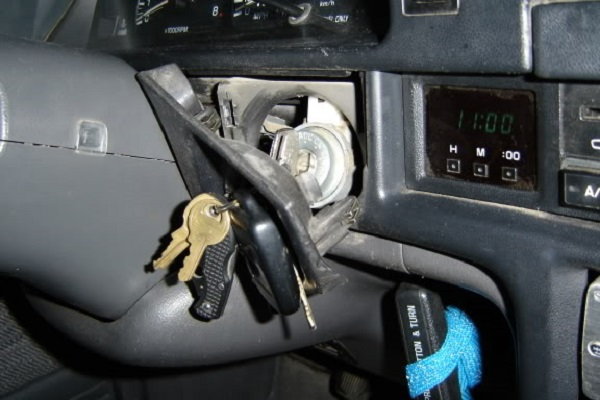
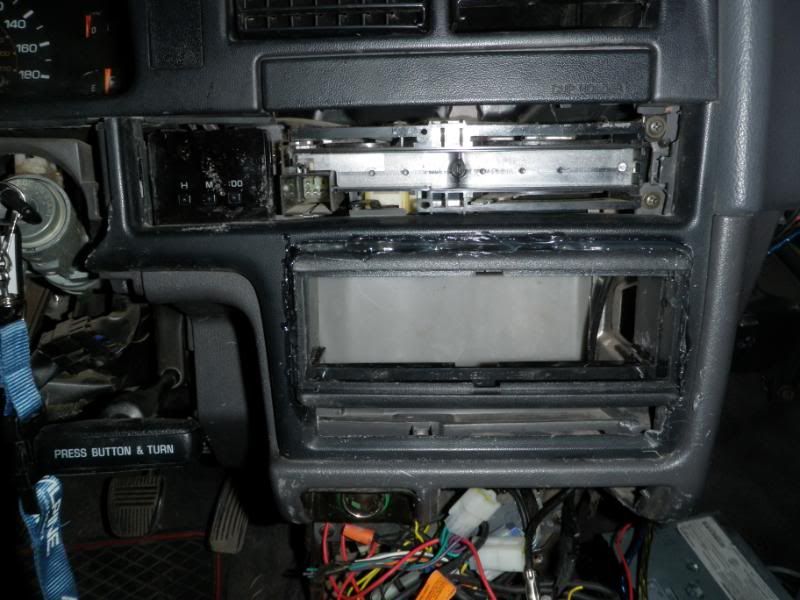
Figure 5. Remove the key ignition panel. 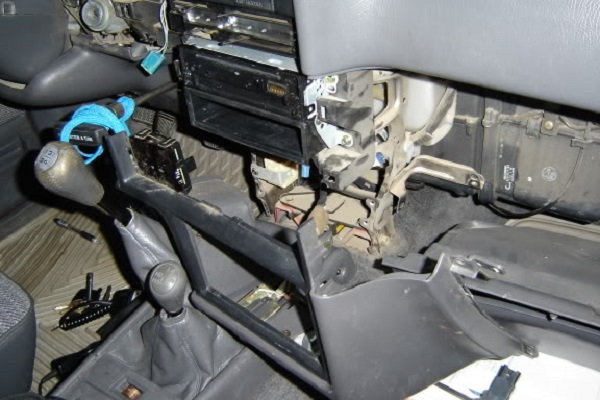
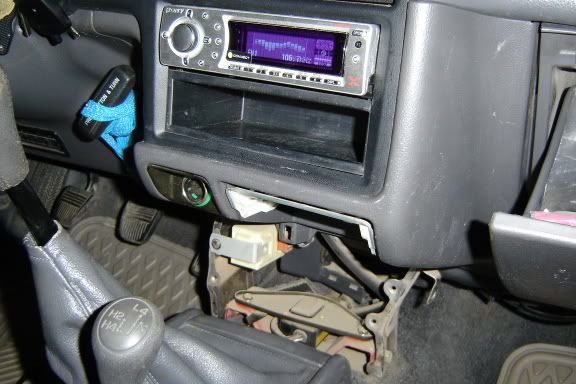
Figure 6. Remove the center console panel.
Pro Tip
Be especially careful when removing the HVAC controller panel because the plastic is rather flimsy and could easily break.
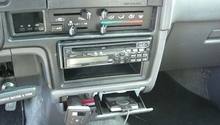
Step 4 – Remove the factory stereo
Removing the stereo should be simple now with all the paneling out of the way. Remove the bolts on either side of the stereo unit, then slide the unit out from the console. Once it's cleared from the console, start disconnecting all of the plugs on the back of the stereo and set it aside.
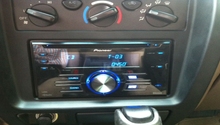
Step 5 – Install the new stereo
Remove the brackets from the sides of the factory stereo and then reattach them to the new stereo. Plug the wiring harness to the new stereo and start reconnecting all of the wire, including the speaker wires, the power wires, and the antenna wire. Once you are finished reconnecting all the wiring, shove the excess wires back into the console and slide the new radio into place. After this step it is simply a matter of reversing the previous steps as listed below the images.
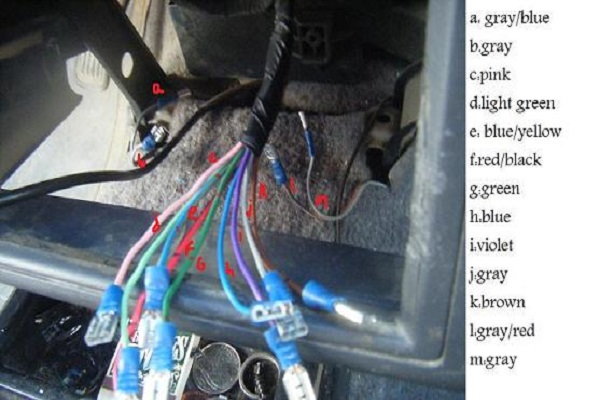
Figure 8. Stereo wiring. 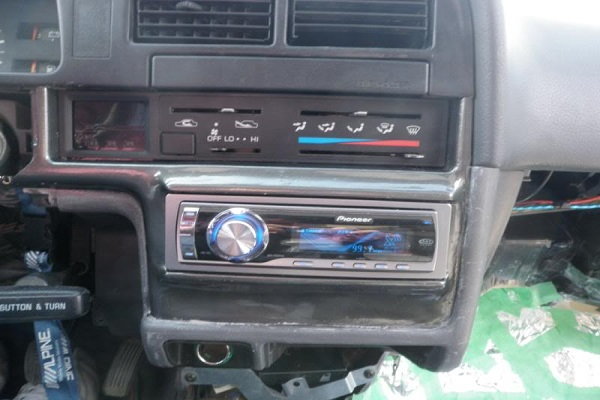
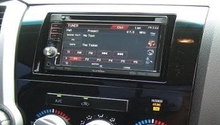
Figure 9. New stereo installed.
- Bolt down the new stereo unit to the factory console.
- Reattach the panel around the key ignition.
- Tighten down the screw next to the HVAC controller.
- Snap on the HVAC controller cover.
- Reattach the HVAC slider control boots.
- Reattach the bottom pocket panel.
- Reattach the bottom tabs and caps to the pocket panel.
- Tighten down the screw where the glove box was.
- Reattach the glove box and secure the four screws as well as one bolt.
- Reattach the lower dash panel and secure the four screws as well as one bolt.
Related Discussions
- Aftermarket Radio Install No Speaker Sound - YotaTech.com
- 85 4Runner Radio Install Help - YotaTech.com
- 93 4Runner Stereo Install - YotaTech.com