Toyota 4Runner 1984-1995: How to Build Flat Bed
Want to replace your rusty old truck bed or back end with a super functional flat bed? Here's how to make the conversion.
This article applies to the Toyota 4Runner (1984-1995).
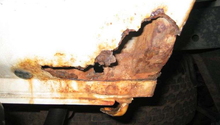
It might seem a little crazy to think that guys are cutting up their 4Runners (and Tacomas) and installing flatbeds, but there are a few really good reasons to do so. Rust is often a big problem on the back half of these trucks, and rather than sending your ride to the scrap heap, it makes sense to turn it into a fun and potentially very useful project. Plus, the result is something cool and very unique that is sure to turn heads wherever you go. As you can imagine, however, turning an SUV into a flatbed truck isn't a job for the faint of heart, and it requires some welding and fabrication skills as well as a lot of long weekends. If you have the skills and fortitude to pull it off, the end result is pretty darn cool.

Materials Needed
- 2nd generation Toyota pickup cab (just the back half is needed)
- Aftermarket flatbed, or materials to build a custom bed
- Cutting wheel and grinder
- Welder
- Body filler
- Paint
Step 1 – Cut the rear portion of the vehicle
Step one requires the biggest leap of faith, because there's no going back after you start cutting body panels. Take your time measuring and taping off the lines you want to cut, ensuring they are perfectly straight before hacking away. You'll want to cut off the portion of your 4Runner right behind the rear seat, just a few inches behind the rear door seam.
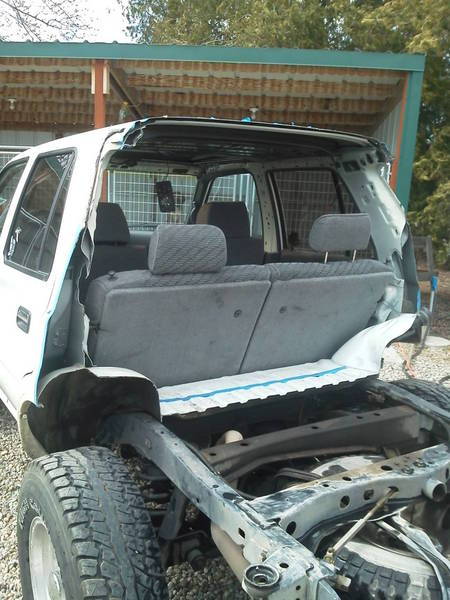
Figure 1. Back view of cut cab. 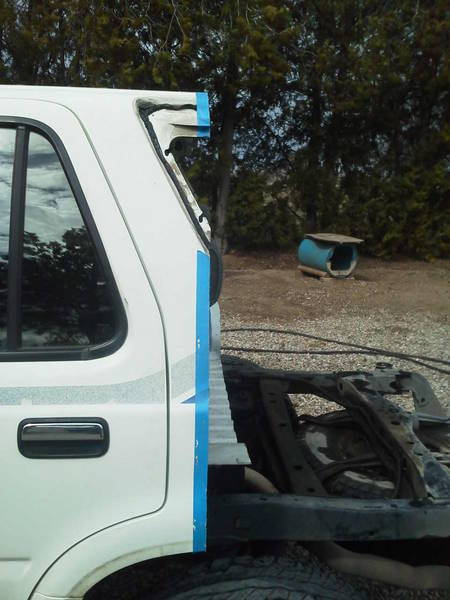
Figure 2. Side view of cut cab.
Step 2 – Weld in rear portion of truck cab
The easiest way to acquire the portion of the rear cab that you need for this conversion is to purchase the entire cab from a scrap yard, or perhaps even a complete junker 2nd generation truck. Either way, you'll only need to cut out the rear portion of the cab for this project. Once you cut it out, line up the back of the cab with the back of your truck. Cut and spot weld sheet metal into place to fill the gaps, then finish welding them in place. Grind the welds off and use some body filler to smooth everything out, then prime and paint.
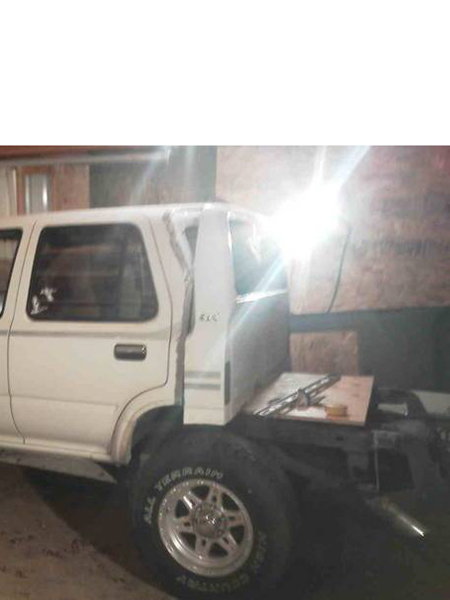
Figure 3. Cut the rear of the truck cab and line it up. 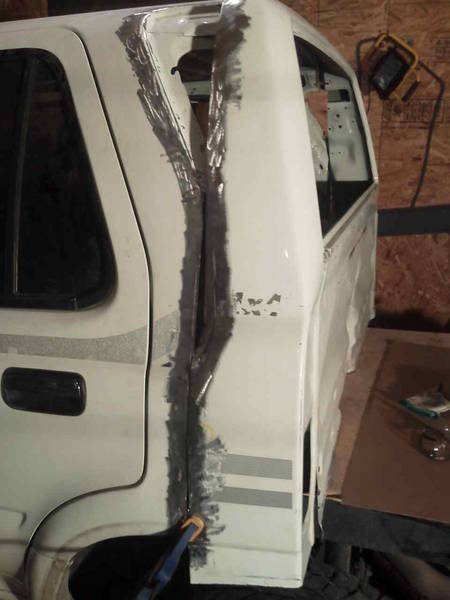
Figure 4. Once the cab is lined up, cut sheet metal to fill in the gaps. 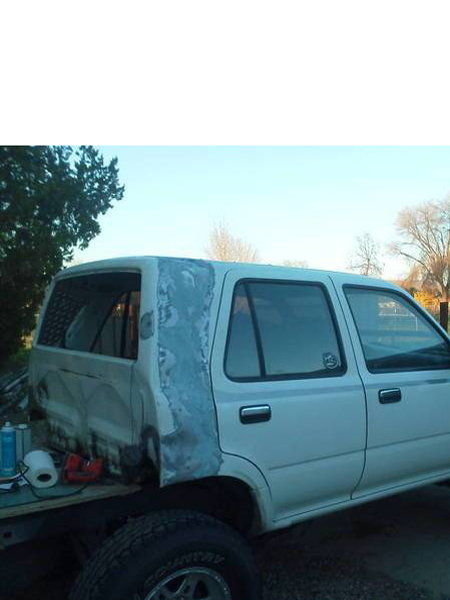
Figure 5. Weld in the sheet metal panels.
Step 3 – Build/attach the flat bed
There are several directions you can go in regards to the flat bed assembly. The easiest (and most expensive) is to have one custom made for your application. Alternatively, you can design and weld one up yourself, or simply build one out of wood. The only limit here is your creativity and imagination. You can even design the flat bed with some serious functionality by adding a winch, crane, or tool box.
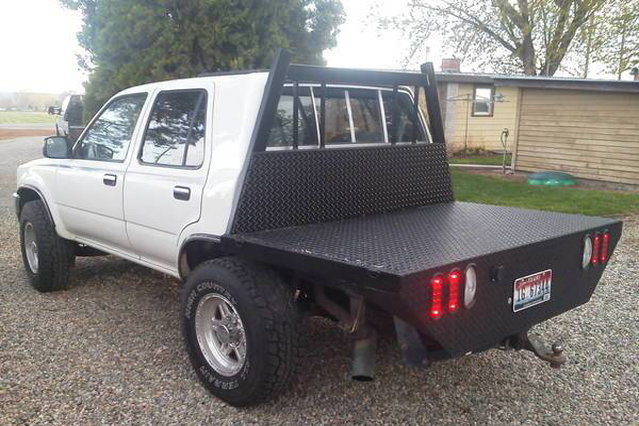
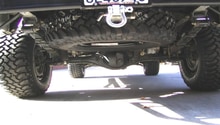
Figure 6. A basic flat bed conversion. 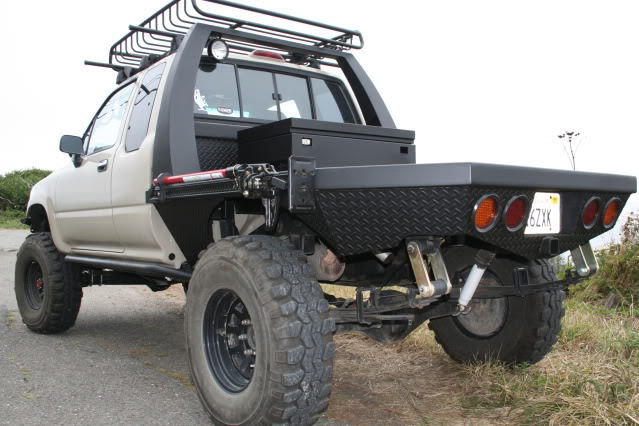
Figure 7. Flat bed conversion with a tool box and built-in jack.
Related Discussions
- 4Runner flat bed conversion - YotaTech.com
- 2nd generation flat bed conversion - YotaTech.com
- Toyospearo's flatbed build - YotaTech.com