Toyota 4Runner 1984-1995: Engine Performance Diagnostic Guide
There are a few components in your Toyota 4Runner that when they go bad, you notice a difference in performance. Read on to learn how to diagnose engine performance issues.
This article applies to the Toyota 4Runner (1984-1995).
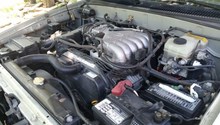
Every now and then you will feel like your Toyota 4Runner is driving differently. There are a few parts in your car that tend to wear overtime, which cause your engine to perform less than it should. If you feel a difference in the way your 4Runner drives and performs, then this guide will help you discover the source of the issue. It is always recommended you use a scan tool to read any codes; however, parts could wear, causing the engine to perform less but not activate any engine code. Read on to learn how to diagnose engine performance in your Toyota 4Runner.

Material Needed
- Flat head screwdriver
Step 1 – Check spark plug wires
They could be worn or cracked.
The spark plug wires are important parts of your engine's performance. If your spark plug wires are worn, they may not transfer the current as well as they should, which will cause less of a combustion in the engine, thus causing your engine to perform less optimally. Check all the wires from one end to the other. If you see any wear or tear, then you definitely need replacement wires. It's recommended you replace the spark plug wires as a set.
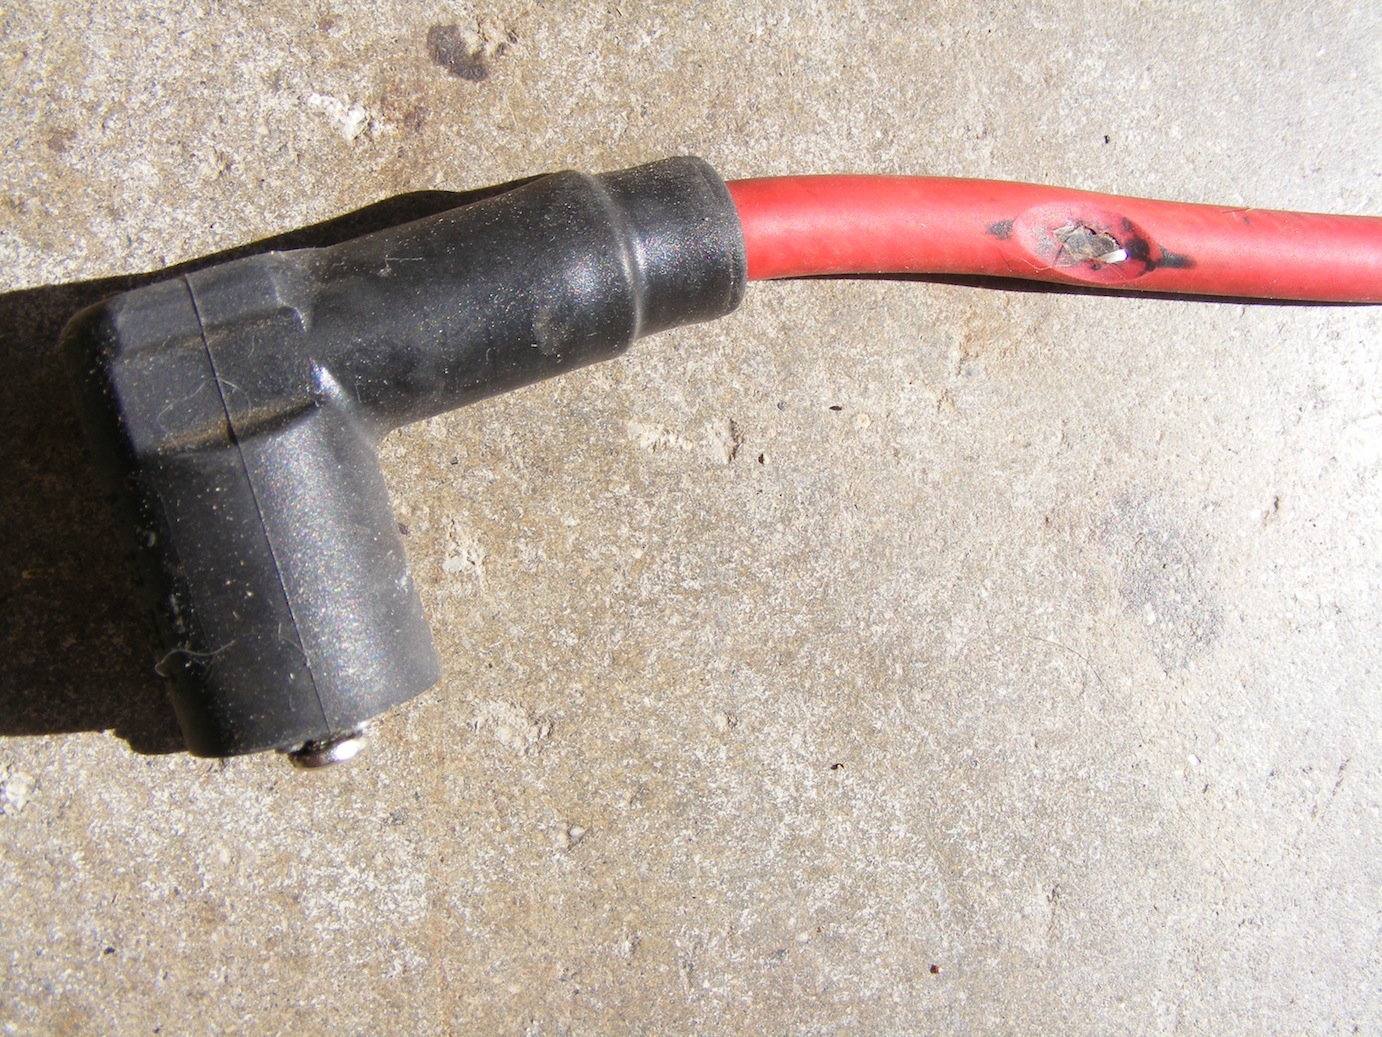
If the wires are in good shape, proceed to Step 2.
Step 2 – Check spark plugs
They could be worn.
The spark plugs are recommended to be replaced every 30,000 to 75,000 miles depending on the type of plugs used. They are responsible for creating the spark that creates a combustion inside the engine. If one of the spark plugs is operating poorly, your engine is susceptible to misfiring and engine knock. Remove the spark plug wires, unscrew the plug from the head and inspect the tip, or electrode. Inspect the electrode for corrosion and check the "gap" of the plug. If the gap is off spec, it will cause misfires. Plugs are cheap insurance, you may as well just change them while you're in there.
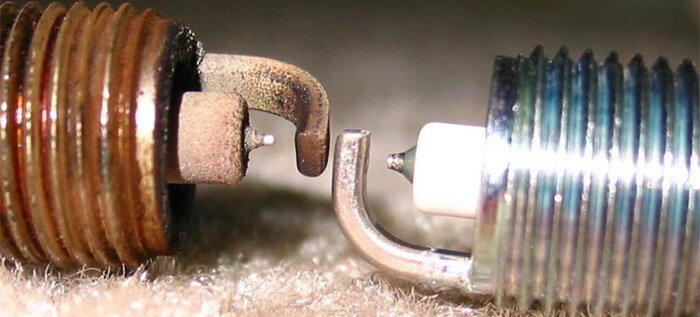
If the spark plugs are operating well, proceed to Step 3.
Step 3 – Check throttle body
It may need cleaning.
The throttle body tends to get dirty, which can directly affect your engine performance. Follow the intake tube to the throttle body, then loosen its clamp using your flat head screwdriver. Remove the intake tube and make sure the throttle body is clean from any dirt or grime. If the throttle blade is noticeably dirty, consider this your message that your air filter requires more regular replacement.

If the throttle body is clean, proceed to Step 4.
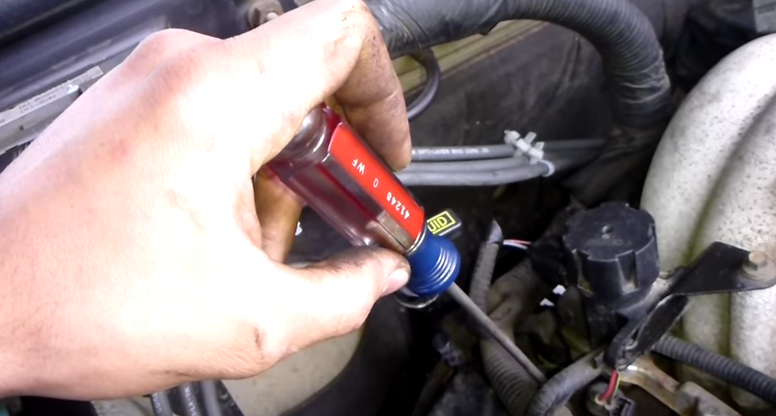
Step 4 – Check fuel injectors
They could be dirty or faulty.
The fuel injectors are exactly what they sound like, they inject fuel into the engine. If one or more of the injectors either stopped working, or started getting clogged, it will disturb the air fuel mixture. Remove each injector and ensure it's clean. The cleaner the injector, the more consistent it will spray fuel. To make sure they are working properly, use your screwdriver to listen to each injector. Place the screwdriver on the back of the injector, then start the car, put your ear on the back of the screwdriver; if you hear a buzzing noise, that means your injector is working properly. However, if you don't hear anything, then you need to replace some injectors.
Related Discussions
- Rough Idle - YotaTech.com
- Power Loss - YotaTech.com
- RPM Fluctuates - YotaTech.com